


Create a role
You can create a new role:
-
Click Administration
 in the toolbar.
- Click New role.
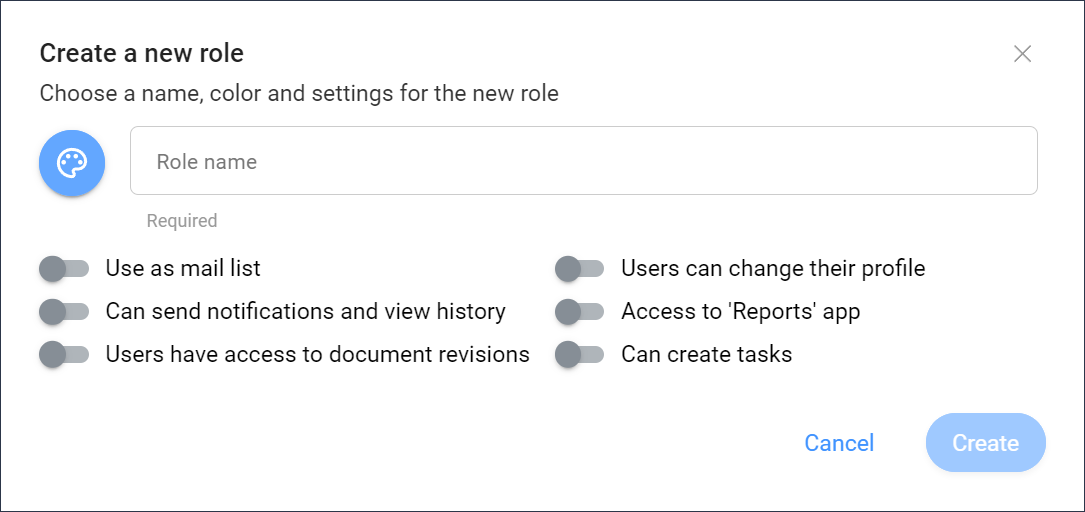
The Create a new role window appears.
-
Click
 and select a color.
Tip: Selecting different colors for different roles, makes it easier to distinguish annotations from different roles.
and select a color.
Tip: Selecting different colors for different roles, makes it easier to distinguish annotations from different roles. -
Enable or disable the settings:
- Use as mail list
This allows to send messages to all project members with the role.
- Can send notifications and view history
This allows to send notifications to other project members and to view the history.
- Users have access to document revisions
Project members can view the revisions of a document.
- Users can change their profileProject members can edit their profile settings.Note: This setting is recommended.
- Access to 'Reports' app
Users can access the Reports
 tool.
tool. - Can create tasks
Users can create tasks.
- Use as mail list
-
If applicable, assign existing or new users to the role:
- Enter the email address of a user.
- Click
 .
.The contact appears in the contact pane.
- If applicable, add another user.