


Messages
The Messages  tool:
tool:
- allows you to communicate effectively with project members.
- allows you to send both private and public messages to other project members.
- contains and safeguards all communications.
Note: You must have access to the Messages tool to receive messages. Access can only be granted by a project administrator.
Note: Project administrators can also enable email forwarding for a specific email address. This allows to send an email to the specific email address and display the email in Bricsys 24/7.
Note: The Activity/Details panel displays message and folder details. The panel is only available for messages under PROJECT in the tool menu.
Send a message
- Click Messages in the toolbar.
- Click New message.
The Choose message folder window appears.
- Select the applicable message folder.
- Click Select.
A Send message window appears.
- Add the recipients in the To field.Note: You can only add users with access to the Messages tool.
- Enter a subject in the Subject field.
- Write a message.Tip: You can adjust the layout.
- If applicable, click the cloud icon
 to attach a document from your project in Bricsys 24/7.
 - If applicable, click the paperclip icon
 to attach a document from your local device.
 - Click Send.
A pop up window informs you that the message is sent.
The recipients receive an email with a direct link to the Messages tool where they can read the content of the message.
Attach a workflow to a message
- Click Messages in the toolbar.
- Select a Project message folder in the tool menu.
- Select the applicable message in the content pane.
- Click the ellipsis button
 at the top of the content pane.
A context menu pops up.
- Click Attach workflow.
The Attach workflow window appears.
- Choose a workflow.
- Select a coordinator.
- Enter a workflow name.
- If applicable, enter a description.
- Click Add.
A pop up window informs you that the workflow is attached to the message.
A workflow icon is added to the message in the content pane.
The workflow name is displayed in the content pane.
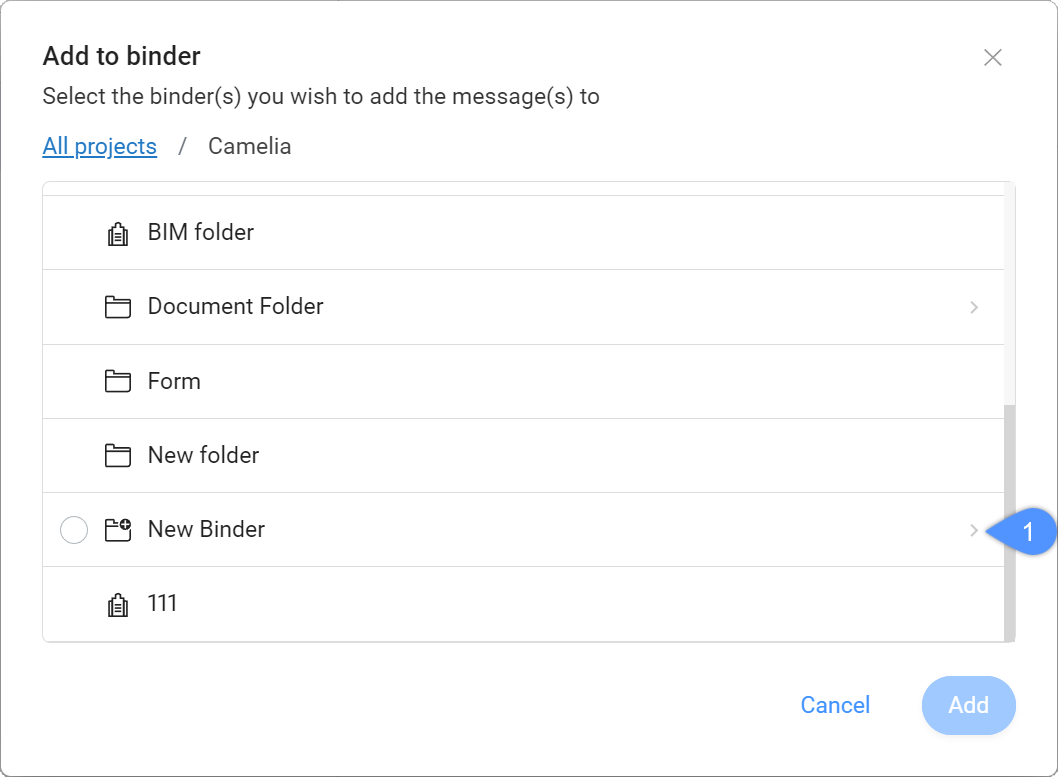
Add a message to a binder
- Click Messages in the toolbar.
- Select a Project message folder in the tool menu.
- Select the applicable message in the content pane.
- Click the ellipsis button at the top of the content pane.
A context menu pops up.
- Click Add to binder.
The Add to binder window appears.
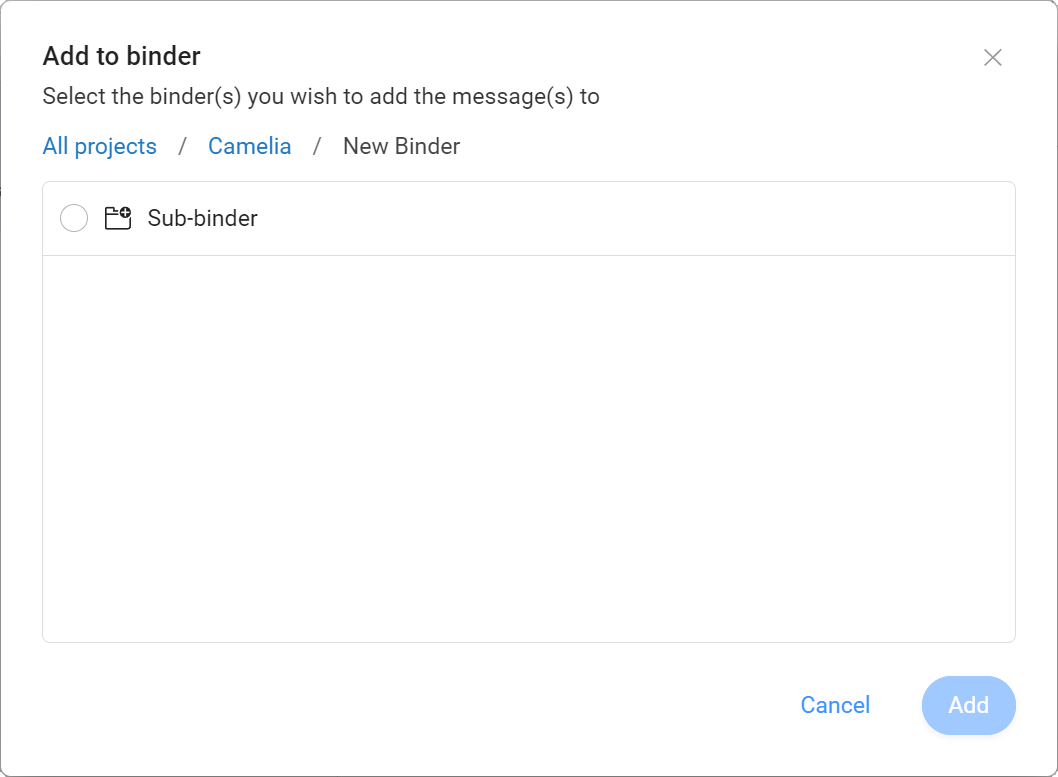
- Select the binder(s) you want to add the message to.Note: If available, you can select a sub-binder by clicking the arrow (1) next to the folder name.
- Click Add.
A pop up window informs you that the items are added to the binder(s).