


Descripción del líder de punto civil
Visión general
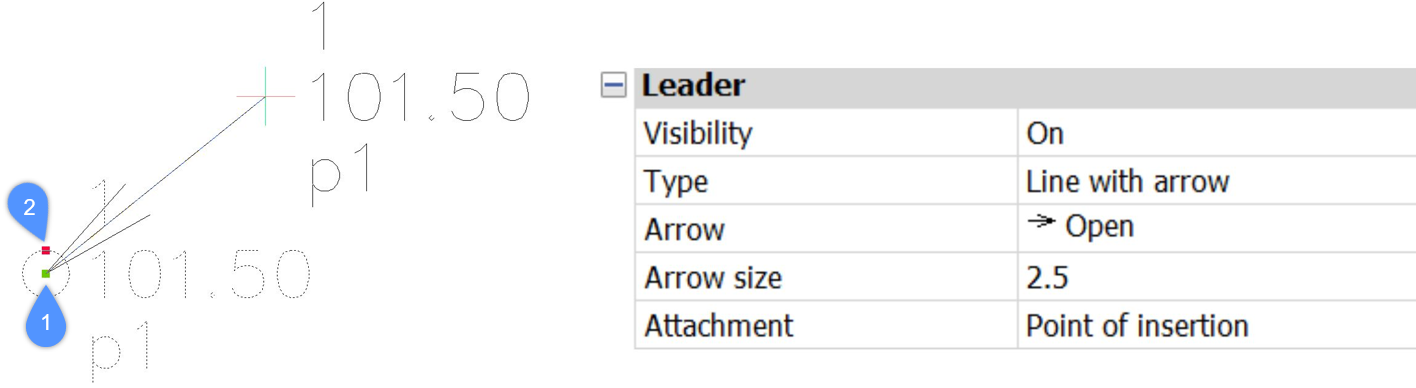
Los puntos civiles contienen dos pinzamientos. El pinzamiento principal se coloca en el punto de inserción (1), mientras que el pinzamiento alternativo (2) se coloca verticalmente sobre el punto de inserción y siempre se encuentra en el bloque Etiqueta. Por lo tanto, la posición del pinzamiento alternativo se adapta a la forma y el tamaño del bloque Etiqueta, que depende de los parámetros Tamaño del símbolo y Tipo de tamaño del símbolo . Puede usar el pinzamiento alternativo para arrastrar la etiqueta del punto fuera del punto de inserción y crear una Línea directriz.
Hay dos tipos de Directrices disponibles: Línea con flecha y Línea sin flecha. Puede seleccionar el tipo adecuado de Líder en el menú desplegable Tipo en el panel Propiedades .
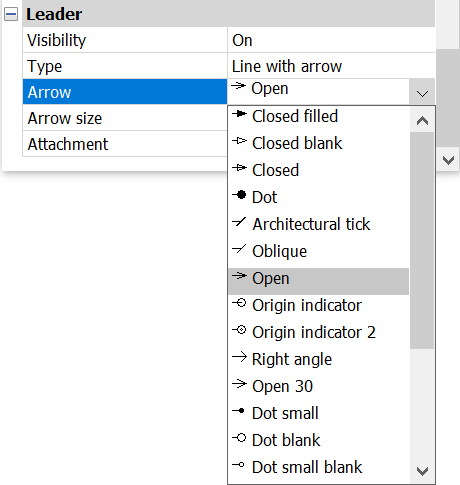
Puede elegir entre distintos tipos de flechas de directriz en el menú desplegable Flecha del panel Propiedades . Puede especificar el tamaño de la flecha en el campo Tamaño de la flecha .
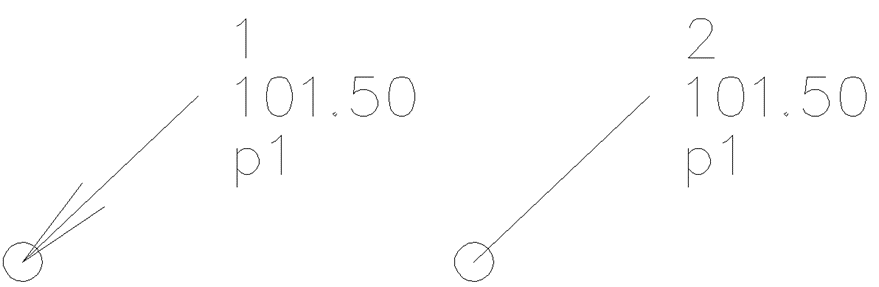
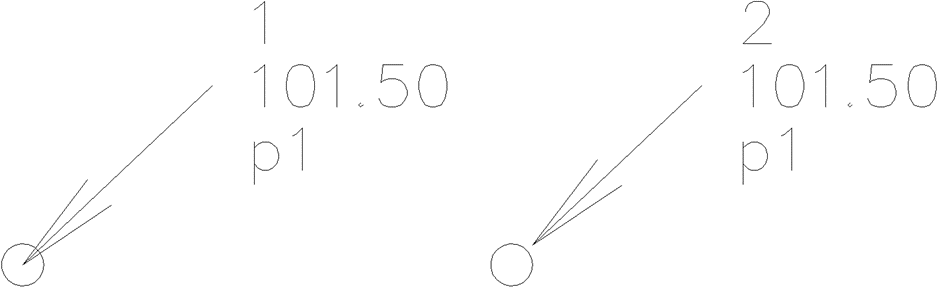
Puede adjuntar la flecha de guía en el punto de inserción del símbolo o en el cuadro delimitador del símbolo (Figura 4). Puede seleccionar el punto de enlace apropiado de la flecha de la guía en el menú desplegable Adjunto en el panel Propiedades .
También hay una opción para hacer que el Líder sea invisible.