


Propagate corner
Commands
BIMPROPAGATECORNER
Setting the foundations
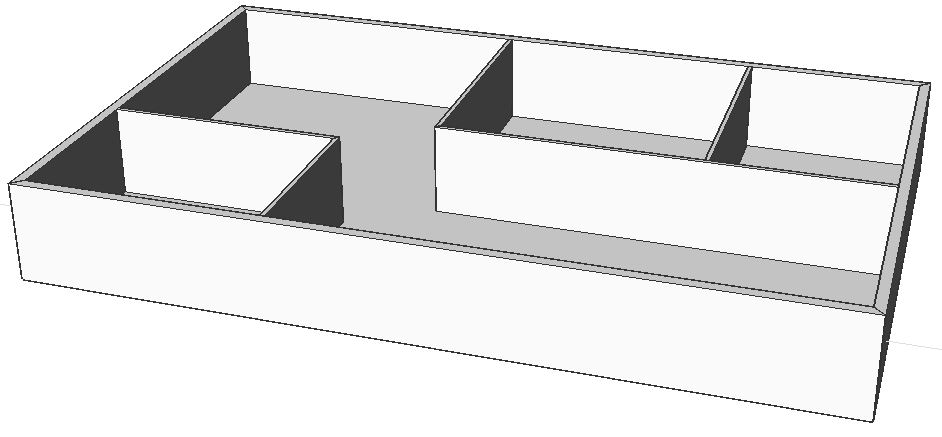
In this example the 4 exterior walls, 5 interior walls, and floor slab have already been assigned a composition.
First, you must connect the 3 planar types of connections separately. For a detailed explanation of how to do this, read the article Propagate planar.
You should now have the following connections:
 |
 |
 |
| Exterior wall - Floor slab | Exterior wall - Interior wall | Interior wall - Floor slab |
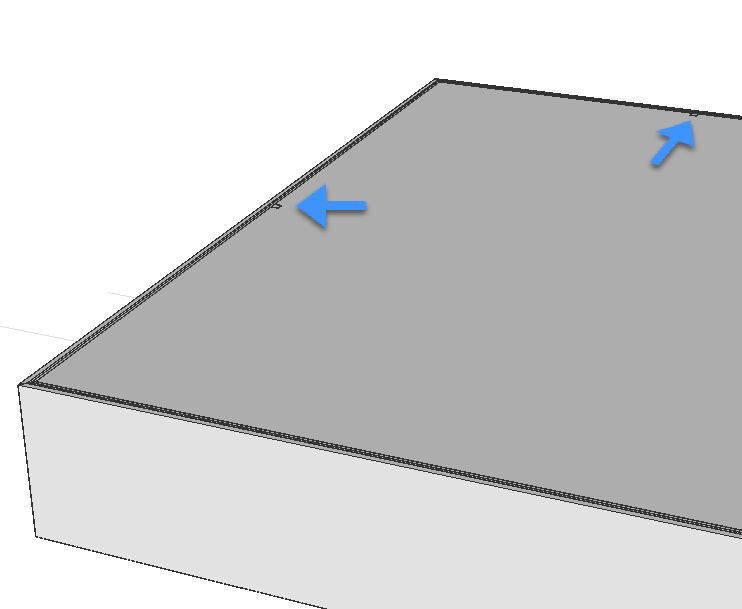
The nodes where the exterior wall, interior wall, and floor slab come together can't be correctly propagated using BIMPROPAGATEPLANAR. Instead, use BIMPROPAGATECORNER. BIMPROPAGATECORNER can propagate details connected to three planar base solids (i.e. corners).
Propagate corner
- Launch BIMPROPAGATECORNER.
You are prompted:
Select at least three planar reference solids that form a 3D corner. The detail will be copied to similar corners. [selection options (?)]:
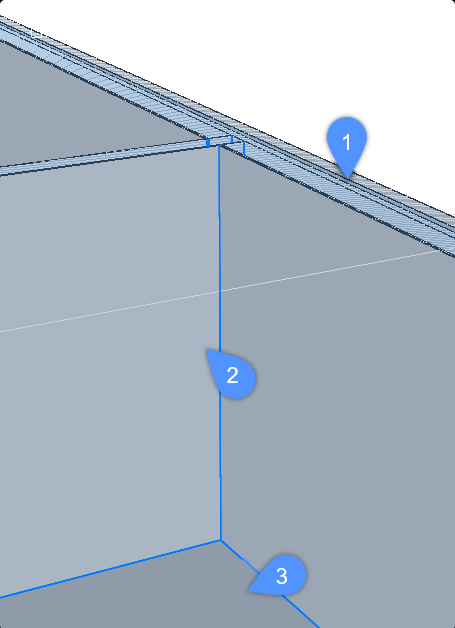
- Select the exterior wall (1), the interior wall (2), and the floor slab (3).
- Press Enter to accept.
You are prompted:
Optional. Select detail objects (solids, block references, faces, edges,...) to be copied as part of the corner detail. [selection options (?)]:
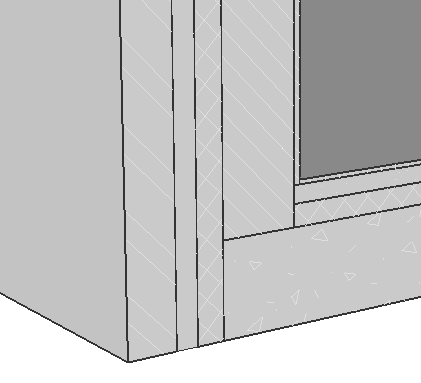
If you have extra solids in your detail, i.e. an insulation block, you can select this as an extra detail object and it will be copied to the other nodes when using BIMPROPAGATECORNER.
- Press Enter when ready. Note: If you don't have any extra details, just press Enter to continue.
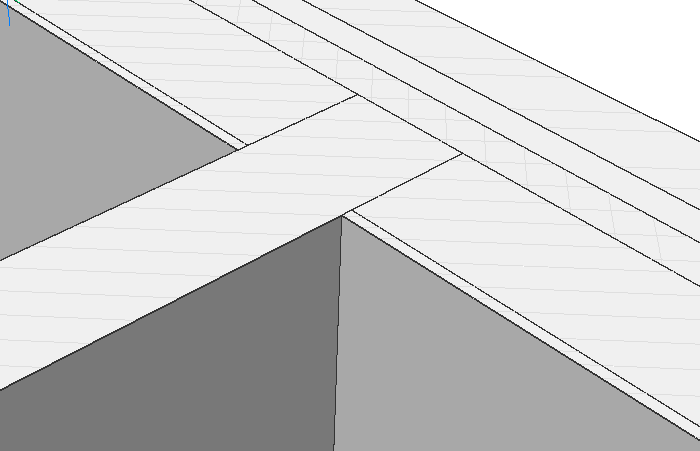
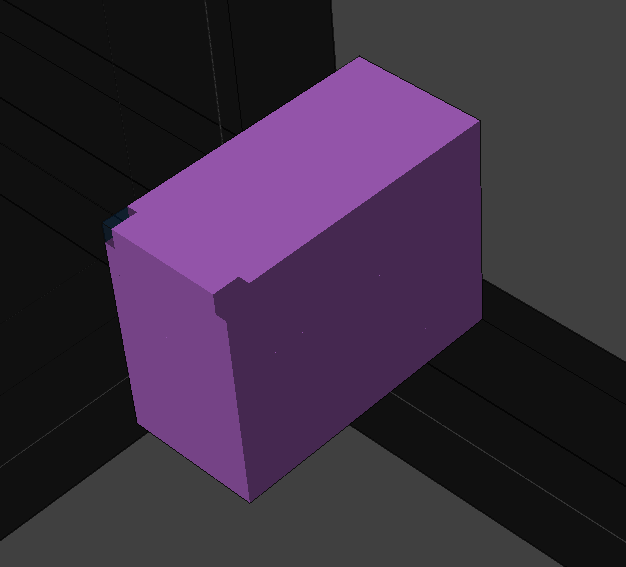
- The volume that will be propagated is encased in a purple box.
You are prompted:
Blue: detail area to be copied. Purple: reference contact area. Accept? [Yes/No/Inflate first/Save detail/save detail to Library] <Yes>:
- Press Enter to accept the detail.
Note: BIMPROPAGATECORNER shows a 3D volume instead of a 2D section. - BIMPROPAGATECORNER now scans the entire drawing for similar locations. When this is done, the view is zoomed out to show all possible locations. Every suggestion is highlighted and a widget is displayed. A green checkmark means that this suggestion will be applied when pressing Enter.
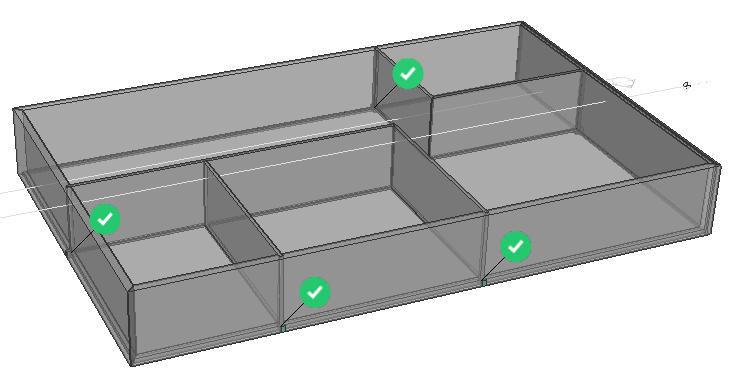
You are prompted:Choose next action [Apply all/Cancel] <Apply all>:
- Press Enter to complete the command.
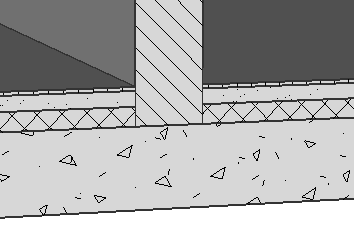
The nodes where the exterior wall, interior wall, and floor slab come together should now be propagated correctly.