Note: BIMPATCH cuts out part of geometry and replaces it by a
block reference. In this cutting process, entity data linked to the 3D model are
lost. Therefore, starting from V21.2, this command is no longer available.
Command
BIMPATCH
About
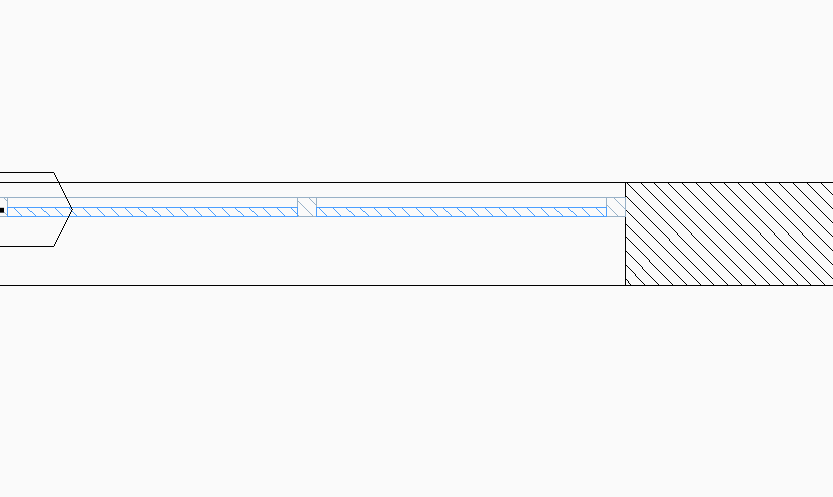
In this procedure, we will add fixtures and a vapor barrier to our window-wall
connection. We will detail this window-wall connection.
Procedure: detailing a window connection
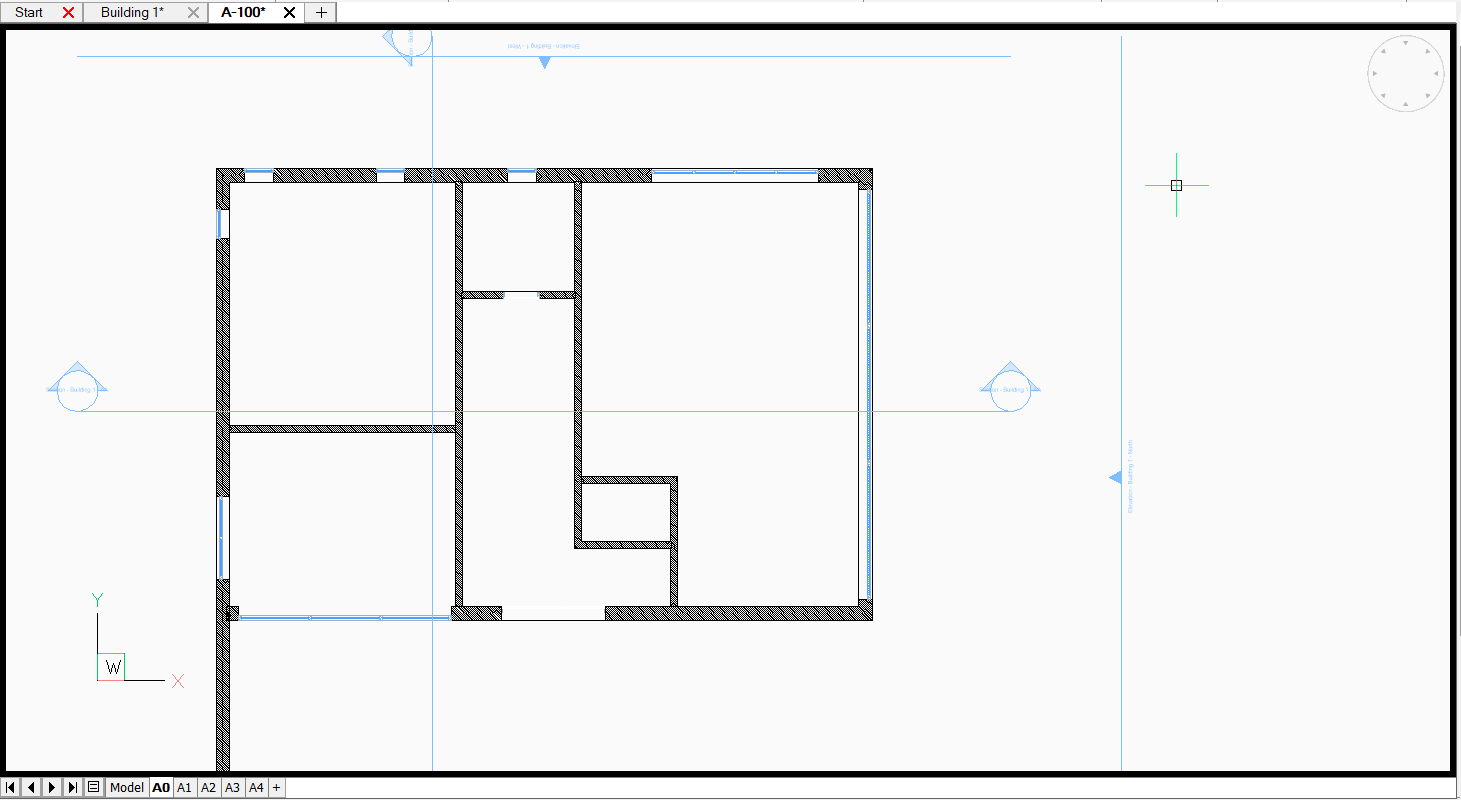
Open the section.
Go to the model space by double-clicking in the viewport ortoggle
the viewport mode in the Status Bar.
Launch the BIMPATCH command in the model space.
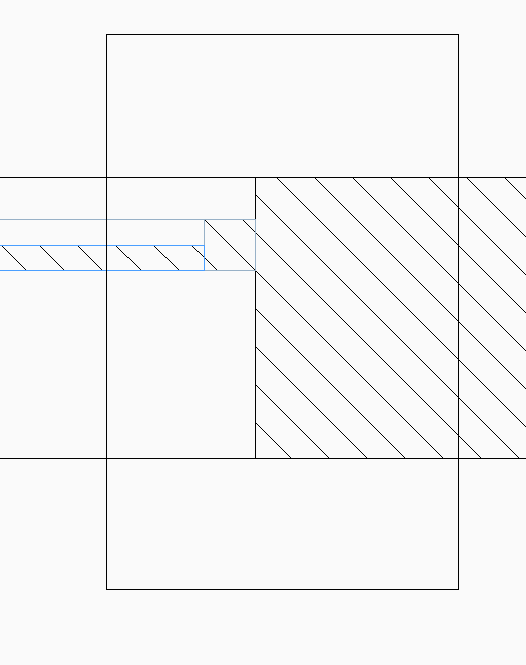
Draw the rectangle over the detail and hit enter.
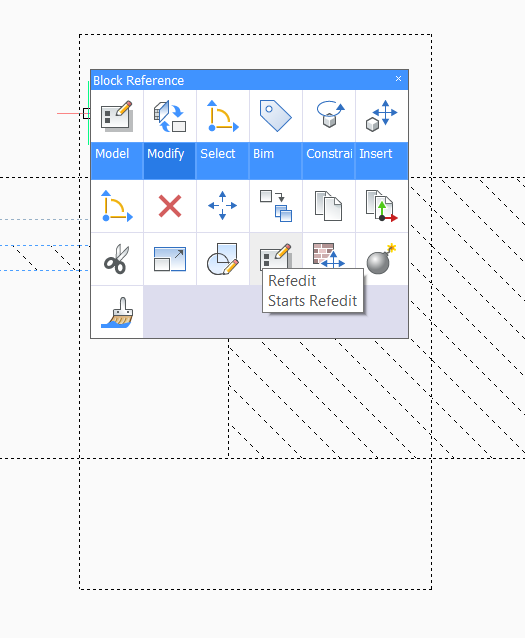
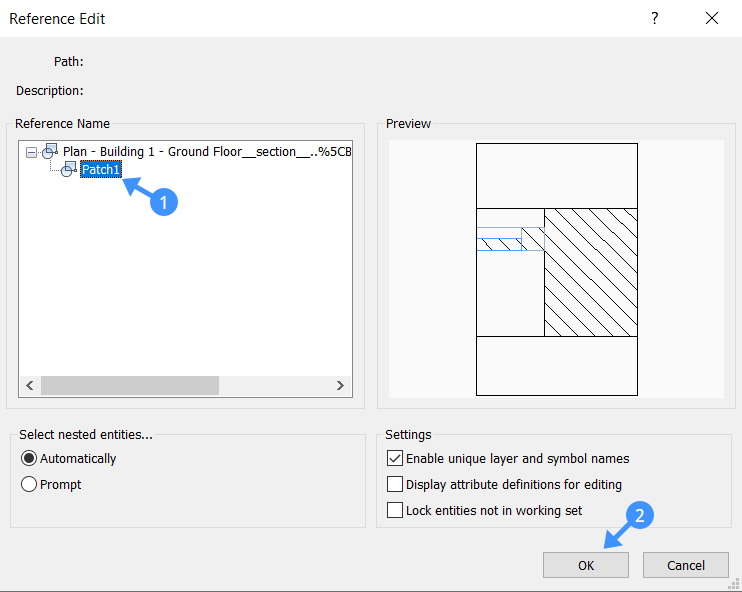
Hover over the section object and launch Refedit from
the quad.
A menu appears, select the patch (1) and click OK
(2).
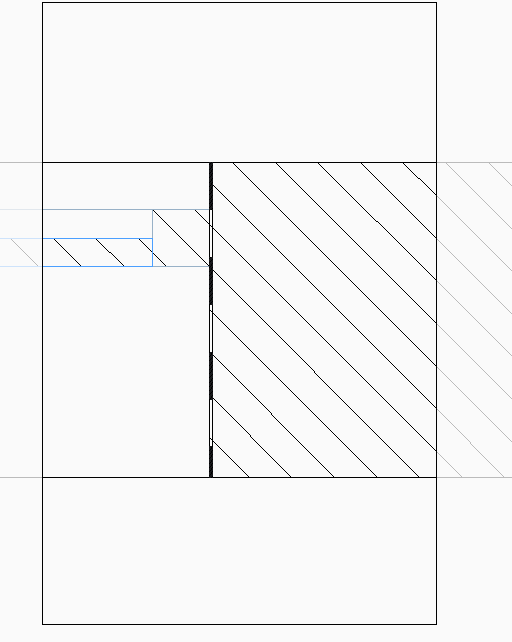
Draw the required detail for the window-wall joint. We will add a vapor
barrier.
Save the changes made in the RefEdit session with the
Save option of the REFCLOSE command.
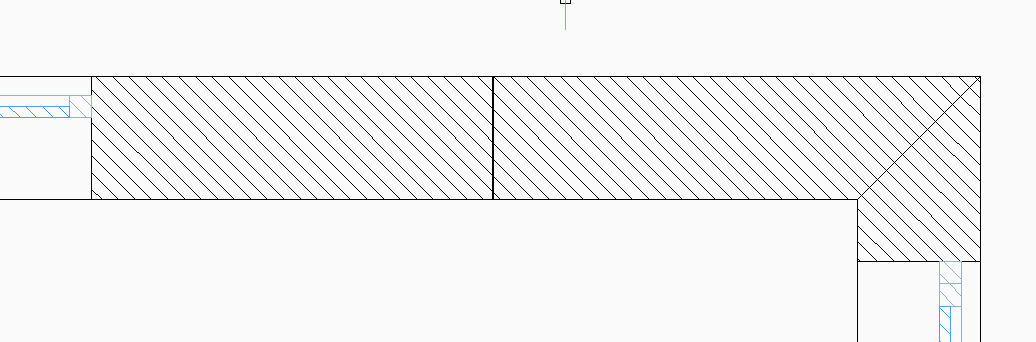
Go back to the paper space. The detailing of the window connection is done.
If we now move the window to the left in the 3D model, you will see that the
detail you made a patch of moves along.
Note: If you would have added the vapor barrier in
the model space of the section without making a patch of it, the
vapor barrier wouldn't be seen as a part of the detail. If you would
move your window, the vapor barrier would stay in the same position
as you drew it before.