


Import Autodesk® Revit® files in BricsCAD
Disclaimer
Unless otherwise indicated, the word Revit used in this article refers to the Revit® software and its peripherals by Autodesk®.
About Revit import
The Revit import function allows you to import .RVT files into BricsCAD® as 3D solids. Most project data and model metadata, i.e. BIM classification, spatial information, composition data of Walls, Slab, Roof, Beam, Columns, materials, etc., from the Revit model are imported.
You can choose to import selected geometries by 3DViews, by Family Categories, by Levels or by View Worksets, depending on how the Revit project file has been set out.
BricsCAD® currently supports the import of Revit 2015-2021 files only. If you would like to import a model created in a later version of Revit, please consider importing the model into BricsCAD® as an IFC file. For more information, please visit the IFC Import and Export in the BricsCAD® article.
Procedure: importing a Revit file as a solid in BricsCAD
- Open a new BricsCAD® file.
- Set the RVTLEVELOFDETAIL system variable value which
determines the elements' level of detail during RVT import. The default value is
Fine.
Set the RVTVALIDATEBREP system variable value which enables/disables BREP geometry validation. The default value is Enabled
Important: Only experienced users are encouraged to use other settings than the default ones. They have to be aware of how the incoming geometries have been set out in terms of Detail Levels within the Family Elements Visibility Settings in Revit. - Type Import in the Command line and press Enter or click the BricsCAD® icon in the ribbon and select Import to launch the IMPORT command.
- The Import File dialog box pops up. Select Revit Project (*.rvt) in Files of type, select the file you want to import from your folder and click Open.
- You are prompted: Choose elements [All/by Views/by
Categories/by Levels/by WorkSets]:
There are different filters to import a file. Select the filter you want to use by clicking your desired option in the Command line or by typing their respective letters in bold.
- All
All elements present within the RVT file will be imported.
- by Views
Select a view from the View Import dialog box and the elements will be imported based on the view’s Visibility/Graphics Overrides settings in Revit. The views are structured based on their View Types.
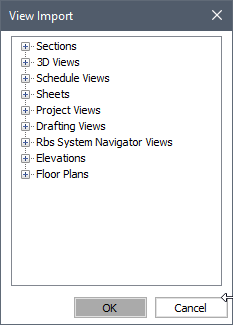
You can expand any relevant or applicable View Type category for the specific views. If the 3D Views category is expanded, it looks like this:
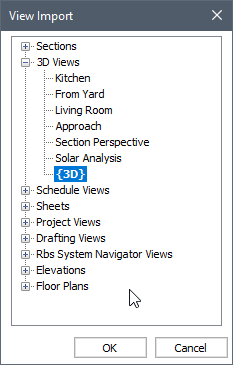 Note: The Revit 3D views are imported as BricsCAD® Named Views. A Revit Project has several 3D Views defined which have several attributes like camera position, view type (perspective / orthogonal), Scale (Zoom Level) etc.Note: Layer states are created to control visibility of elements in a generated section. Sections imported, both plan and elevation, are now in volume state.Note: Importing elements via a 2D view, i.e. Floor Plans etc., only brings elements that are made visible in the Visibility/Graphic Overrides in the Revit model settings for that particular view. It does not necessarily bring elements hosted onto its corresponding level, if they are made hidden on the plan view.
 - by Categories
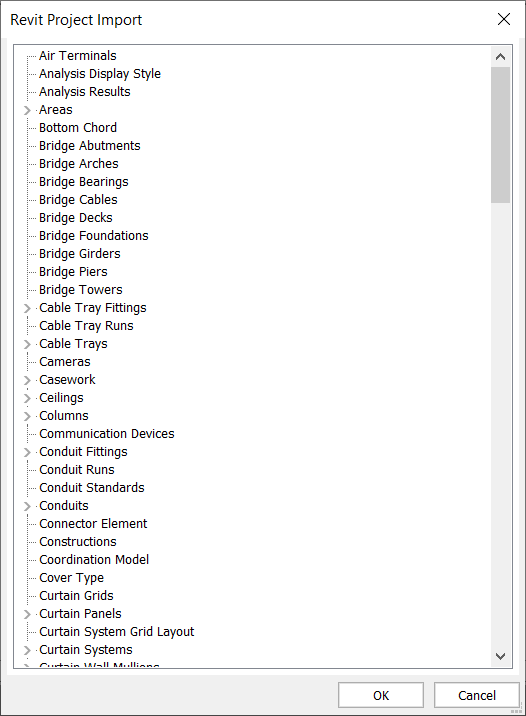
You can select one or multiple built-in Categories and Element Types from the Revit Project Import dialog box. Elements of those chosen categories and element types will be imported.
- by Levels
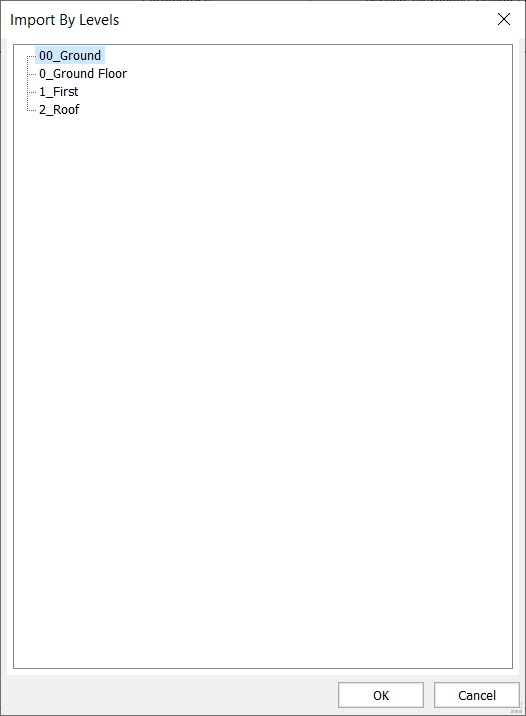
You can select one or multiple levels from the Import By Levels dialog box. Elements hosted to the chosen levels will be imported.
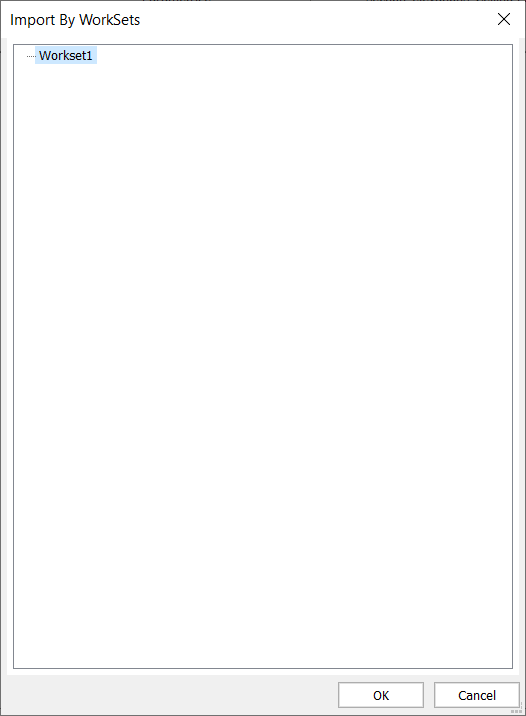
- by WorkSets
You can select one or multiple worksets from the Import By Worksets dialog box.
This method of importing works best on a workshared Revit model. It is recommended that you import a Central Model to ensure you are importing the latest information in the worksets. Detaching the Central Model is optional.
If you import a non-workshared Revit model, only Workset1 is available.
If you import a workshared Revit model, either Central or Local, the User-Created worksets within the model will be available in the dialog. The elements which belong to this workset will be imported.
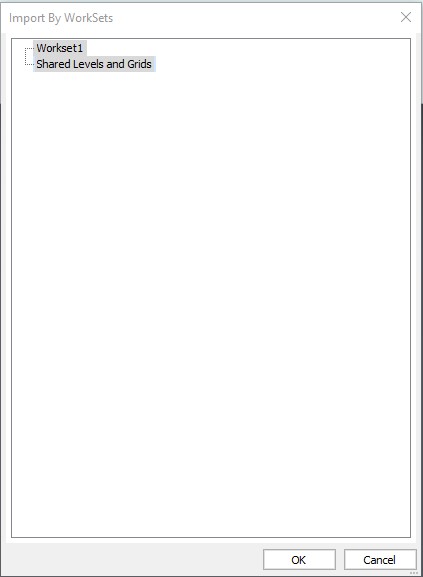
Note: The Shared Levels and Grids and Workset1 worksets are created in Revit by default when Worksharing is enabled and can be managed by the Revit user.
- All
- If you have chosen to import by view, the Detail Level of the selected view set in Revit will be used.
- For the rest of the other options, the import is controlled by the values of the RVTLEVELOFDETAIL and RVTVALIDATEBREP system variables.
- Select the View, Categories, Levels or WorkSets you want to import and click
OK. The RVT file will be imported as 3D solid
geometries with their BIM classification, materials, compositions,
etc.
Composition data imported:
- Wall, Slab, Roof.
- Family Instances with structure material parameter (from tested RVTs, these can be Beams and Columns).
- Plies - including Physical Material, Function, Thickness
- For Physical Materials, appearances (Custom Hatches) are extracted into
individual .PAT files
- .PAT files are added under "RvtPatterns" folder in Support folder
- Setting the reference face for Walls (before composition is assigned)
Note: Some of Revit’s system families, such as walls and floors etc., are imported into BricsCAD® as 3D solids, where you can further manipulate their geometries directly. This also applies to Model-In-Place components and Element Types, such as Fascias, that can be defined geometrically by a Profile.However, other system families designed with in-built constraints, i.e. stairs and curtain walls etc. are imported in BricsCAD® as separate Block References. For example, Curtain Panel and Curtain Wall Mullion Types, which make up a Curtain Wall Type in Revit, will exist as separate Block References. This also applies to all other loadable families, like furniture, placed within the Revit model. For more information, please visit the article on Working with Blocks.
Importing a Revit family in BricsCAD®
Please refer to the article Importing Revit RFA Families in BricsCAD for more information.
Texture and graphics of the imported geometries
Although project information and element metadata in a Revit model are brought into BricsCAD®, there are some settings to make the imported 3D solids appearances correspond to the original graphics set in the Revit.
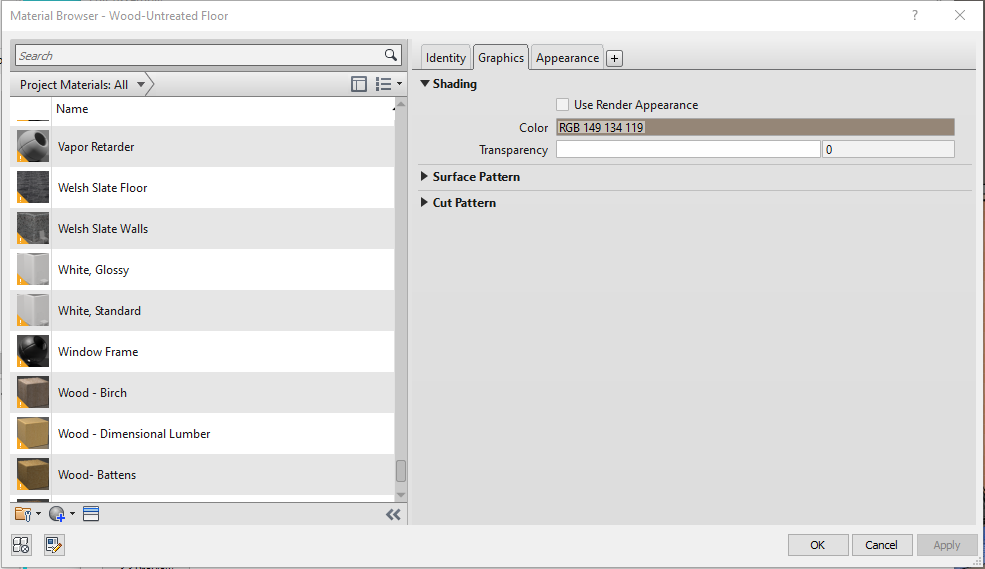
To retain the consistency of the graphical information during the import process, ensure your RGB color and transparency settings set in Revit’s Material Browser are set to your desired values.
In the example below, the values taken will be RGB 149 134 119 and 0 (%) for the colors and transparency values respectively.
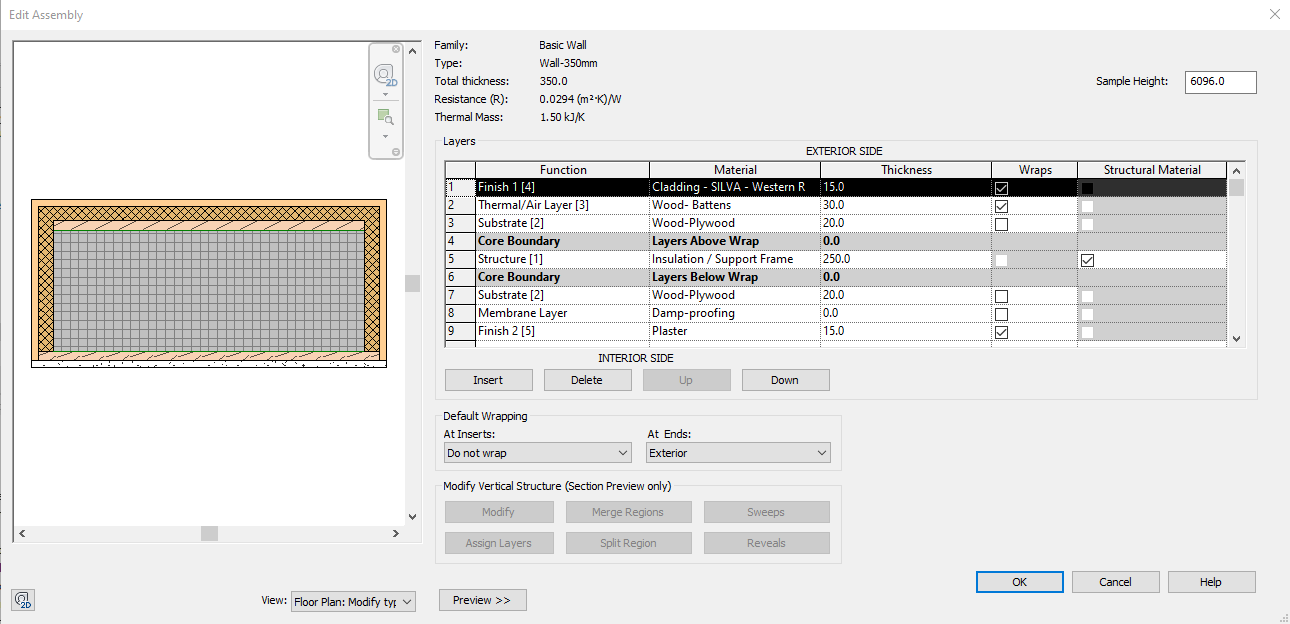
If the imported element is a Revit System Family with the ability to define its structure assembly, i.e. Wall Type, and is made up of various layers of materials or functions, BricsCAD® applies the color template values from the outermost materials (on both the Exterior and Interior sides) accordingly to the corresponding geometry’s faces.
Let's take an example from the illustration below, the values will be derived from the materials assigned on Layers 1 and 9, which are Cladding... and Plaster respectively.
Otherwise, BricsCAD® applies the color value and the transparency settings, if applicable, to the 3D solid, replacing the respective parts of the Revit Family. This also applies to those Loadable Families and Components, having loaded into the imported Revit project.