Creating roofs in BricsCAD Shape
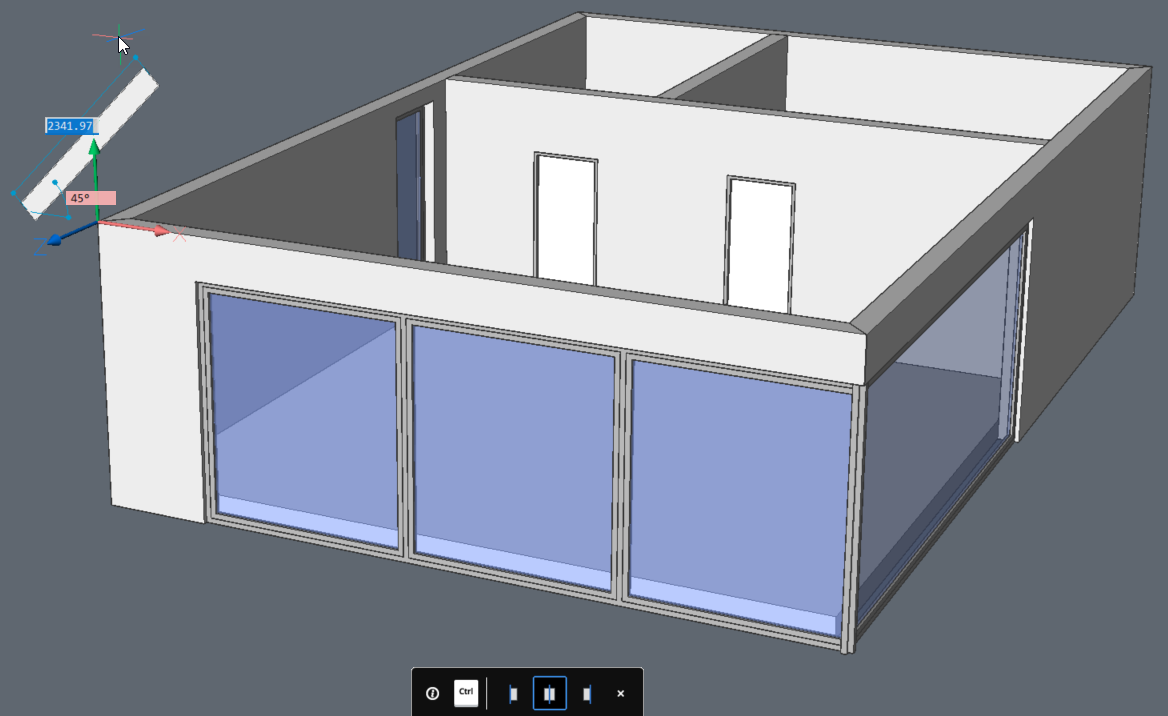
Launch the POLYSOLID command through the toolbar or the "No selection" Quad.
- To align the drawing plane to the wall surface, press the
SHIFT button while hovering over the wall surface.
The alignment of the slab can be changed by pressing the
CRTL button.

- Pick an origin point to start drawing.
- To lock the inclination, press TAB until the dynamic dimension of the
inclination turns blue. Enter a value and press Enter.
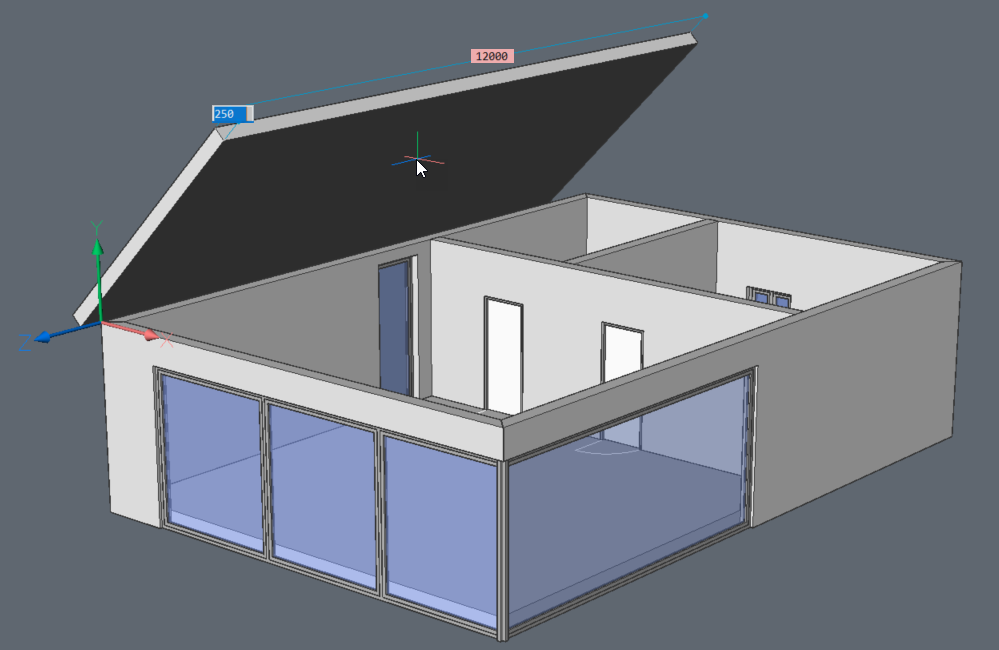
- The profile thickness can be changes by pressing the TAB key and entering the
desired value.
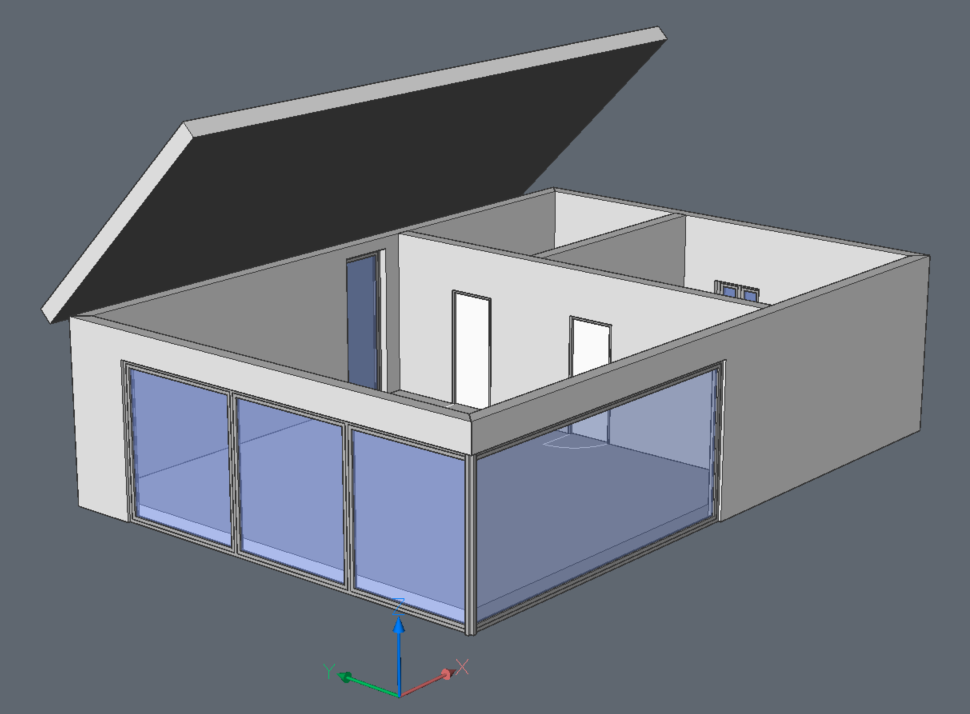
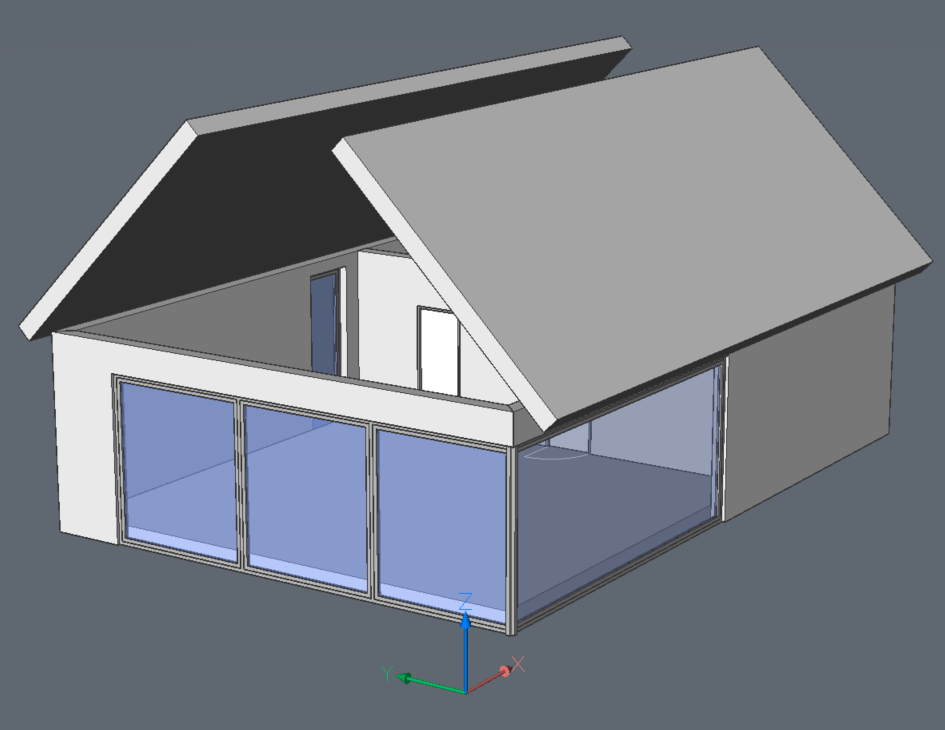
- Repeat the same process on the other side of the building. Another way to have
identical slabs on both sides is by 3D mirroring the first slab.
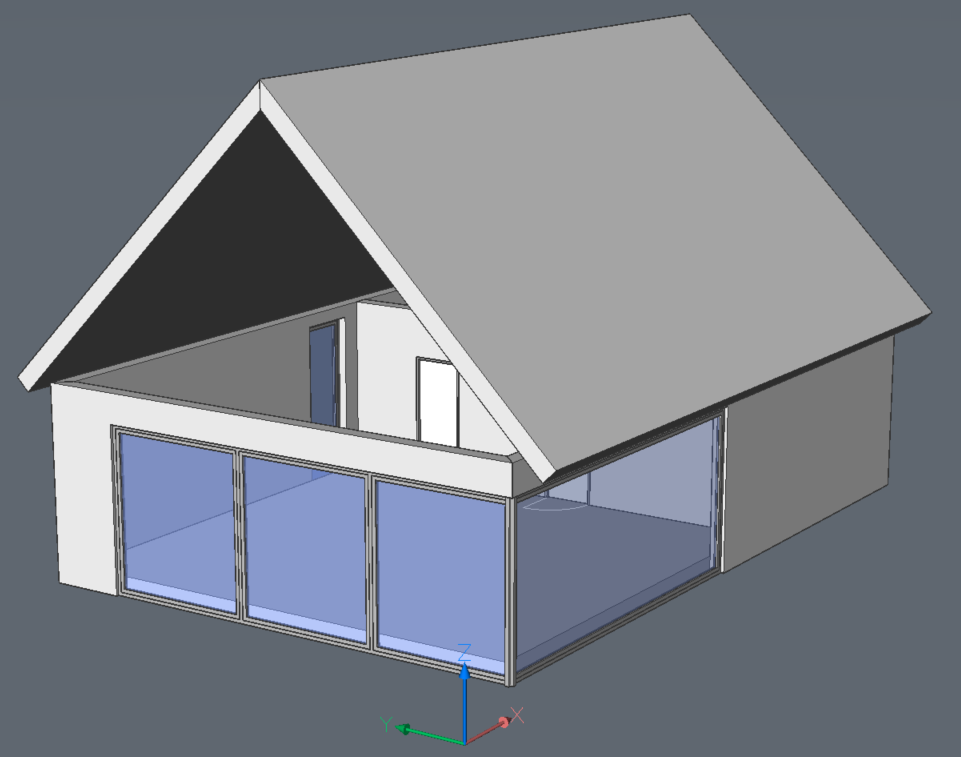
- Access the L connect tool to connect both slabs.
- To connect the walls to the roof, select one of the top surfaces of a wall.
Through the Quad, the Select aligned faces option can be
accessed in the Select tab.
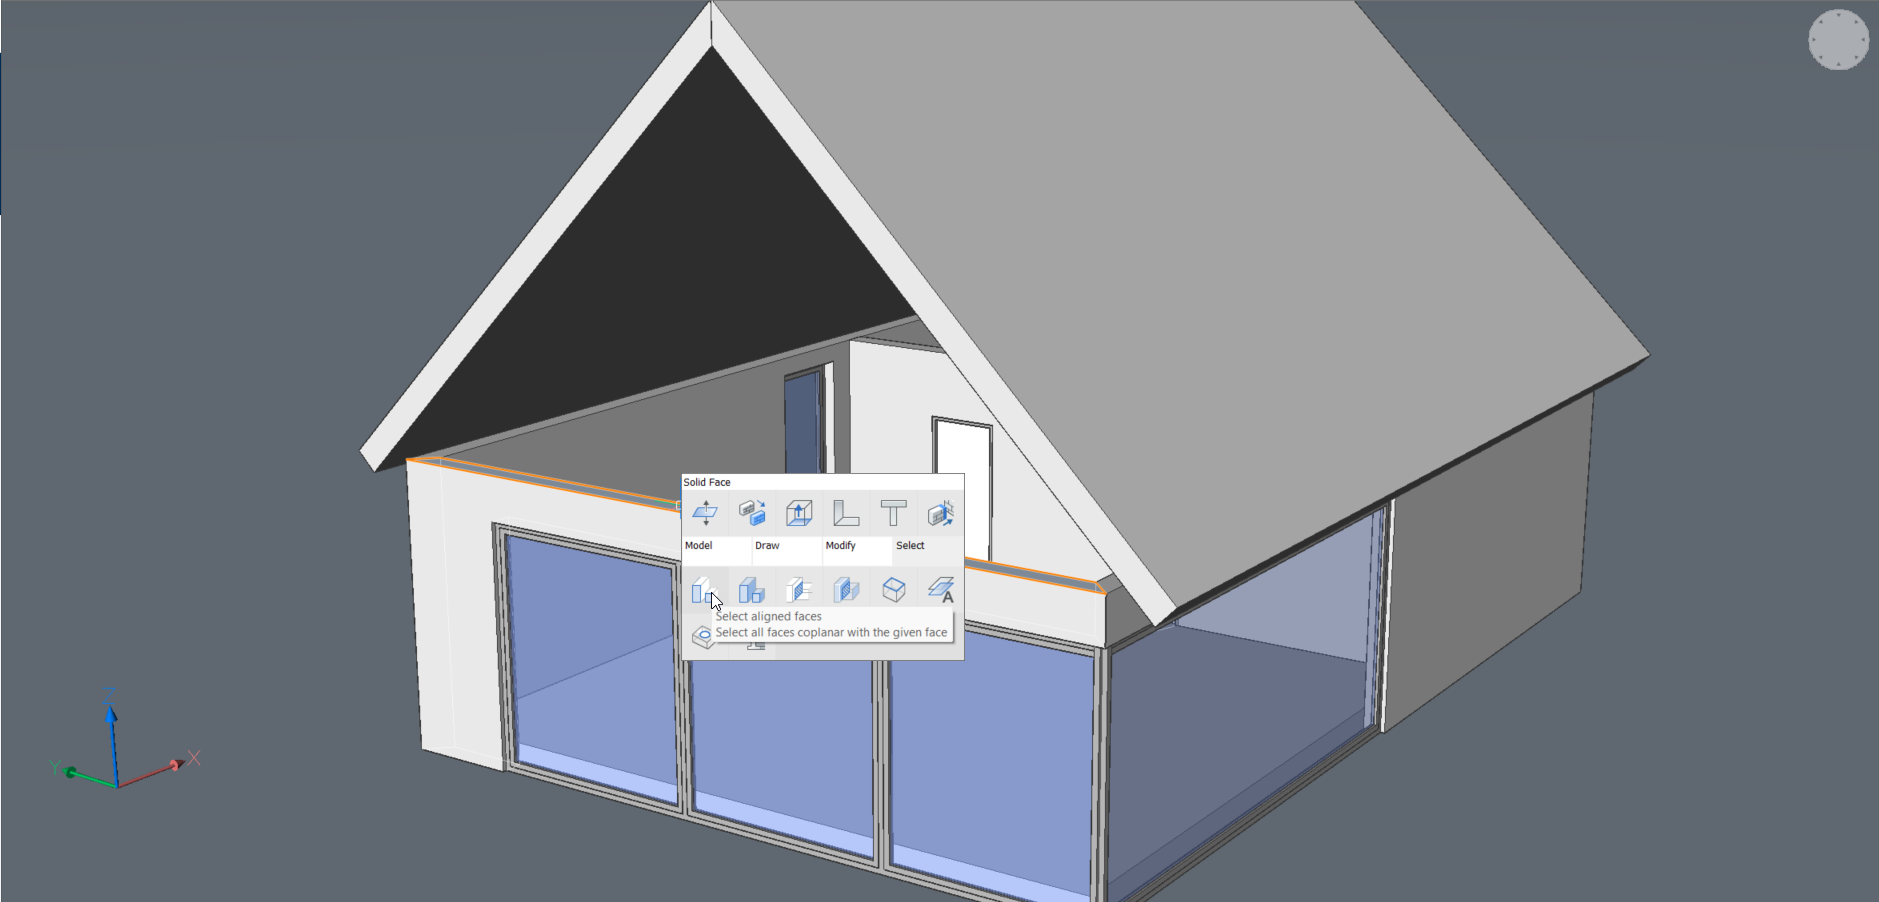
- Once the top surfaces are selected, the Connect with
nearest command can be accessed through the Quad in the
Model tab. Walls are extended up to the roof.