Spot elevation level
Command
BIMTAG
About
The Spot Elevation tag displays the absolute elevation of a selected point of a BIM object displayed in a section view, based on the World Coordinate System (WCS).
As the Spot Elevation tag is an associative tag type, it can only be used in the paper space of a drawing sheet.
For more information on how to set up Sheets and create Projects, please visit the Project Browser article.
Procedure: how to place a spot elevation tag on a section sheet
- Open a section sheet of the model. Right-click on the section in the Project Browser and select Display View.
- Type BIMTAG in the Command line or click on tag in the Draw menu of the Quad.
- You are prompted: [Manual/selection options (?)]
Type Mt o choose Manual and press Enter.
- You are prompted: [Auto/Current mleader style/change Tag type]
Type T to change the Tag type and press Enter.
- You are prompted: [Tag/cOmposition/Load-bearing directions/Spot-elevation]
Type Sto choose Spot-elevation and press Enter.
- Click on a point on the edge of a BIM object to display the elevation height. The displayed value is the elevation level measured relative to level 0 of the model.Note: You can select any point of the edge of a BIM object. Turn off ESNAP if you don’t only want to select snapping points.
- When there are several tags possible on the location where you place the tag, hit CTRL to scroll through the different options while the Hotkey Assistant (HKA) appears at the bottom of the screen.
- Move your cursor in order to adjust the position of the tag and left-click to place the tag.
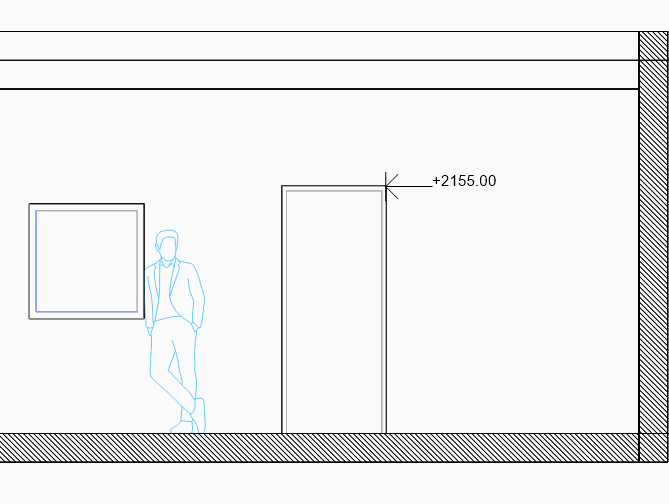
Note: The spot elevation level is a non-dynamic value. When you move the tag, the value does not always change along. The moment you move a tag that will not be updated, you can see the tag value becomes dissociated in the Command line.
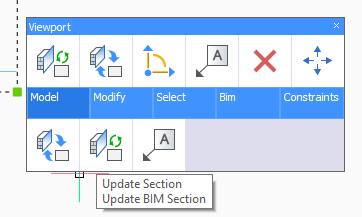
- Update the section to make sure the right values are displayed. Select the section, open the Quad and click on Update Section in the Model tab.Note: If the tag has been displaced, it may behave irrationally or haphazardly by either turning red or omitting its value, as illustrated below:
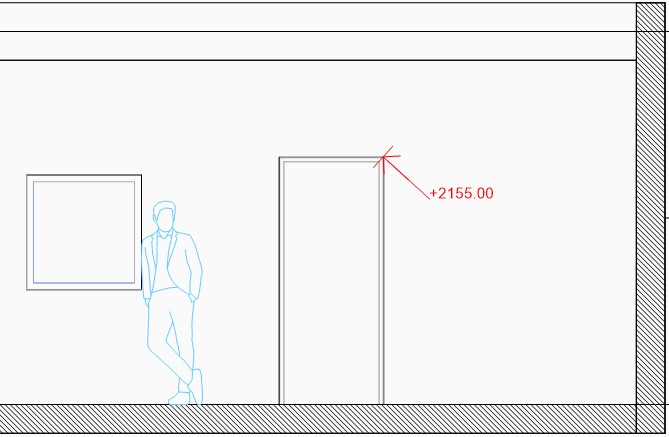
Tag turned red after displacing the arrowhead of the leader and updating the section.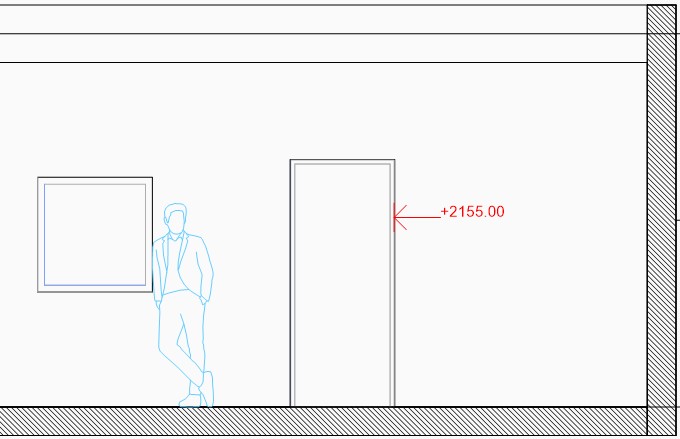
Tag turned red after displacing the entire tag and updating the section.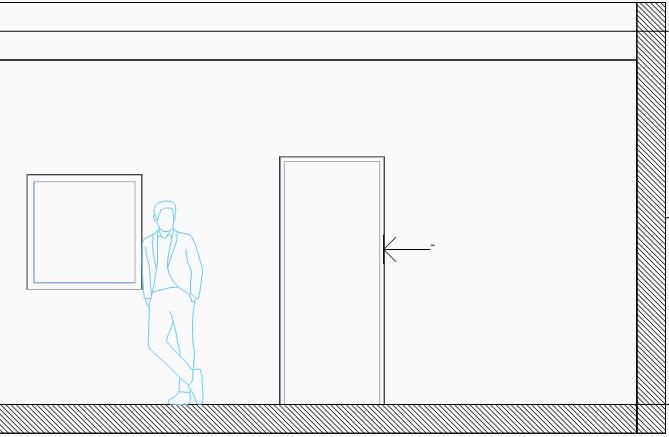
Tag value disappeared after displacing the tag and updating the section.
Procedure: how to place a spot elevation tag on an elevation sheet
- Open an elevation sheet of the model. Right-click on the elevation sheet in the Project Browser and select Display View.
- Type BIMTAG in the Command line,or click on Tag in the Model menu of the Quad.
- You will be prompted: [Manual/selection options (?)]
Type M to choose Manual and press Enter.
- Later, you will be prompted: [Auto/Current mleader style/change Tag type]
Type T to change the Tag type and press Enter.
- Finally, you will be prompted: [Tag/cOmposition/Load-bearing directions/Spot-elevation]
Type S to choose Spot-elevation and press Enter.
- Click on a point on the edge of a BIM object to display the elevation height. The displayed value is the absolute elevation level measured relative to Floor 0 of the model.Note: You can select any point of the edge of a BIM object. Turn off ESNAP if you don’t only want to select snapping points.
- When there are several tags possible on the location where you place the tag, hit CTRL to scroll through the different options while the HotKey Assistant (HKA) appears at the bottom of the screen.
- Move your cursor in order to adjust the position of the tag and left-click to place the tag.
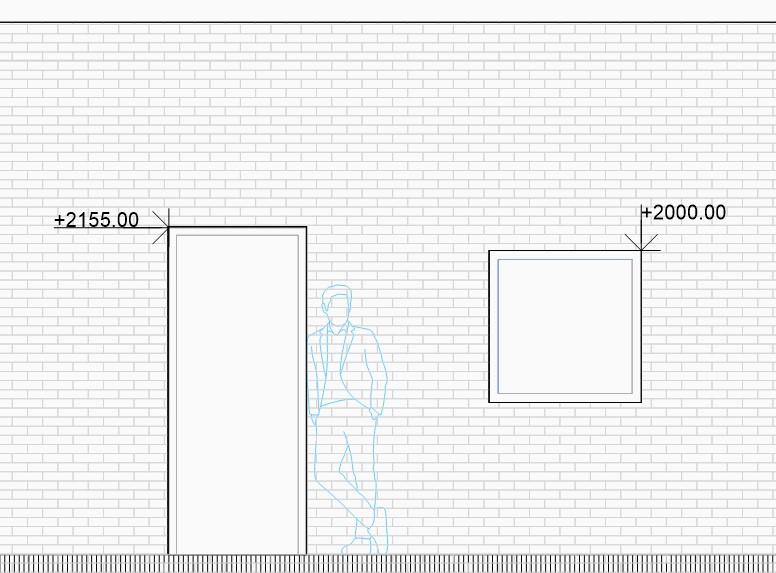
Note: The spot elevation level is a non-dynamic value. When you move the tag, the value does not always change along. The moment you move a tag that will not be updated, you can see the tag value is dissociated in the Command line.
- Update the section to make sure the right values are displayed. Select the section, open the Quad and click on Update Section in the Model tab.The tag should not behave irrationally or haphazardly by either turning red or omitting its value when it's displaced.
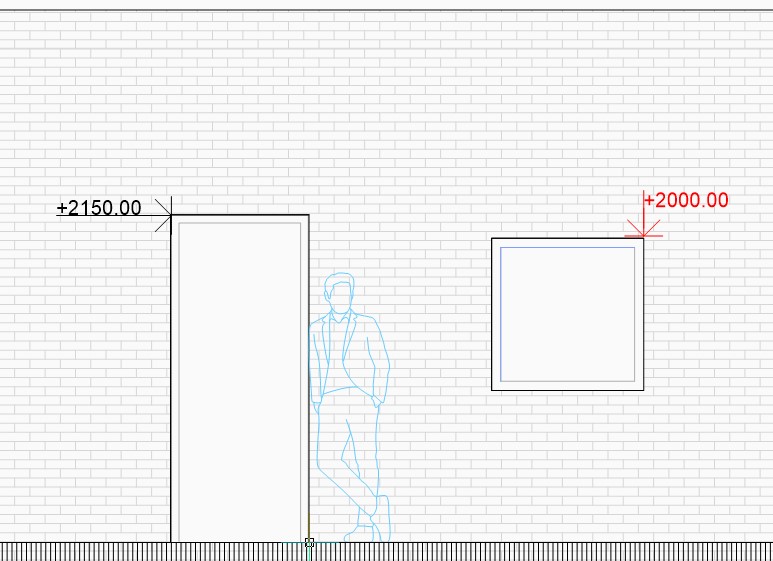
Tag turned red after displacing the arrowhead of the leader and updating the section.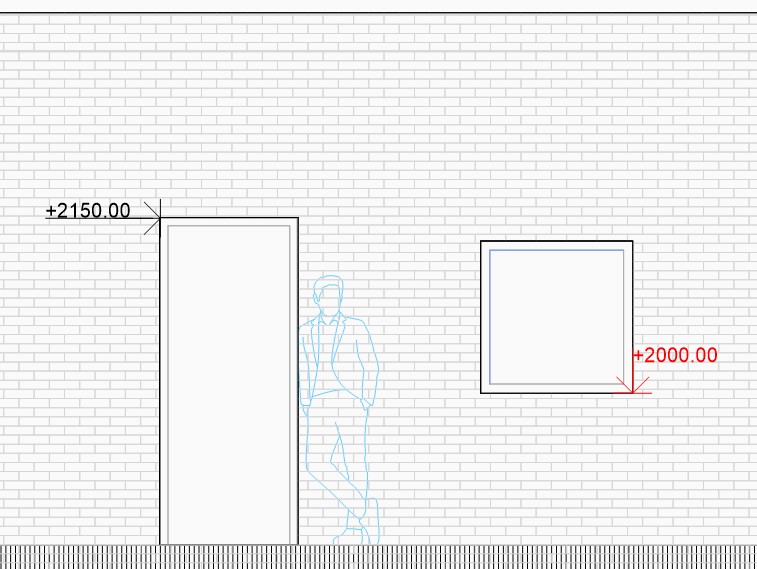
Tag turned red after displacing the entire tag and updating the section.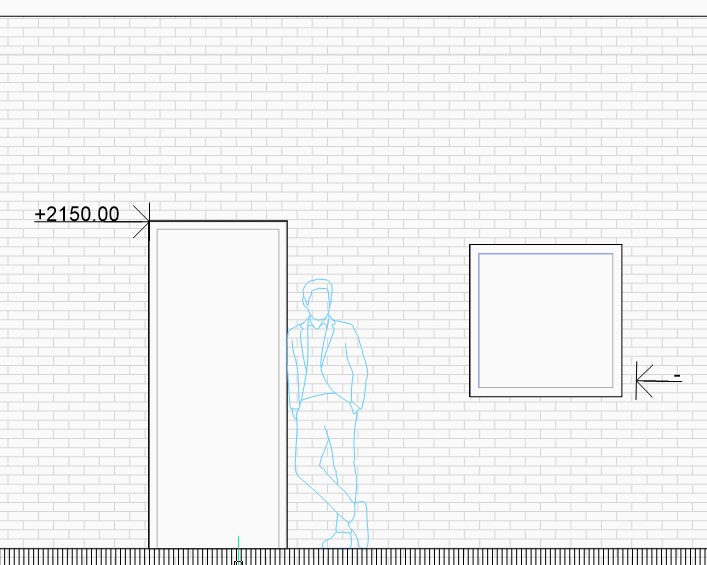
Tag value disappeared after displacing the tag and updating the section.
Procedure: placing spot elevation level tags on floor plans or reflected ceiling plans
- Open a floor plan or a reflected ceiling plan from the Project Browser.
- Go through step 2-7 of 'How to place spot elevation level tag in a section sheet'.
- In a floor or ceiling plan, there are 2 different tags possible.
- With MLeaderThis annotation tag type, which illustrates with a leader line, is also normally used in the section or elevation sheets. You can use this tag on entities that do not reach or aligned to the floor/ceiling level, such as a window sill in the picture below.
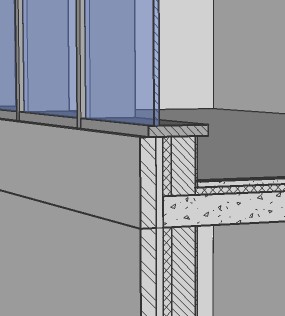
Spot elevation level tag on window sill level which is not on floor level.
- Without MLeaderThis tag has a different layout to the tags found in the elevation or section sheets. This tag appears when you place a spot elevation tag on entities that reaches the floor/ceiling plane, thereby displaying the elevation level of the floor plane.
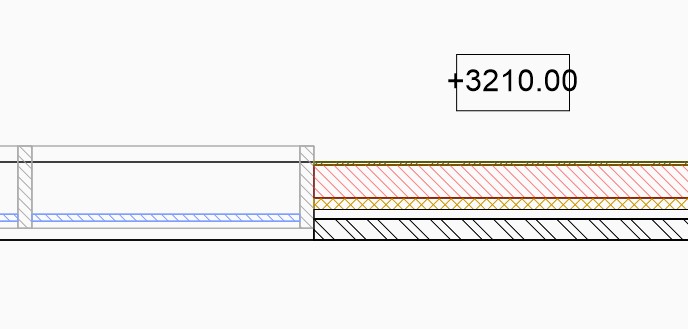
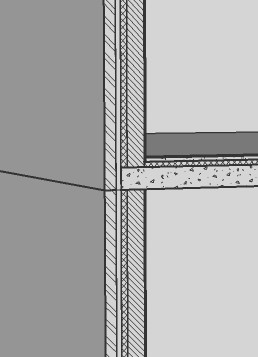
Spot elevation level tag on wall that reaches till the floor slab.
- With MLeader
- When placing a tag on a wall in plan view, you may encounter different results for different plies of the wall. This is due to how elevation levels are measured In BricsCAD. When placing a spot elevation tag on an entity in plan view, it refers to the elevation value of the lower level of the entity's ply, if applicable. Similarly, when you place a tag on a ceiling plan, the upper level of the ply is measured. Since plies of a wall may differ in their lengths based on how they are designed at detail junctions, the spot elevation tag value may differ according to the ply you have selected.
- Construction detail with unedited pliesThe interior and exterior plies have the same length. All the spot elevation tags you place on this wall in plan view will therefore display the same value.
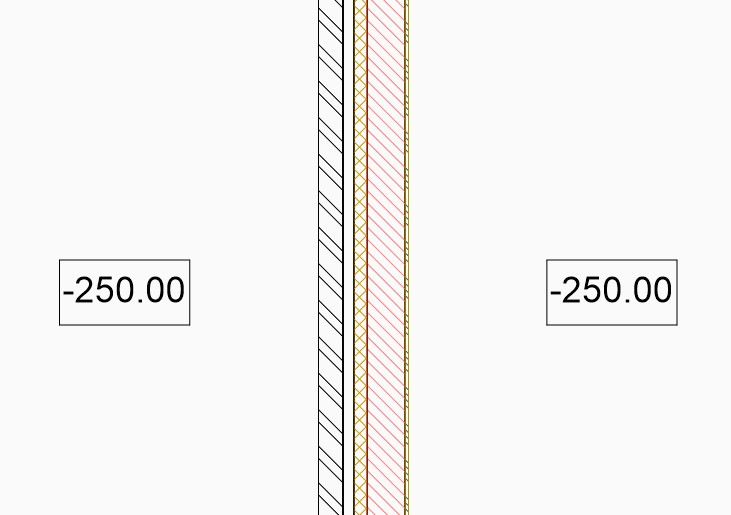
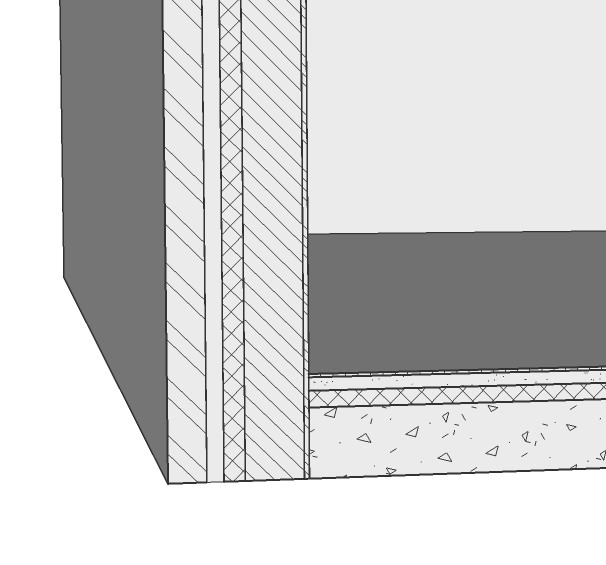
Note: The value is -250 instead of 0 because Floor 0 is defined as the level of the upper side of the ground floor in this model. - Edited construction detailIf you have adjusted how the wall would connect to a floor slab based how it would be constructed, the plies of the wall will therefore have different lengths. Depending on which ply you select to place the spot elevation level tag, a different value will be displayed.
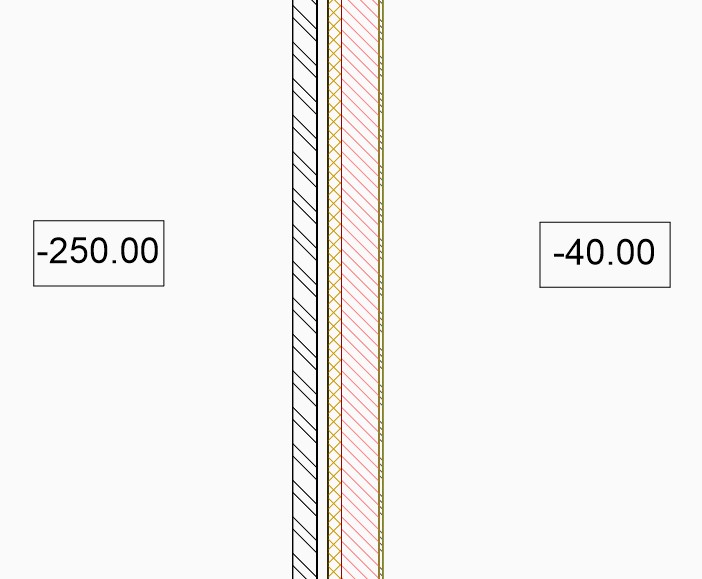
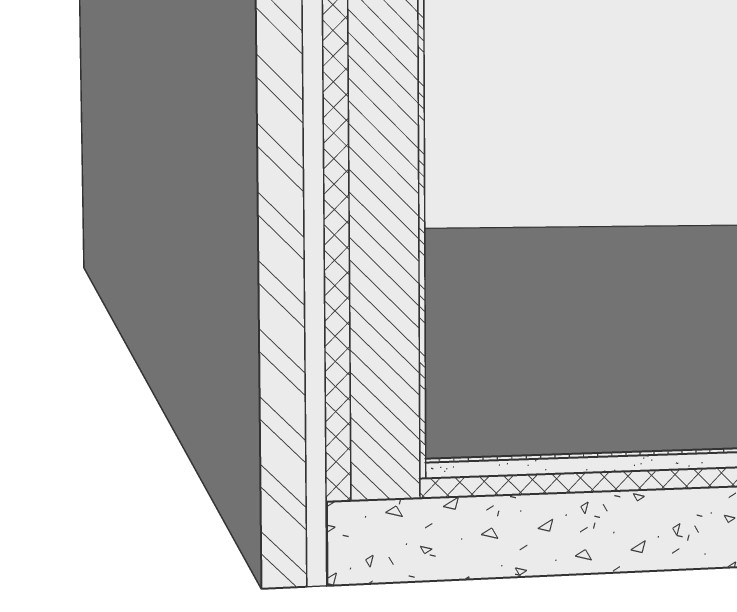
Elevation level of interior ply is higher because ply does not reach till the base level of the floor.
- Construction detail with unedited plies
Procedure: adjusting the layout of the tag
- Double-click on the value of the spot elevation tag to adjust the layout. A dialog box will pop-up where you can edit the attributes.
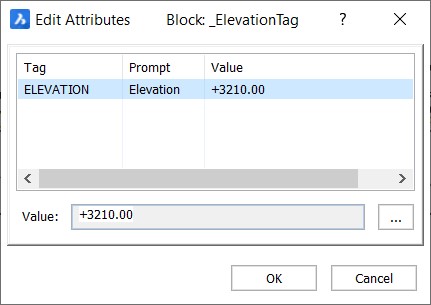
- Click on the three dots to open the Text Formatting dialog box.

- Here you can edit the attributes of the displayed value of the spot elevation level tag. You can put prefixes and/or suffixes to the values, e.g. FFL, SSL, to better illustrate the levels you are referring to.
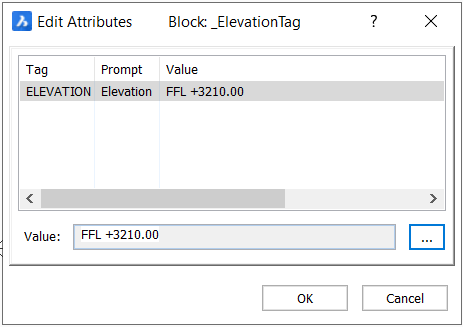

- If the prefixes and/or suffixes are commonly used, you can create or edit the tag blocks so you do not have to repeat Step 3. For more info, visit the command article BEDIT.
- For a detailed explanation about attributes, visit the command article MText.
Procedure: adjusting the layout of the leader
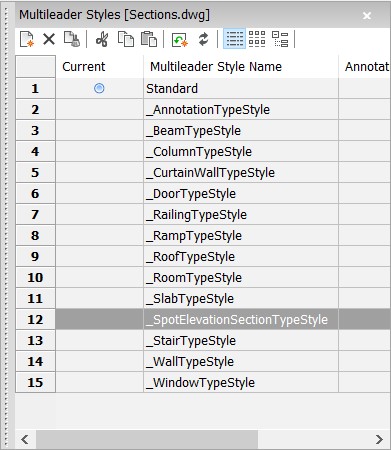
- Type MLEADERSTYLE in the Command line and press Enter. The Drawing Explorer dialog box will pop-up where you can adjust the layout of the leader.
- Click on SpotElevationSectionTypeStyle in the Multileader Styles dialog box.
- You can edit the settings of the leader in the Edit MLeader Style dialog box. For more info about the MLeader style settings, visit the article MLeaderStyle.
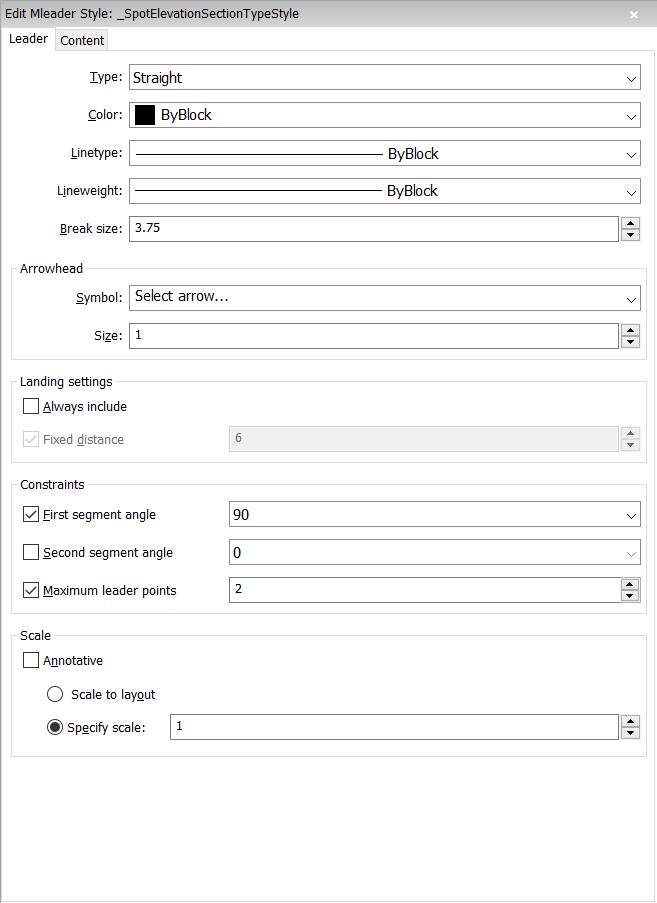
- After adjusting the settings, click on regen, close the Drawing Explorer and update the section to load the new settings.Note: If the new settings don’t load, type BIMTAG in the Command line, select the viewport, click R to select Regenerate All and press Enter to load the new settings.
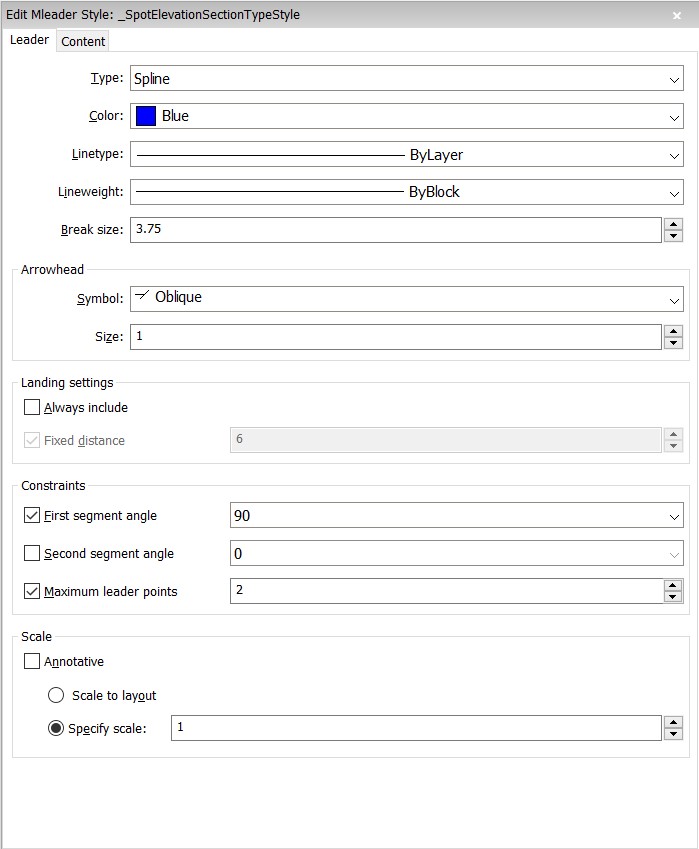
New Settings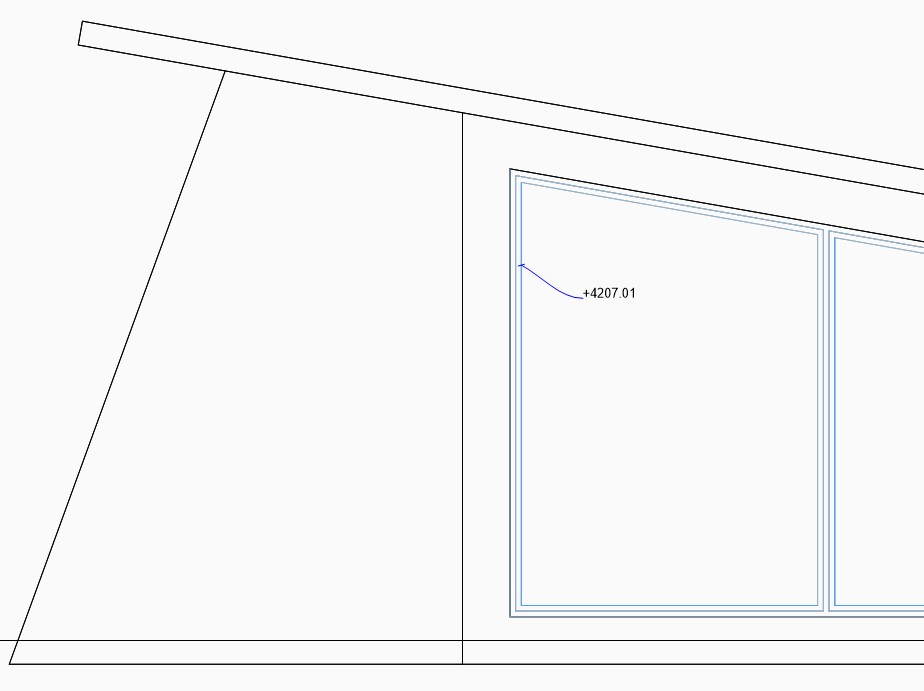
Resulting BimTag

