Creating user-defined attributes for Civil points
Creating a user-defined attribute
- Launch the CIVILPOINTATTRIBUTES command.
- Select the Civil points in the drawing to which you want to add a user attribute.
- Select the Add attribute option in the Command line.
- Enter the attribute key (attribute name).
- Enter the attribute value.
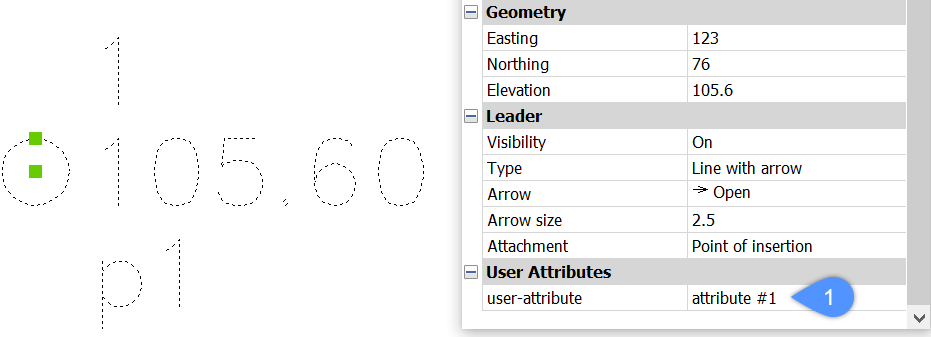
Note: The new user attribute is listed in the Civil point Properties panel (1). You can also edit the attribute value here.

Displaying a user-defined attribute on selected Civil points in a drawing
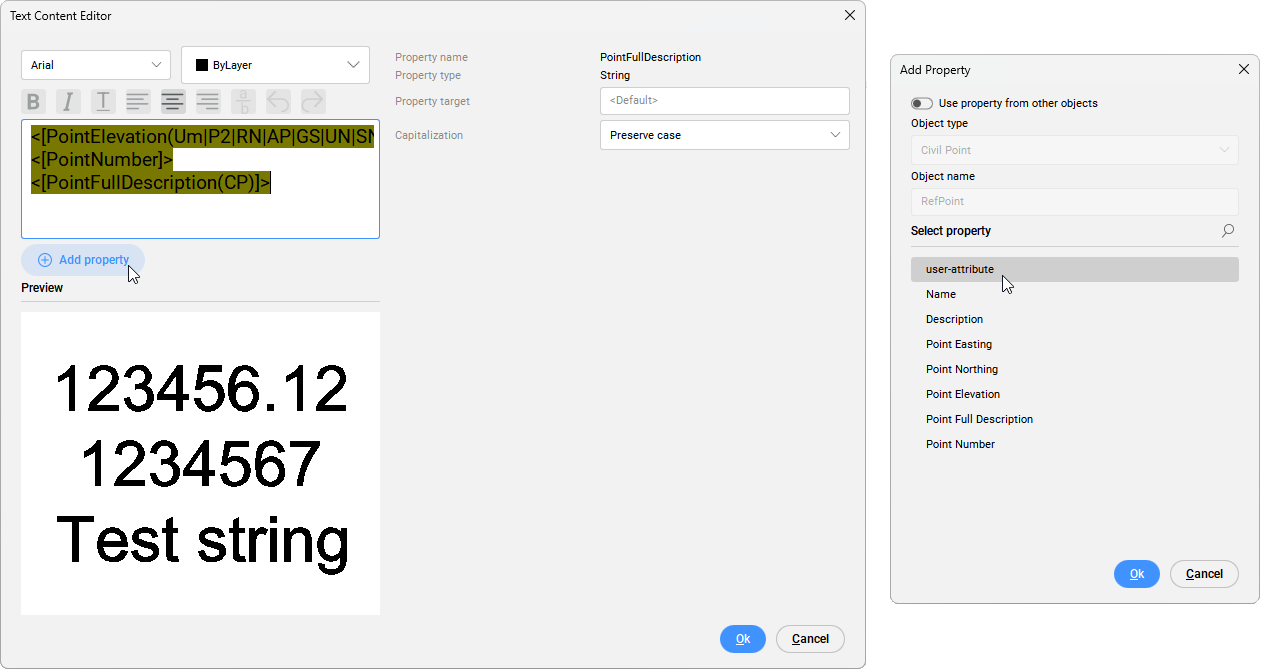
This section describes the procedure to add a new user attribute (attribute name: user-attribute) to an existing Civil point Label Style. You can add the user attribute to a new user Label Style in the same way.
Note: Steps of creating a user-defined Label style or editing an existing one is described in the article Working with Symbols and Labels. The content of the Label Style Editor is described in the article Label Style Editor dialog box.
To add a user-defined attribute on selected Civil points:
- Go to Civil Explorer panel and select Settings tab.
- Under Civil Points, extend Label Styles and select the style you want to edit. Right-click the style and select Edit option.
- In Label Style Editor dialog box go to Components tab and select Edit button to open Text Content Editor dialog box.
- In Text Content Editor dialog box select Add property button. Select a property you wish to add and select Ok.
 Note: In Add property dialog box you can select Civil Point properties as well as use properties from another object (Surface, Horizontal Alignment and Vertical Alignment). For more details, see the Text Content Editor dialog box article.
Displaying Properties from other Civil objects in Civil points
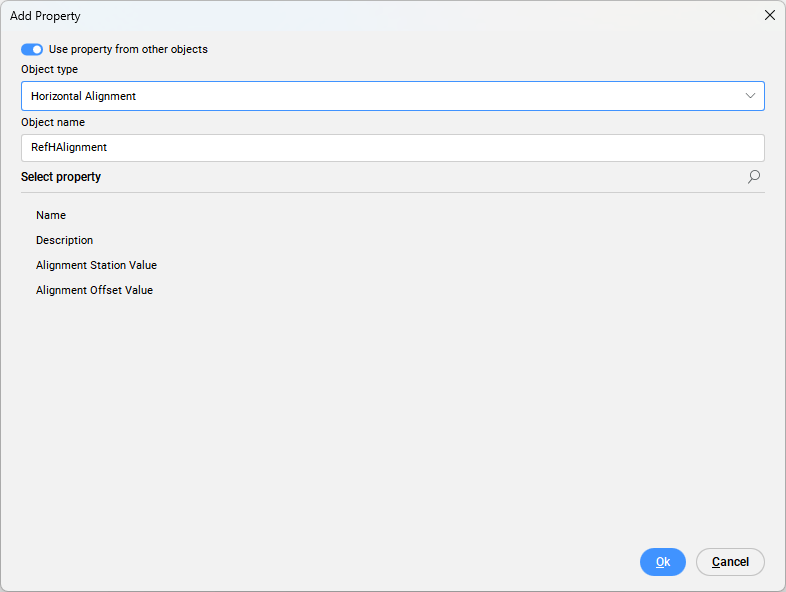
- In the Add Property dialog box, toggle ON the Use property from other objects option.
- Select the Civil object type.
- Type the object name.
- Select the property of the selected Civil object to be displayed in the Civil points labels.
- Click OK button in the Add Property dialog box.

- Click the Ok button in the Text Content Editor dialog box.
- Click the Ok button in the Label Style Editor dialog box.
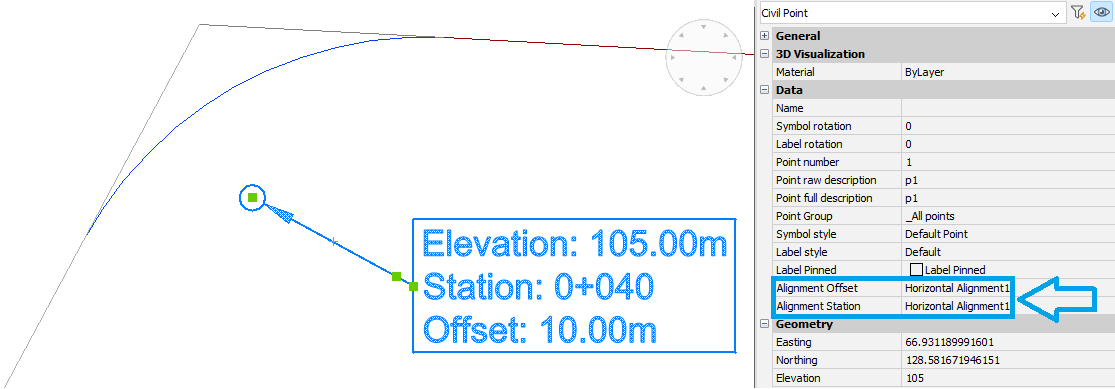
- Select Civil points in a drawing and open Properties panel.
- In the Properties panel, select the appropriate Civil objects to read the property values and display them in a Civil point Label style.
The example below shows the display of the Station and the Offset of the Civil point from the Alignment named Horizontal Alignment1.


