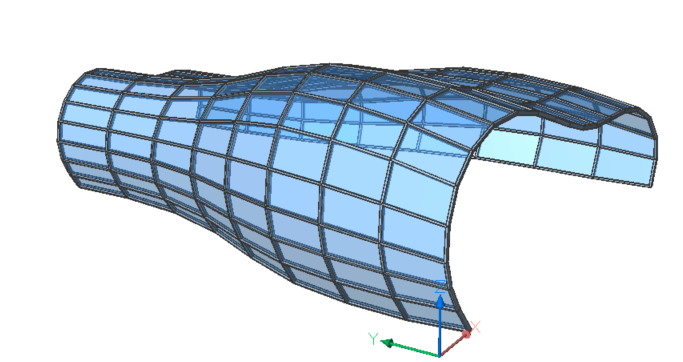
Curtain wall
Commands
BIMCURTAINWALL
About

- Curtain walls can be created from any planar and curved surface.
- Window Frames are placed on a BIM Grid when creating a Curtain Wall.
- Changing the U-line and V-line panel options allows you to specify the desired size and number of panels on the planar or curved surface.
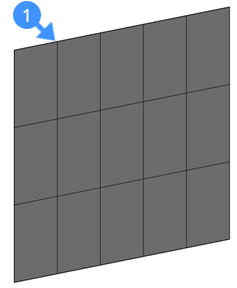
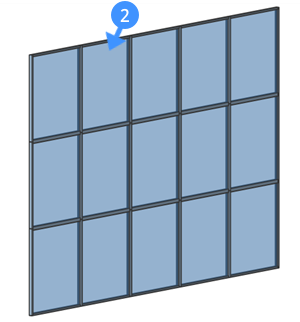
Figure 1, Curtainwall grid (1).
Figure 2, Curtainwall with glazing (2).
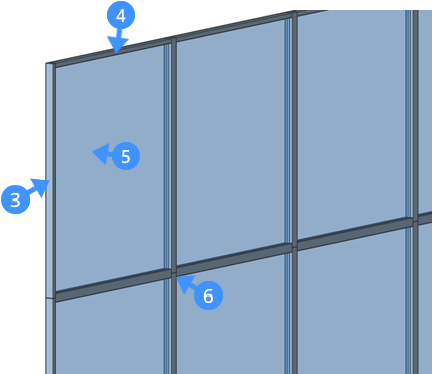
Figure 3, A curtain wall. The frame that coincides with the grid vertical (U) panels (3), the frame that coincides with the grid horizontal (V) panels (4), and glass in-fill (5) are shown. By default, the straight connection (6) is made between the beams.
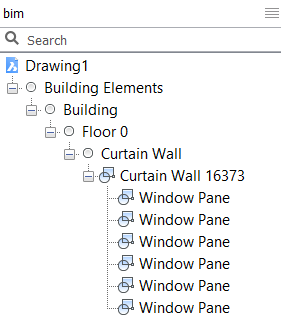
Curtain walls are automatically classified as a Curtain wall in the Structure browser.
If you explode the Curtain wall, the sub-entities are classified as windows and as frames. The frames are linear solids. This allows you to calculate the length of a curtain wall.
Procedure: creating a curtain wall
- Launch the BIMCURTAINWALL command in the Command line.
You are prompted: Select a face:
- Select a face in the drawing area to create a curtain wall.
The curtain wall grid is automatically generated on this face.
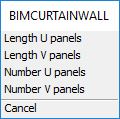
You are prompted: Create grid or [Lenght U panels/Length V panels/Number U panels/Number V panels]:
- Change the length of the U or V panels and number of U or V panels using the prompt menu and the Command line.
Or, if Dynamic dimension (DYN) is on, the length of the panels can be changed using the DYN fields (7).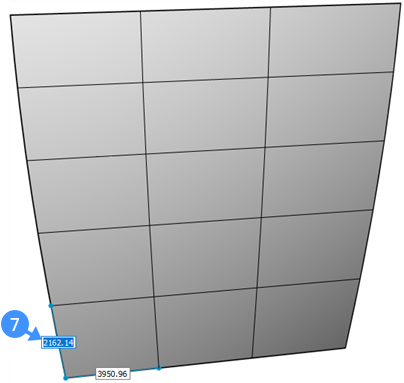
- Hit the TAB key to switch between dynamic dimension boxes.
Or Press Enter to accept the current value.
Note: The maximum deviation from planarity is displayed in the command line.Optional: If the value of the max deviation from planarity is different to "0", the prompt menu (8) will appear and the Command line prompts a message (9).

The prompt menu and the Command line allow you to planarize the grid cells.
Click "Yes" to planarize the grid cells. By default, the target deviation from planarity is set to "0.00001".
- Press Enter to accept the default value.
You are prompted: Change parameters or accept [Accept/Width/Depth/Glass thickness/Connections type] <Accept>:
The prompt menu: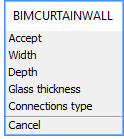
(Optional) To change the frame width, select the Width option in the prompt menu or type "W" in the Command line.
Default frame width = 60.000000
(Optional) To change the frame depth, select the Depth option in the prompt menu or type "D" in the Command line.
Default frame depth = 60.000000
(Optional) To change the glass thickness, select the Glass thickness option in the prompt menu or type "G" in the Command line.
Default glass thickness = 20.000000
(Optional) To choose a connection type between, select the Connections type option in the prompt menu or type "C" in the Command line. For smooth connections, select the Smooth connection option or type "S" in the Command line. For nodes connection, select the Nodes connection option or type "N" in the Command line.
The default connection is straight.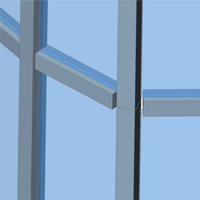
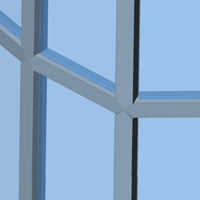
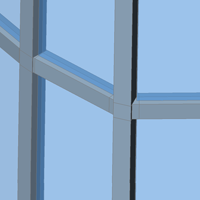
There are three types of connection. From left to right: Straight - Smooth - Nodes.
- Blue lines (10) appear on the face to show the side a curtain wall will be created.
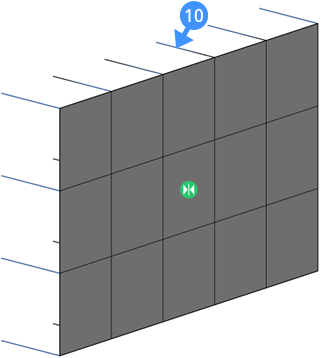
Note: Step 6 and step 7 are skipped when the face is selected from a solid. In this case the inside normal is chosen by default. - Use the widget (11) to flip the curtain wall.
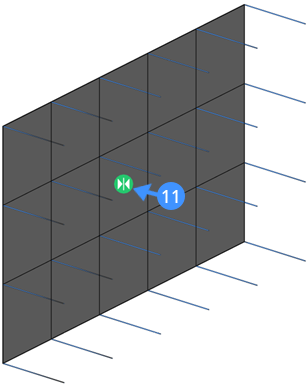
- Press Enter to accept.Note: The surface or solid used to create the curtain wall will be deleted by default. If you don't want this, set the DELOBJ value to '0' in Settings.
Procedure: Creating a curtain wall from a free form surface
- Start with 4 splines.
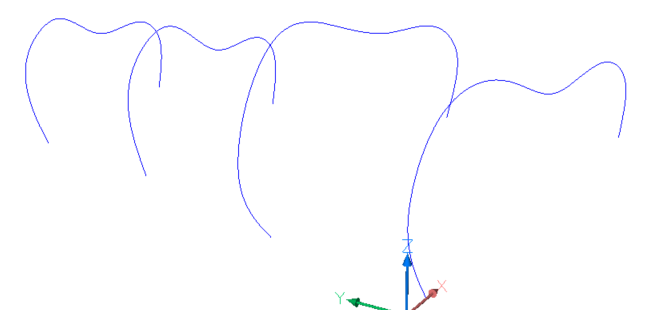
- Launch the LOFT command in the Command line.
You are prompted: Select cross-sections in lofting order [MOde]:
Select the 4 splines in lofting order.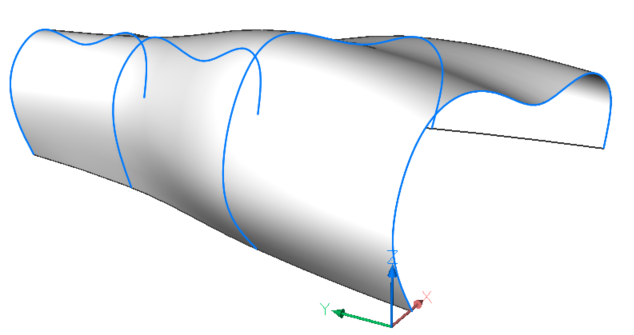
- Press Enter twice to end the command.
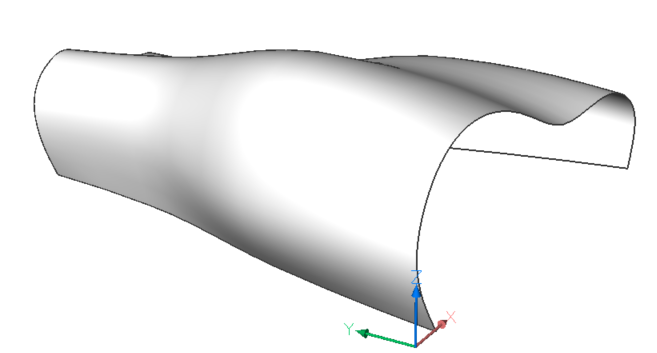
- Launch the BIMCURTAINWALL command in the Command line.
You are prompted: Select a face
Select the lofted surface.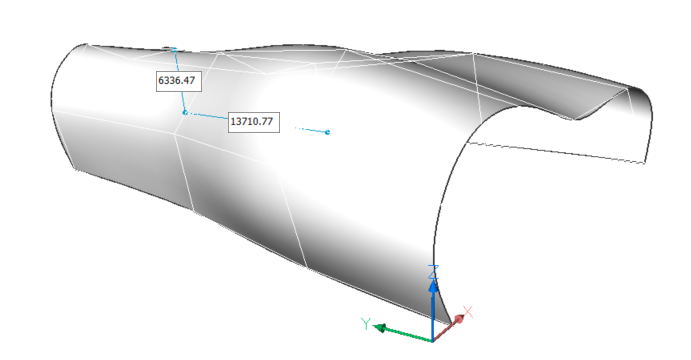
- A curtain wall grid is automatically generated from this surface.
You are prompted: Create grid or [Lenght U panels/ /Length V panels/Number U panels/Number V panels].
Change the number of the U and V panels in the prompt menu or the Command line. In this example: U = 20 and V = 8.
- You are prompted: Planarize [Yes/No] <Yes>
Click "Yes" to planarize the grid cells.
- You are prompted: Enter target deviation <0.00001>:
By default, the target deviation from planarity is set to "0.00001".
Press Enter to accept it.
- You are prompted: Change parameters or accept [Accept/Width/Depth/Glass thickness/Connections type] <Accept>: Change the parameters to:
- Width: 150
- Depth: 300
- Glass thickness: 20
- Connection type: Smooth
- Press Enter to accept. A curtain wall is created.
