Stair tool
About

For more information about this command, visit the Command reference article BIMSTAIR.
Creating a straight flight of stairs
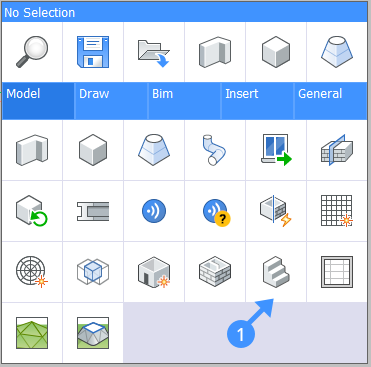
- Select the Stair tool from the Quad (1).
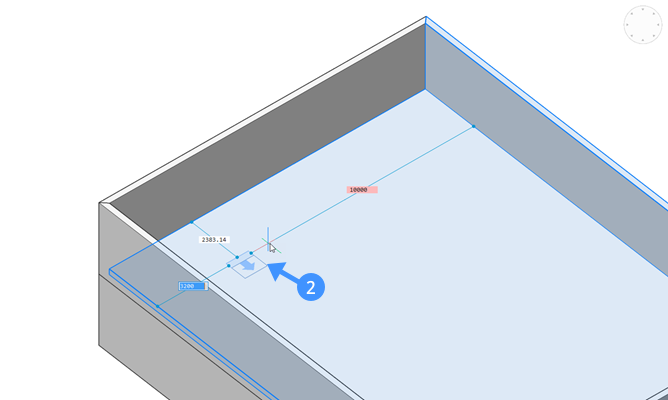
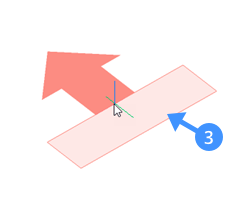
- Hover over a slab. The Stair Cursor will appear (2) and the slab on which the stair cursor hovers is highlighted. This indicates the position of the first step. If the position of the cursor is invalid, the cursor will turn red (3).
- To flip the direction of the first step, choose the Flip option or type F in the command line.
To turn the direction of the first step 90°, choose the Quarter-turn option or type Q.
To cycle through the different stair types, use the Ctrl key when the Hotkey Assistant is active.Note: The cursor will automatically flip or quarter-turn when it is positioned close to a wall or the edge of a slab. This auto-quarter-turning/flipping behavior is only active when the Automatically flip/quarter-turn option is activated. - Once the cursor is in position, left-click with the mouse. If the upper slab is blocking the
view, the slab will become transparent.
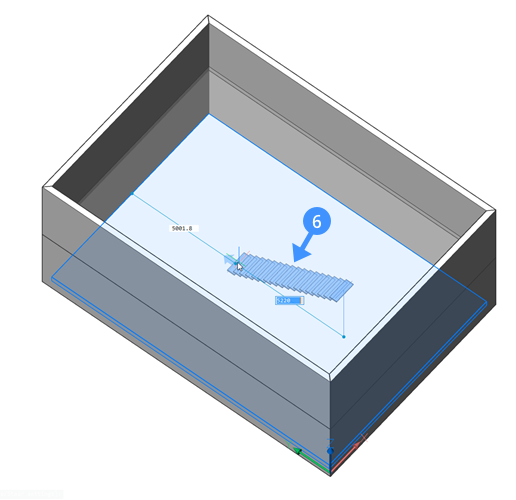
- To create a straight flight of stairs, align the mouse perpendicular to the first step.Note: A live preview of the flight of stairs to be created (blue) will follow the mouse dynamically (6). The Stair tool will automatically snap to the configurations that correspond to the Preferred tread length setting. When the optimal configuration is satisfying, this preview will display in a darker shade of blue. The other settings are taken into account as well, but not to this specific snapping feature (where the stair preview turns darker blue).
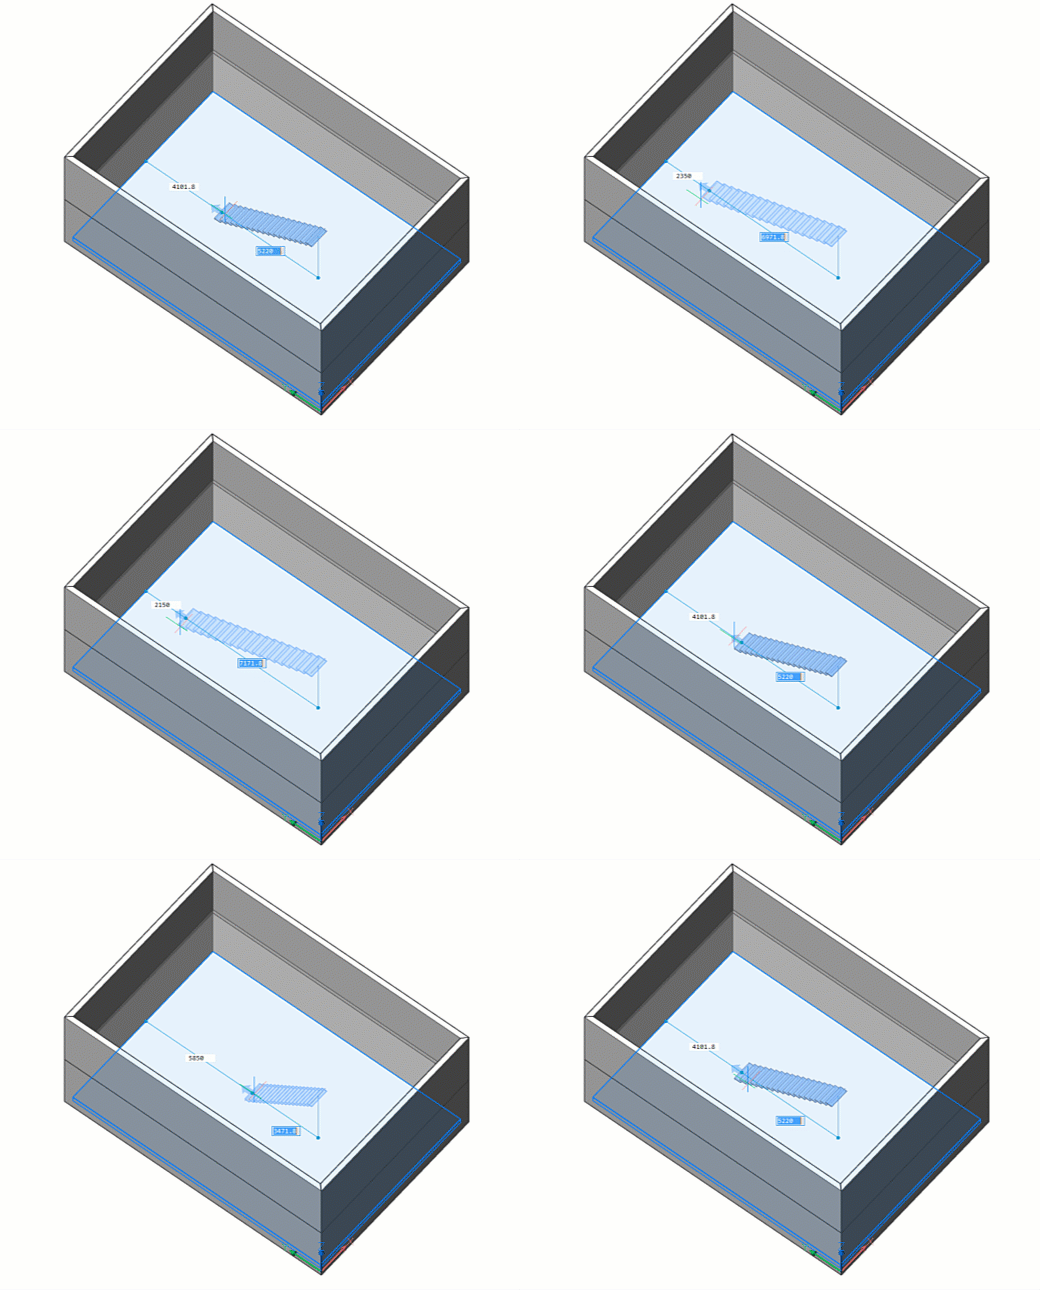
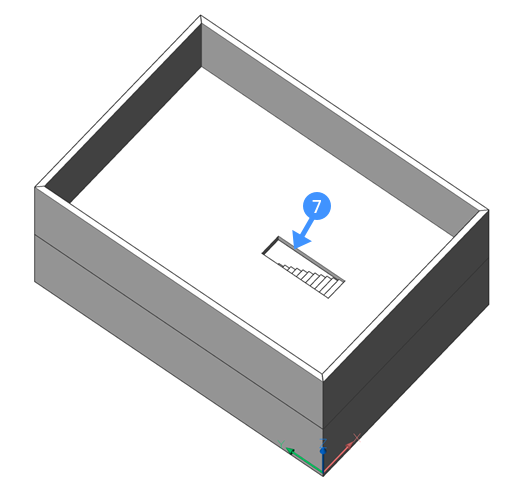
- Once you have the cursor in the correct position, left-click. A flight of stairs will be created. A hole is automatically generated in the upper slab, corresponding to the Head room setting (7).
Creating an L-shaped staircase
- Select the Stair tool from the Quad.
- Hover over a slab. The Stair Cursor will appear. Left-click once the stair cursor is in the correct position.
- Move the cursor away from the perpendicular to create an L-shape flight of stairs (8).
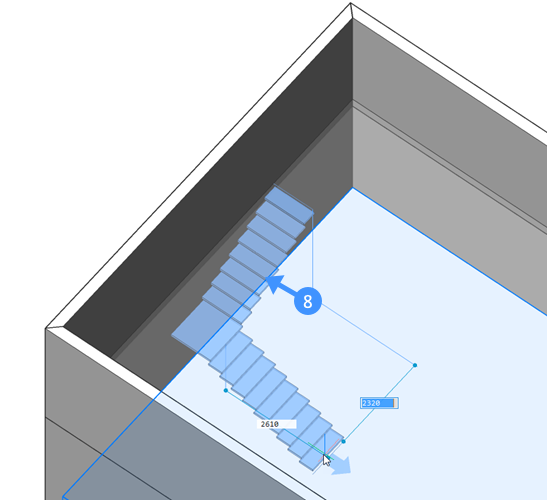
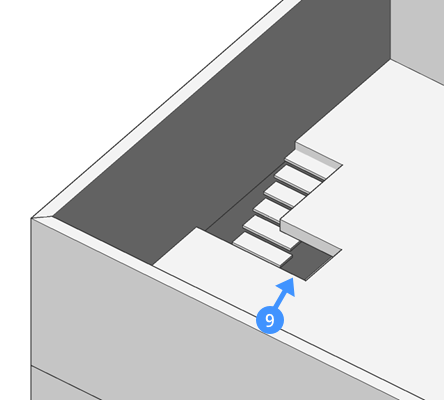
Note: A live preview of the flight of stairs to be created (blue) will follow the mouse dynamically (8). The Stair tool will automatically try to find optimal configurations of the stair that correspond with the dimensions given in the settings dialog. It will snap to the optimal configuration and display this preview in a slightly darker color. - When you are satisfied with the preview, left-click. A flight of stairs will be created and a hole will be automatically generated (9). This time, the hole can be L-shaped, depending on the length of the upper flight and the Head room stair setting. If the head room is so large it cannot be covered with only the topmost stair flight, it will span also a part of the second stair flight and thus be L-shaped.
Creating a U-shaped staircase
- Select the Stair tool from the Quad.
- Hover over a slab. The Stair Cursor will appear. Left-click when the stair cursor is in the correct position.
- Move the cursor away. Type Q and Enter to rotate the direction of the second cursor 180° with respect to the first cursor.
Or use the Ctrl key when the Hot Key Assistant (HKA field in the Status bar) is ON.
- Select the Stair tool from the Quad.
- Hover over a slab. The Stair Cursor appears. Left-click when the stair cursor is in the correct position.
- Move the cursor away from the perpendicular to get an L-shaped stair.
- Press the Ctrl key to switch between an L-shaped stair and a U-shaped stair.
Or align the last step with the first fixed step. When entering a strip parallel to the first step, the last step will automatically quarter turn.
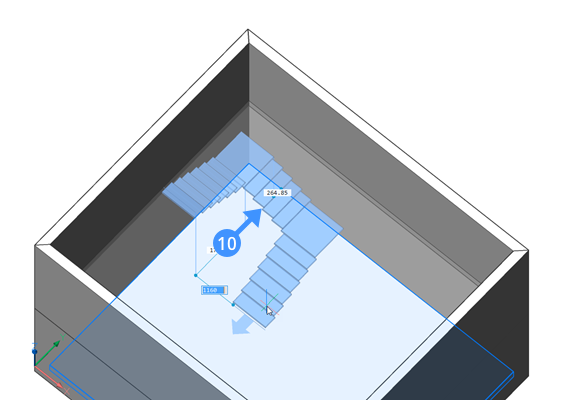
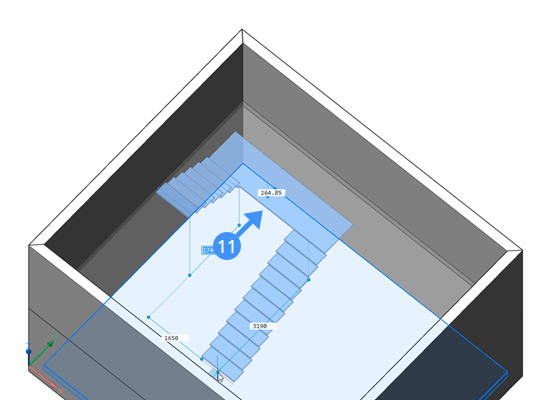
Note: A live preview of the flight of stairs to be created (blue) will follow the mouse dynamically (10). The Stair tool will automatically snap to the configurations that correspond to the current settings. When the optimal configuration is satisfied, this preview will display in a darker shade of blue. - There are two possible types of U-shaped stairs you can switch between:
- The middle section includes steps (10).
- The middle section is a landing in between the two opposite stair flights (11).
It is possible to switch between these two modes by typing U and hitting Enter.
Or press CTRL to cycle between different stair variants.
Creating a flight of stairs in an existing opening
Sometimes it is necessary to create a flight of stairs starting from the edge of a slab, where an opening already exists.
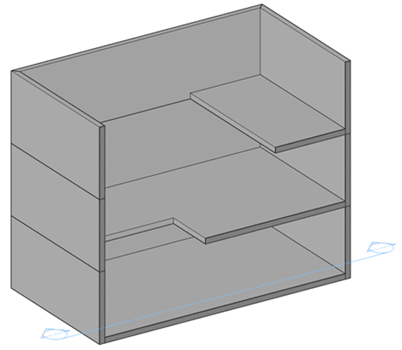
In the example above, different floors need to be connected with flights of stairs. However, an opening does not need to be created.
- Select the Stair tool from the Quad.
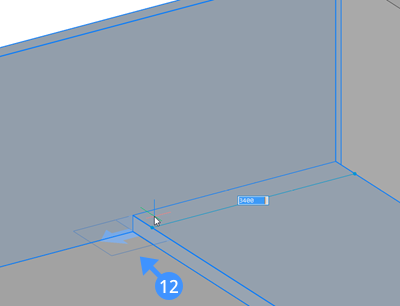
- Hover the Stair Cursor near the edge of the slab (12). The cursor automatically snaps to the
outer side of the edge.
- Create a flight of stairs as described above.
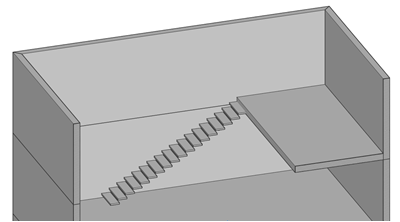
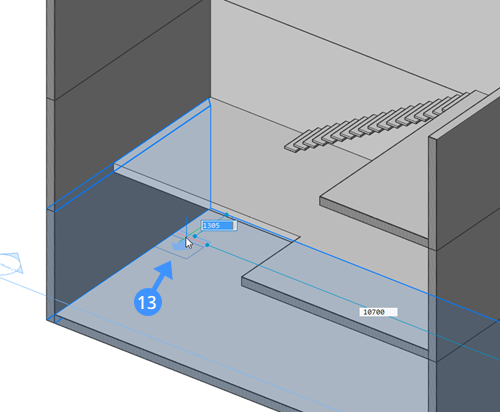
- You can also make a flight of stairs by starting at the lowest point. Select a starting point on
the first floor (13).
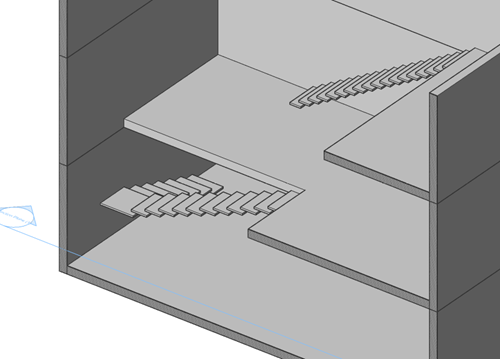
- Hover over the edge of the slab on the second floor. The Stair Cursor automatically snaps to the
edge of this slab. Left-click to create the flight of stairs.
Editing a flight of stairs
You can adjust multiple parameters of a flight of stairs created with the Stair tool in the Properties panel. These parameters include:
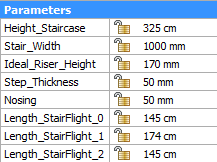
| Height_Staircase | The overall height of the flight of stairs. The height is fixed at the top and is adjusted from the base. |
| Stair_Width | The width of the flight of stairs. When a flight of stairs is selected, a green dot appears on the upper slab. This dot indicates the insertion point of the flight of stairs. When this point is in the middle of the flight of stairs, the flight of stairs will widen from the center. When it is located at the side, for example when a stair is attached to a wall, the stair will only widen the side away from the dot. |
| Ideal_Riser_Height | The ideal riser height. When creating a flight of stairs, the real riser height will be calculated based on the ideal riser height and the height of the steps, so that the risers are equally divided as close to the ideal riser height as possible. |
| Step_Thickness | The step thickness. The upper face of the steps is fixed so that the thickness increases downwards. |
| Nosing | The horizontal overlap distance between subsequent treads. |
| Length_StairFlight_0 | The length of the first flight of stairs. Decreasing this value will shorten the length. The length of the treads and the number of treads for each flight will be updated according to the total length of all the flights of stairs. |
| Length_StairFlight_1 | The length of an optional, second flight of stairs. Decreasing this value will shorten the length. The length of the treads and the number of treads for each flight will be updated according to the total length of all the flights of stairs. This option is only available for L-stairs and U-stairs. |
| Length_StairFlight_2 | The length of an optional third flight of stairs. Decreasing this value will shorten the length. The length of the treads and the number of treads for each flight will be updated according to the total length of all the flights of stairs. This option is only available for U-stairs. |
| Landing_Extension_Up | The length of the landing going down the first flight of stairs. The first flight is fixed so the second flight adjusts to the given parameter value. |
| Landing_Extension_Down | The length of the landing going down the second flight of stairs. The first flight is fixed so the second flight adjusts to the given value. |
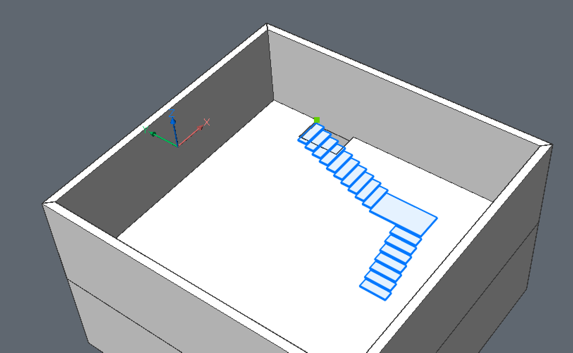
Setting: Landing_Extension _Up.
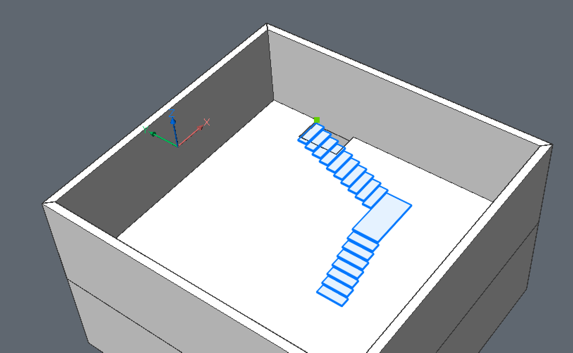
Setting: Landing_Extension_Down.
You can re-position a flight of stairs created with the Stair tool using the MOVE command.
For complex edits to a flight of stairs created with the Stair tool, use the BEDIT command to edit the block definition. When in the BEdit-mode, navigate to the Mechanical Browser. Here you can see and edit all the constraints that apply to a flight of stairs.

