Using parametrize
Commands
PARAMETRIZE, PARAMETERSPANELOPEN
About
Parametrizing is a process that automatically adds constraints and parameters to a set of 3D solids, without any manual work. For each unique value, a specific parameter is created. The constraints and parameters are represented by their name and expression in the Mechanical Browser. Each parameter can be animated to show what the parameters correspond to in the model. The parametrized geometry becomes controllable in terms of shape and size. When one of the parameters is changed, the geometric model will be updated automatically.
Procedure: parametrizing a component automatically
- Open the geometric model that represents your component.
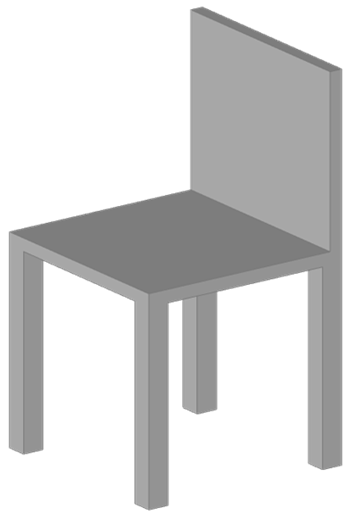
Figure 1, a geometric model of the sample chair.
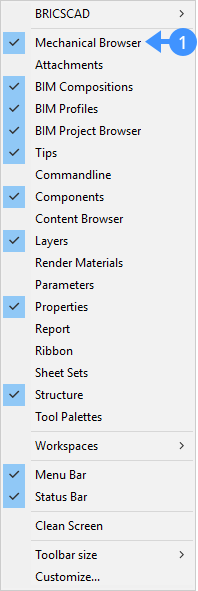
- Open the Mechanical Browser by clicking its icon in the Toolbar panel or type the MECHANICALBROWSEROPEN in the Command line.Note: If the Browser or Parameters icons are not displayed in the Toolbar panel, place the cursor on a toolbar, then right-click to open Panels and choose Mechanical Browser (1) in the context menu.
If the model does not contain any parameters and constraint it will display only the 3D solids under the Bodies (2) section. If the model contains any constraint or parameter, the parameterized tool asks whether you want to reuse the existing ones.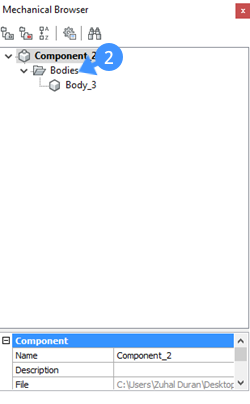
- Select the component geometry you want to parametrize.
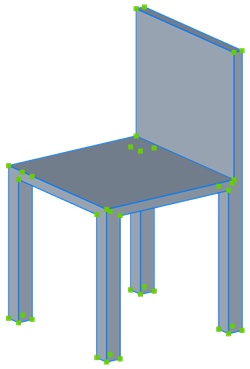
Figure 2, selected object.
- Launch the Parametrize tool in the Constraints tab from the Quad.
Or type PARAMETRIZE in the Command line.
A set of parameters and constraints are defined automatically.
These parameters and constraints are shown in the Mechanical Browser (3 and 4).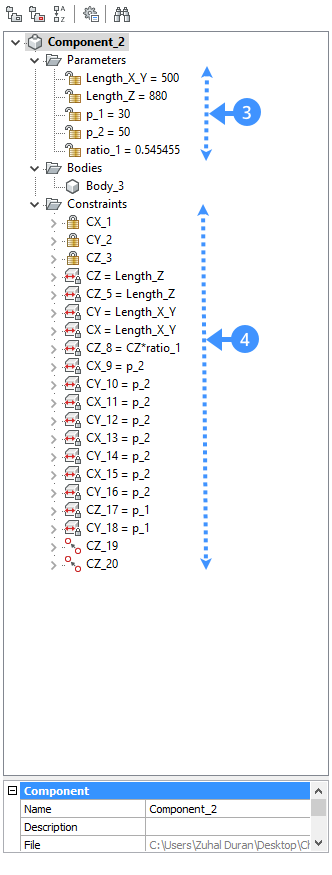
Note: Parametrize creates Distance, Radius, Rigid Sets, Fix, Coincidence, Concentric constraints depending on the geometric model.Note: Perpendicularity and tangency can be set (if they are applicable) by changing the DMRECOGNIZE system variable in the Settings dialog box. - To check easily which parameter corresponds to what, right-click one of the parameters, and choose Animate (5) in the context menu.
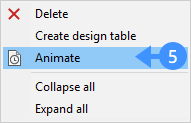
Note: In the attached .dwg file after parametrizing the chair geometry, parameters and constraints will be assigned and shown in the Mechanical Browser. Each parameter corresponds to one measurement in the chair geometry. For instance, Length_X_Y controls the width and depth, Length_Z controls the overall height, p_1 controls the seat thickness p_2 controls the leg thickness ratio_1 controls the ratio between seat height and overall height.
Procedure: changing the parameters and constraints in the parameters manager
Note: After the auto parametrizing, it's possible to change what you do not find clear about the parameters and constraints using the parameters manager.
- Select one of the faces (6) of your component. The constraint type (e.g. distance, fix) regarding the face is displayed.
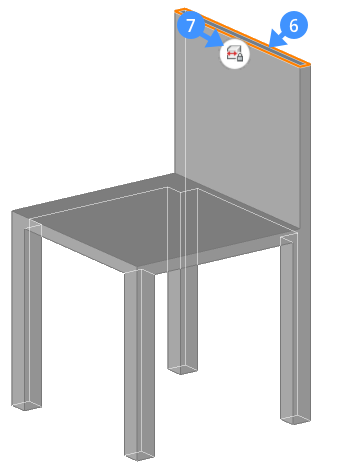
- Click the distance constraint (7) icon on the element. The editable dimension(s) is shown inside the box.
- Click the editable dimension box (8).
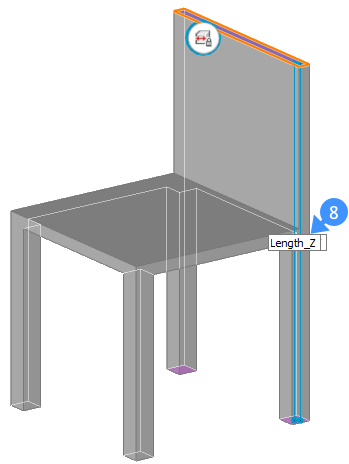
A parameter manager displays (9). The parameter manager shows the expressions of the distance constraint (10) and the parameter (11) depending on the selected face.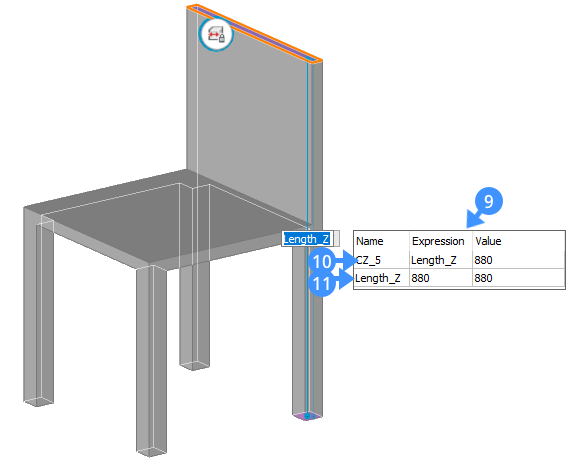
- Change the parameter name by clicking its field (12) in the parameters manager.

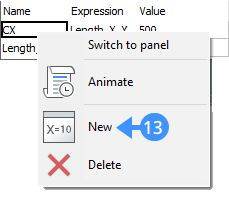
- (Optional) A new parameter can be defined using the New option in the parameter manager's context menu.
- To do so, right-click the parameters manager and select New (13).
- A new parameter is added to the list (14).

- Specify a Name (15) for the newly created parameter and enter an expression using the Expression field (16).
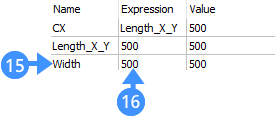
- To link the newly created parameter with an existing constraint, change the expression field of the constraint with the new parameter name (17).

Note: The above procedure can also be done using the Mechanical Browser.

