


Working with Civil points
Overview
This article describes the procedures for importing points from an ASCII file and inserting an individual Civil point in a drawing.
It also describes few basic BricsCAD® commands used for Civil points editing.
Importing Civil points from the ASCII File
- Launch the CIVILPOINT command.
- Select Import points from file in the Command line.
- In the Select Point file dialog box, select the point data file that you want to open, or choose multiple files to import all at once.
- Specify point file format. You can edit or create new point file format in the Manage Point File Formats dialog box.
- Click Ok to import the Civil points.
Specifying Civil points locations in a drawing
- Launch the CIVILPOINT command.
- Specify a point location in a drawing.
- Enter a point description.
- Enter a point elevation.
- Specify the location of another point or press Enter to finish the command.
Importing Cogo points from Civil 3D
-
Open new empty drawing or a Civil 3D drawing with Cogo points (AECC_COGO_POINTS).
-
Launch CIVIL3DIMPORT command.
-
The Import Civil 3D dialog box opens. Choose whether to convert Cogo Points from current drawing or select the option to convert Cogo points from an external Civil 3D drawing.
-
Define Layer name template for Civil 3D objects.
-
Select whether you also want to import native CAD objects from the external Civil 3D drawing.
Note: If you select the option to convert Civil 3D objects from the current drawing, this option is frozen. -
Click Ok to import the Civil points.
Note: The Import Civil 3D labels as blocks option does not affect the conversion of Civil 3D Cogo points to BricsCAD Civil points, because the Cogo points are converted to Civil points along with the labels
Importing Civil points from LandXML file
-
Launch LANDXMLIMPORT command.
-
Select XML file with Civil points that you want to open.
-
Click Ok to import Civil points.
Using the BricsCAD® base commands to edit Civil points
- MOVE command:
Select the Civil point, click on its insertion point and move the mouse to change the point position in a drawing. You can also use the MOVE command to move multiple points simultaneously.
You can also edit the points position in the Properties panel.
- COPY and PASTE commands:
Use the COPY and COPYCLIP commands to copy selected points. The Easting and Northing coordinates of the pasted points are determined from the locations of these points in the drawing. The elevation of new points is equal to 0. You can also edit the points position and elevation in the Properties panel.
The COPYCLIP command copies all the selected Civil points to the clipboard. You can use the COPYCLIP and PASTECLIP commands to transfer Civil points from one drawing to another. Use the PASTEORIG command to place points to the same coordinates in a new drawing.
Note: Using COPYCLIP and PASTECLIP to copy Civil points from one drawing to another will create a copy of selected Civil Points with assigned Symbol and Label Styles. More information about Symbol and Label Styles is available in articles Creating user-defined attributes for Civil points and Working with Symbols and Labels. -
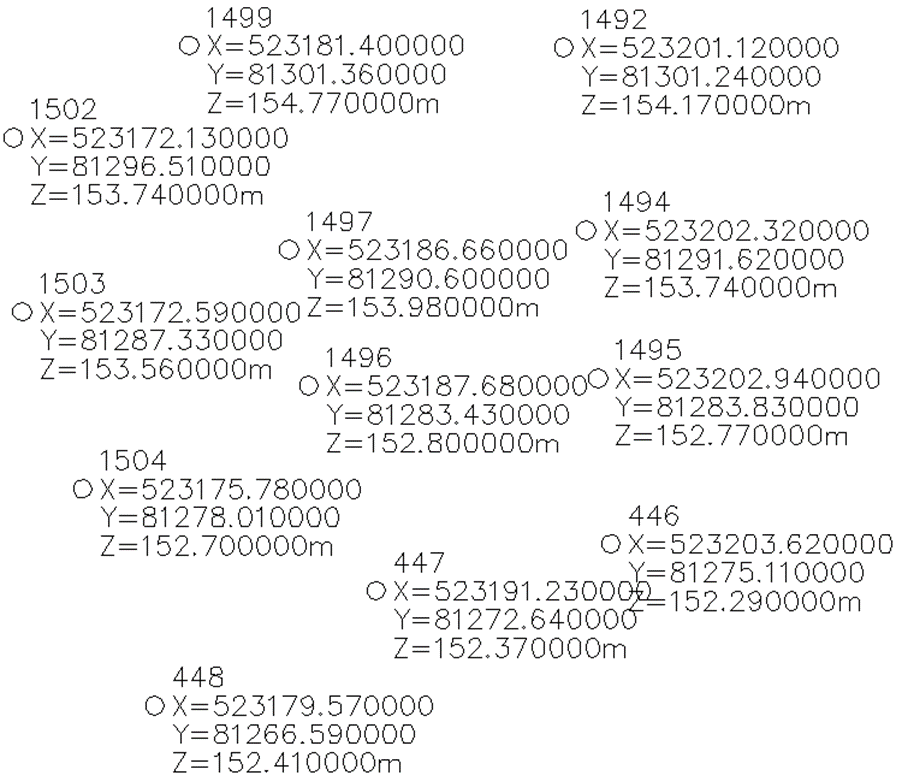
LUPREC system variable:
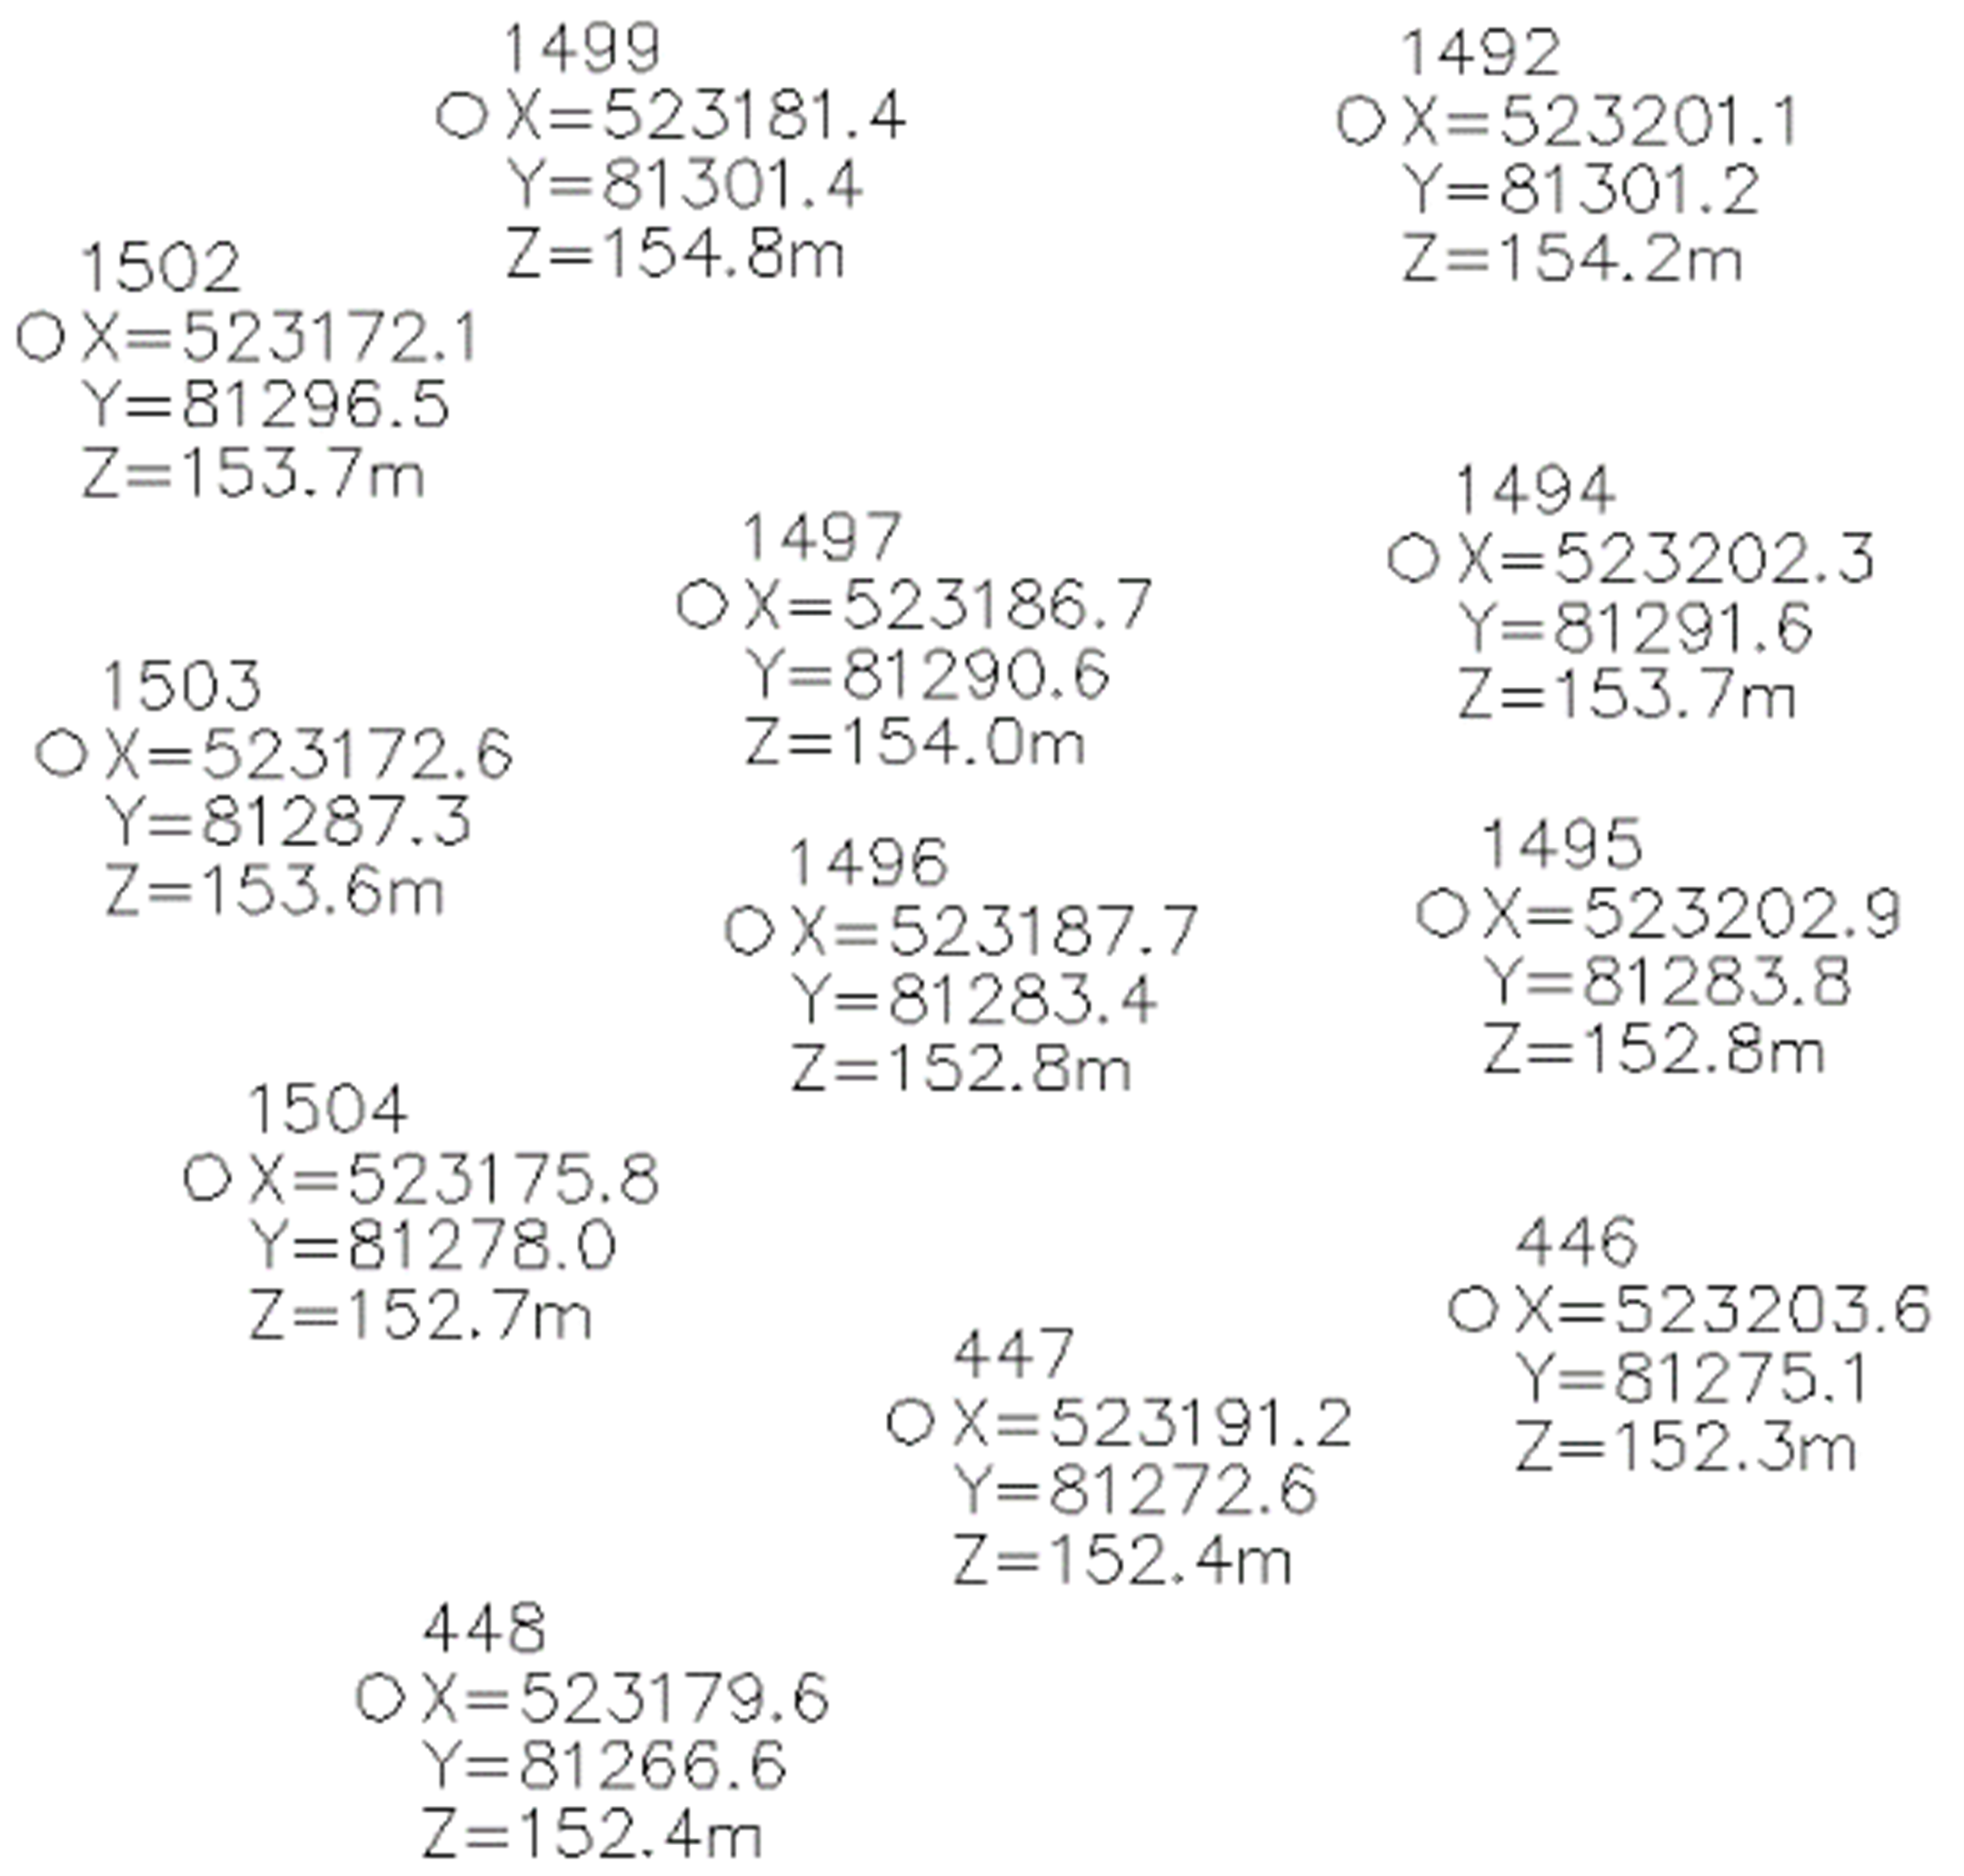
Use the LUPREC system variable to set the precision of the displayed coordinates for Civil points in the drawing. Type 0 in the Command line to the display coordinates without decimals, and 8 to display the maximum number of decimals (8). Use all other integers between 0 and 8 to set the appropriate precision.
LUPREC = 6
LUPREC = 1
 Note: Launch the REGEN command each time the LUPREC variable is changed to refresh the displayed precision of the Civil points coordinates.