


Definición de la sección detallada
Comando
BIMSECCION
Definir una sección detallada desde cero
- Seleccione Sección de detalle en la cinta de opciones o utilice la línea de comandos introduciendo BIMSECCION seguido de D para elegir la opción de detalle.
Se le solicita: Seleccione la primera esquina del cuadro de sección o [Basado en una sección existente/Escala]:
- Seleccione la primera esquina del área que desea incluir dentro de la sección detallada.
Se le solicita: Seleccione la esquina opuesta del cuadro de sección:
- Seleccione la esquina opuesta y ajuste a un punto o ingrese las distancias. Presione la tecla TAB para cambiar entre cuadros de dimensiones dinámicas.
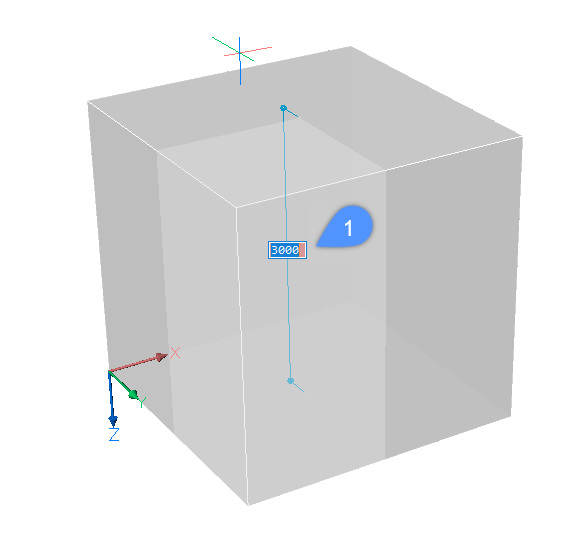
Se le solicita: Seleccione la altura del cuadro de volumen <4000>:
En este caso, la altura predeterminada es 4000 mm.
- Para completar el volumen, realice una de las siguientes acciones:
- Presione enter para aceptar la altura predeterminada.
- Especificar punto.
- Escriba un valor en el campo de dimensión dinámica (1).
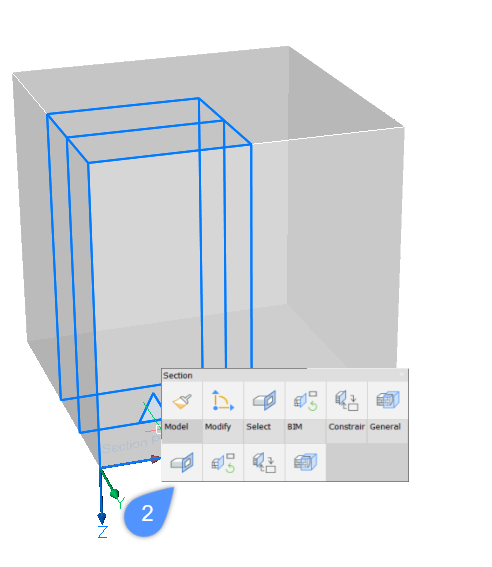
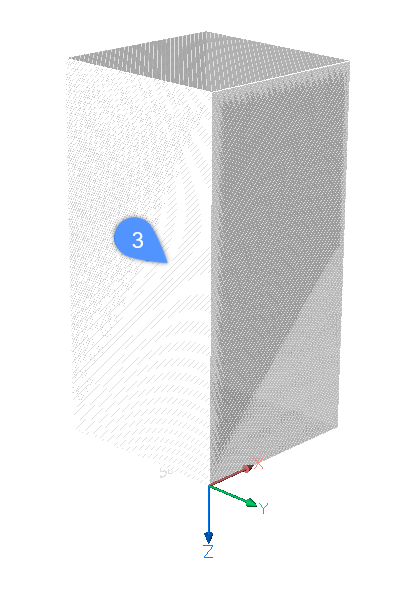
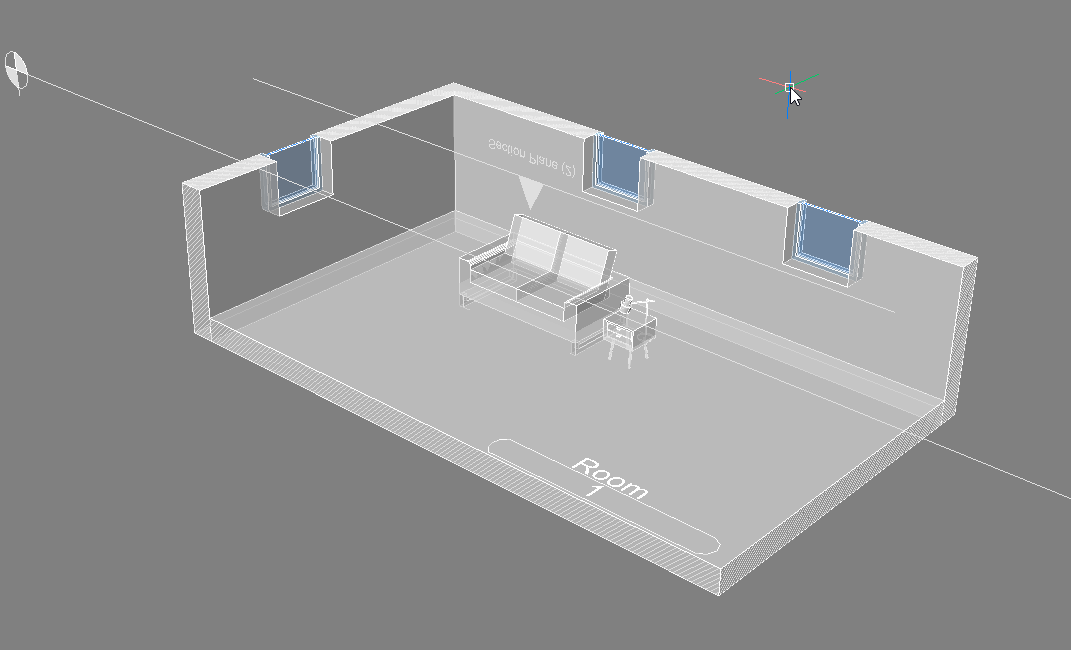
Para ver la sección detallada que se acaba de definir, coloque el cursor sobre la sección y seleccione Visualización de clip (2) en el Quad o haga doble clic en la sección seleccionada. Ahora sólo será visible la sección detallada (3).
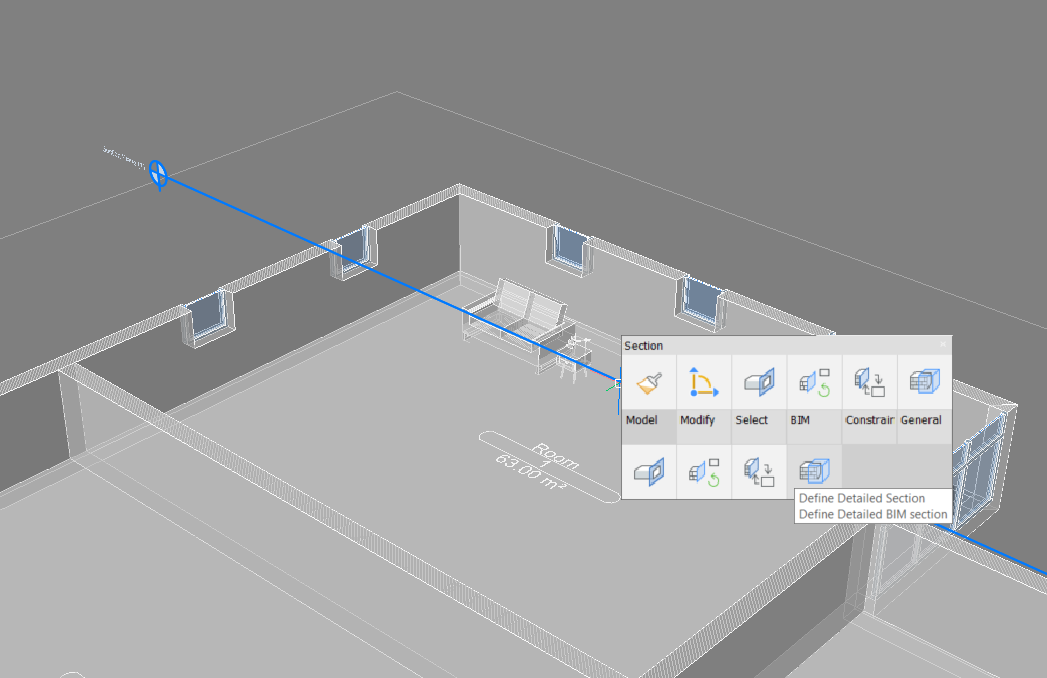
Definir una sección detallada basada en una sección existente
Aquí se le mostrará cómo colocar la base de su sección detallada en una sección ya existente.
- Resalte la sección existente en la que desea que se coloque la base de la sección detallada y seleccione Sección de detalle en el Quad.
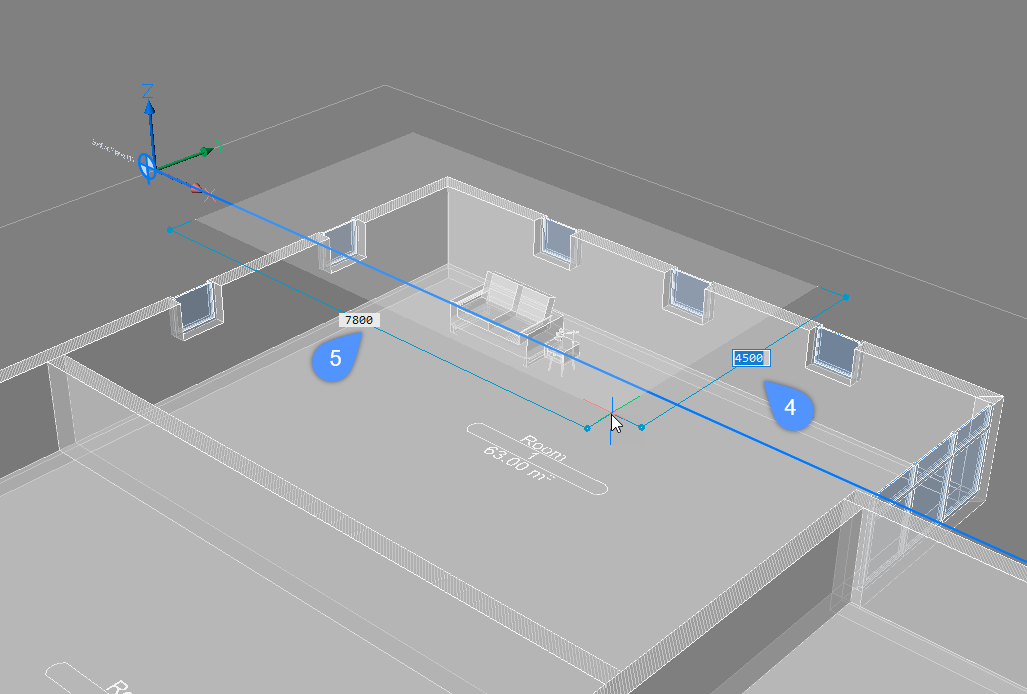
Se le solicita: Seleccione la primera esquina del rectángulo base del cuadro de volumen:
- Dibuje un rectángulo alrededor del área deseada escribiendo los valores en los campos de dimensión dinámica.
Presione la tecla TAB para avanzar y retroceder entre los campos de dimensión dinámica (4, 5). Su selección quedará alineada con el plano de la sección existente.
- Presione Enter para confirmar los valores. El cuadro de la sección de volumen se muestra dinámicamente.
Se le solicita: Seleccione la altura del cuadro de la sección de volumen.
- Presione enter para aceptar la altura predeterminada.
- Especificar punto.
- Escriba un valor en el campo de la dimensión dinámica.
- La sección detallada ya se ha definido y se puede encontrar en el panel Estructura. Coloque el cursor sobre la sección y seleccione Visualización de clips en el Quad o haga doble clic en la sección seleccionada para verla.
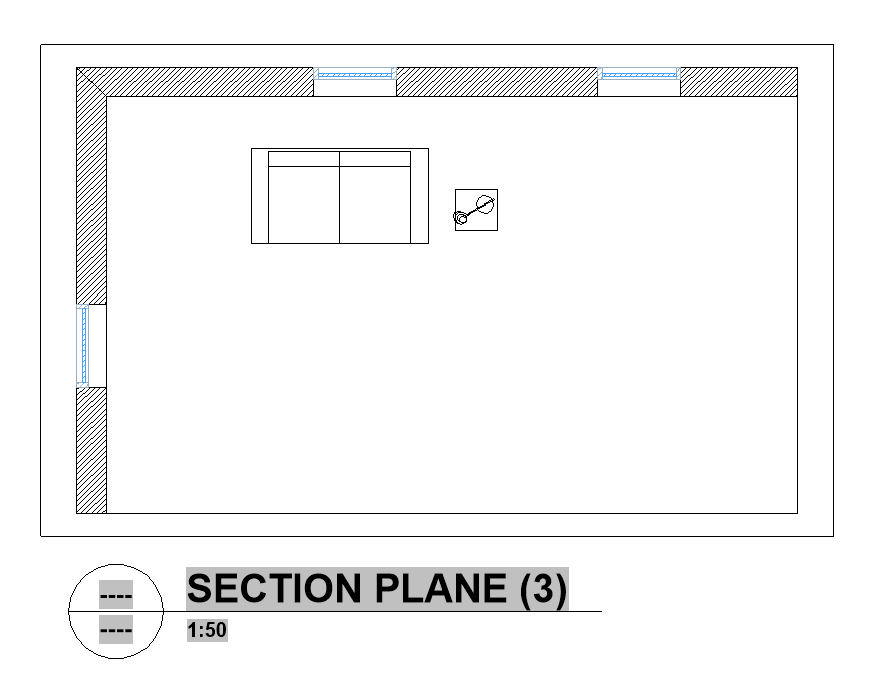
- Para generar la sección detallada en una hoja, seleccione la sección detallada y seleccione Generar sección en el Quad.
- Puede abrir los resultados de la sección haciendo clic en Abrir modelo cuando se seleccionen los planos de sección. La hoja se guarda en la misma carpeta que contiene el dibujo del modelo.
Si necesita más ayuda sobre cómo generar dibujos, visite la página Generación de dibujos.
Si desea anotar sus dibujos: aprenda a agregar etiquetas y cotas lineales.