Creating windows and doors in BricsCAD Shape
There are two ways to create windows or doors in BricsCAD Shape.
- Pick a door or window from the Library panel.
- Create your own custom window.
Procedure: Pick windows or doors from the library
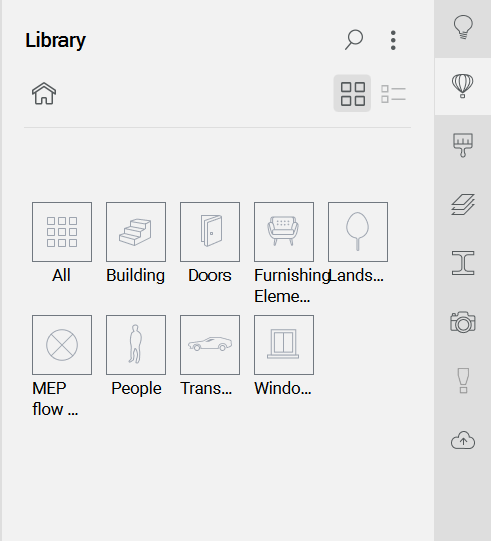
- Open the Library panel by clicking the airballoon icon on the right hand edge of the screen.
- Click the Doors section in the Library panel.

- Select a door from the panel.
- Move the cursor into the model.
- Click to place the component.
- Press the CTRL key to toggle between door positioning and door size. Enter the desired values for the height and width of the door by pressing the Tab key. When you’re done sizing and placing the door, press the Enter key.
Note: This is the same for a window. Change Doors to Window section. Drag a window into the wall. You can change the size and location of a window just as you did with the door.
Procedure: Create a custom window
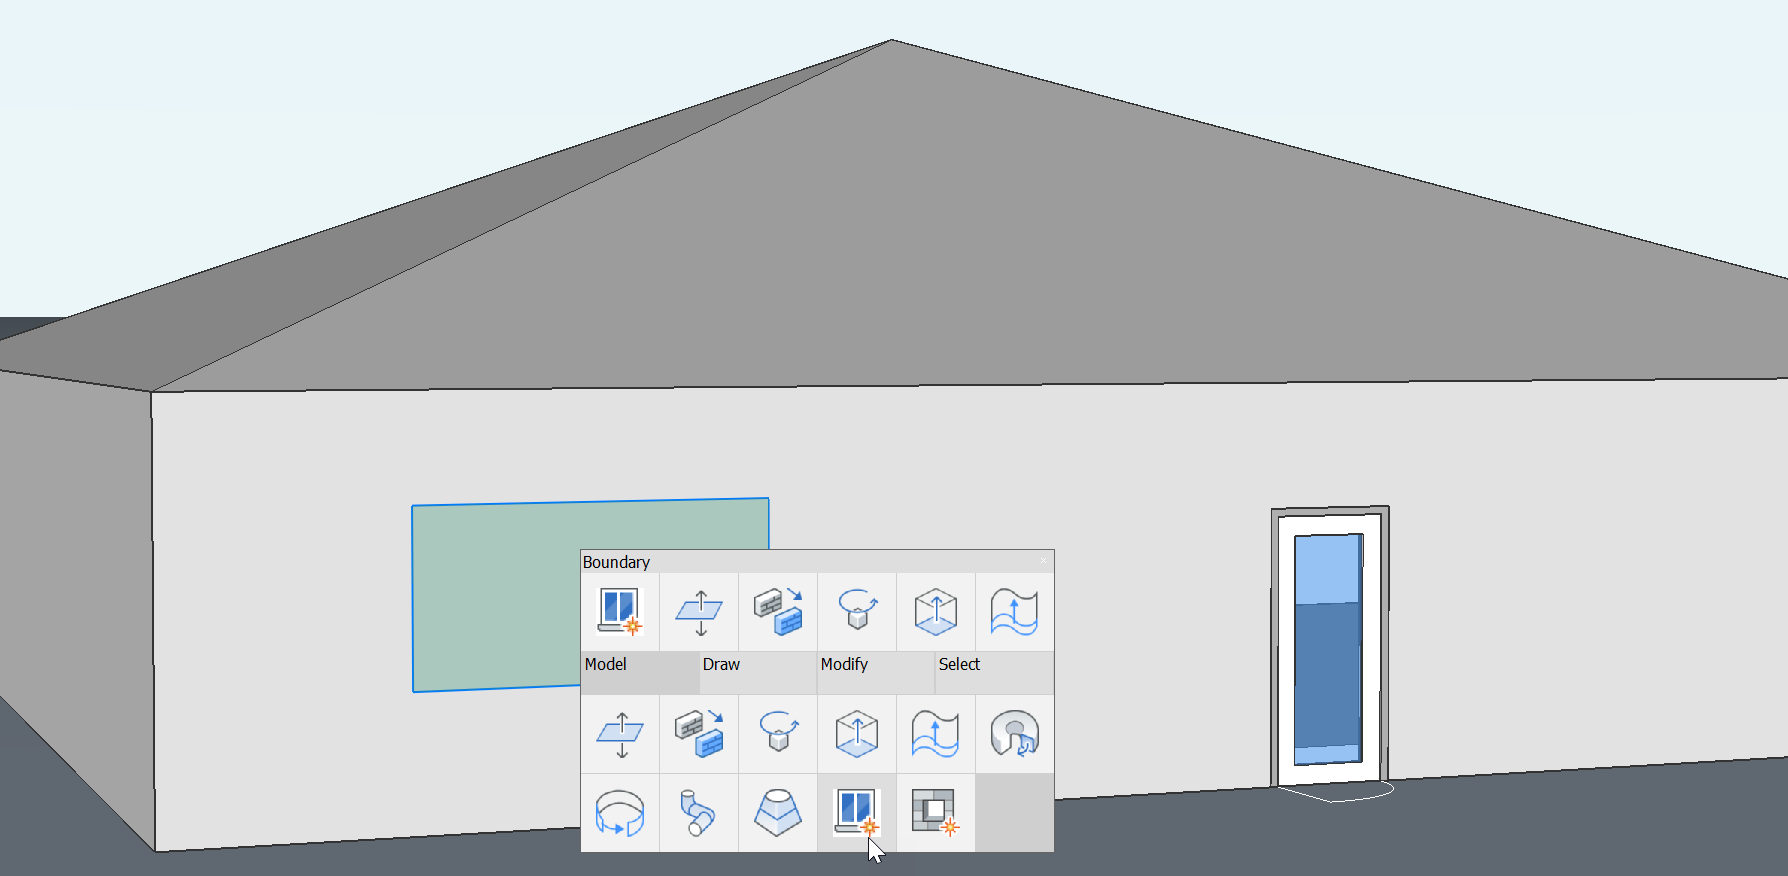
- Use the either the Polyline tool, the Polygon tool or the Rectangle tool to draw the outline of the window on the wall face.
- Move the cursor inside the window outline and, when the boundary is highlighted, choose Create window from the Quad.

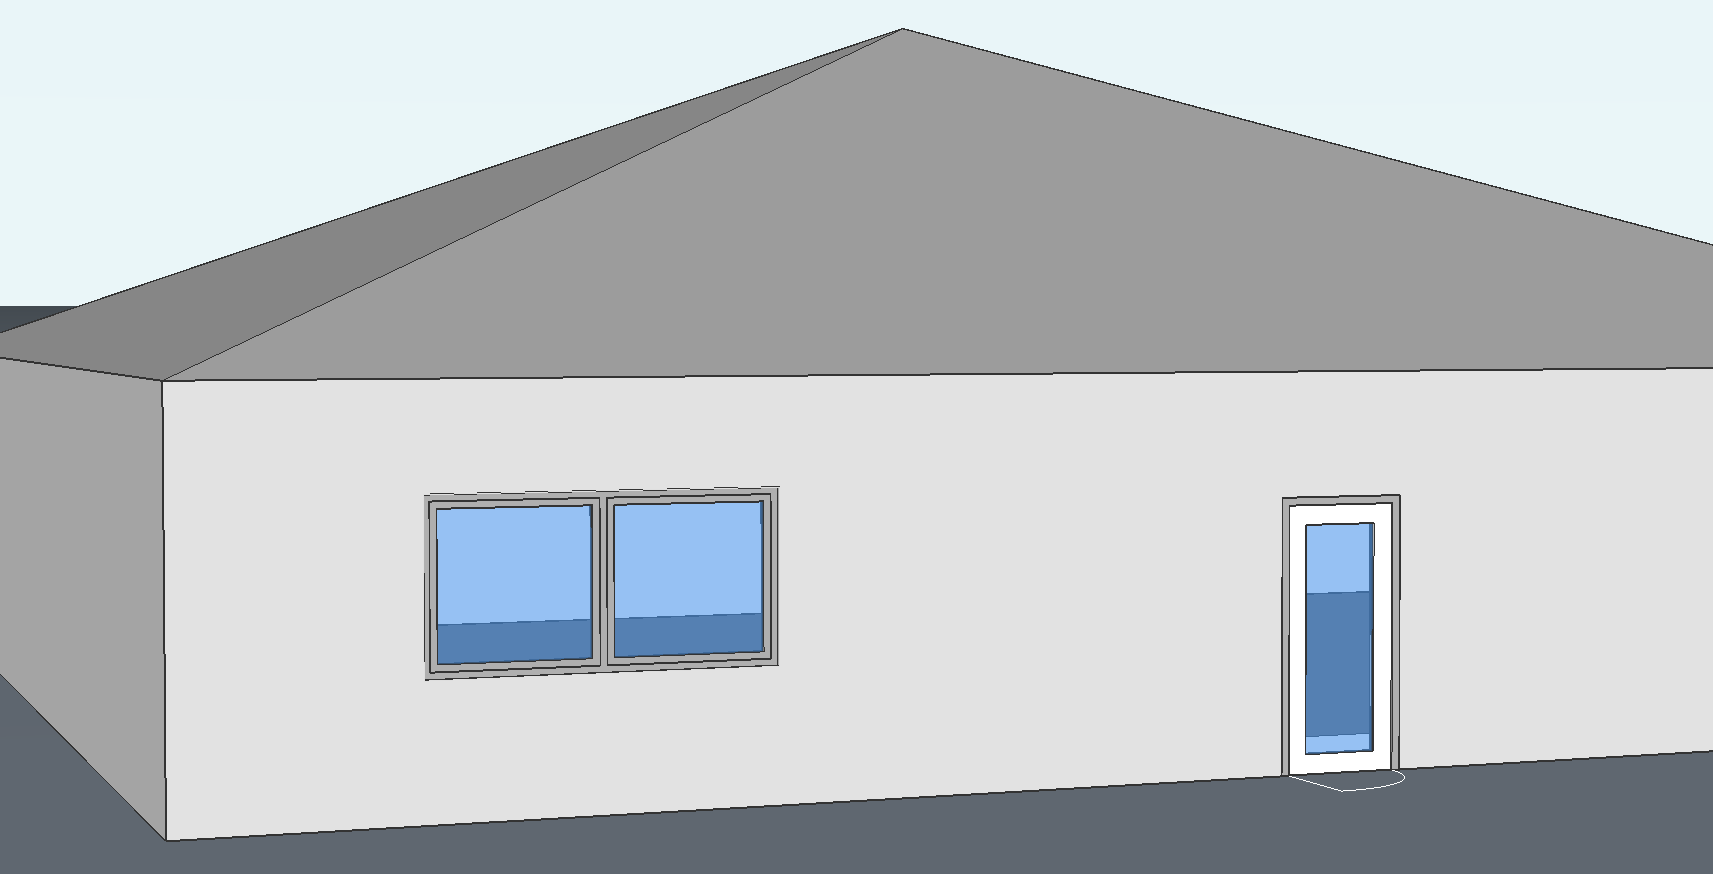
- The available window styles are shown in a dialog box. Move your cursor over the window design of your choice, and left-click it. The window is automatically created.

You can also create a custom window from a wall boundary:
- Select face of the outer wall and use the Offset tool from the Quad.
- Move the cursor to re-size the new boundary, or key in a value and press Enter. Then, highlight the offset boundary and select Create window from the Quad.

