Setting up a Network License Server on Windows
It is recommended that a network/system administrator be responsible for downloading, deploying and configuring the Bricsys Network License Server. The server then distributes the license seats.
Downloading Bricsys Network License Server
The Bricsys Network License Server contains a custom RLM server and the Bricsys Network License Manager. See more information in the Bricsys Network License Server - Release Notes.
Download the Bricsys Network License Server (Windows) from here.
Installing Bricsys Network License Server
In the Bricsys Network License Server Setup dialog box, make sure to select all the checkboxes.
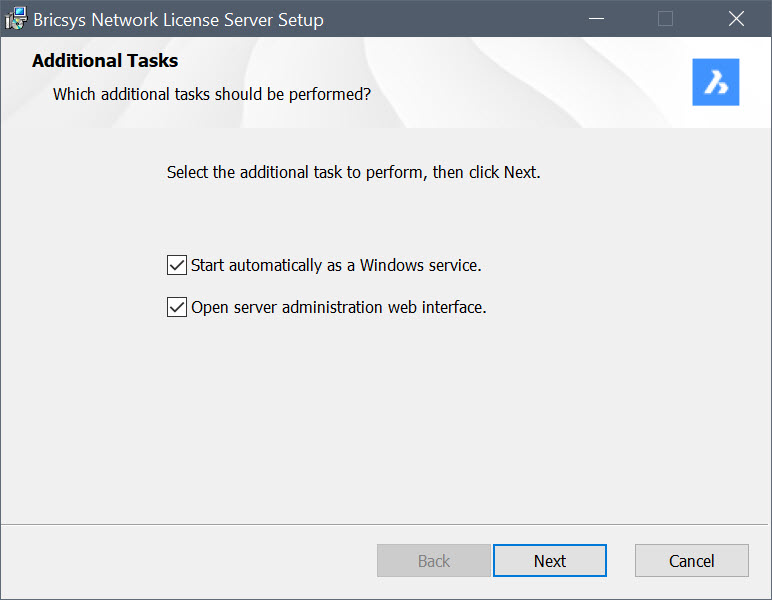
After the installation:
- The Bricsys Network License Manager dialog box opens and you can enter your network license to activate it. For more information, see the Online activation (Network license) article.
- The Reprise License Server Administration web interface opens.Important: You must change the default password after logging in using the default credentials (username: admin and password: admin), otherwise the license server will automatically shut down in 10 minutes.
To change the default password:
- Go to the RLM web UI (localhost:5054).
- Log in with the default credentials.
- Click the Change Password button in the left-side menu and create a new password.
- Restart the computer or restart the RLM service from OS Services.
Example: msiexec /qb /i "<FullPath>\Bricsys-NetworkLicenseServer-V1.1.0-1.msi" INSTALLSERVICE=1 OPENWEBINTERFACE=1
- Replace
<FullPath>with the path where Bricsys-NetworkLicenseServer-V1.1.0-1.msi was downloaded. INSTALLSERVICE=1sets the RLM automatically as a Windows service.OPENWEBINTERFACE=1opens the server administration web interface (localhost:5054).
The Bricsys Network License Server is installed by default in C:\Program Files\Bricsys\Bricsys Network License Server.
Using the Bricsys Network License Manager in terminal mode
- Open a terminal with administrator rights.
- Navigate to the Bricsys Network License Server installation directory.
- Input:
NetworkLicenseManager.com <option>.
Available options and arguments:
-hdisplays the available options.-iddisplays the host ID of this machine.-llists the available network license keys.-a <licensekey>activates a specific network license key.-u <licensekey>updates a specific network license key.-r <licensekey>reviews the update options for a specific network license key.-p <hostname><portnumber><username><password>sets the proxy settings (use""for empty argument values).