Bricsys 24/7 panel
To open the Bricsys 24/7 panel, right-click a ribbon panel or toolbar and choose Bricsys 24/7 from the Panels list.
The Bricsys 24/7 panel helps team members to find and share their drawings.
Bricsys 24/7 enables project management, a collaboration between project teams, cloud computing security and task automation. The big advantage of this cloud-based service is that BricsCAD® is directly linked to it by the Bricsys 24/7 panel.
On certain environments, the Bricsys 24/7 panel supports Single Sign On (SSO).
The CLOUDSSOCLIENTID system variable stores the client_id to be used when connecting to SSO service.
The CLOUDSSOSCOPE system variable stores the scopes or permissions to be used when connecting to SSO service. It depends on the authorization server for a given Bricsys 24/7 service (what scopes are configured/allowed for the client). For example, Azure AD requires an explicit client id on the scope parameter, like <client id>/access_as_user openid.
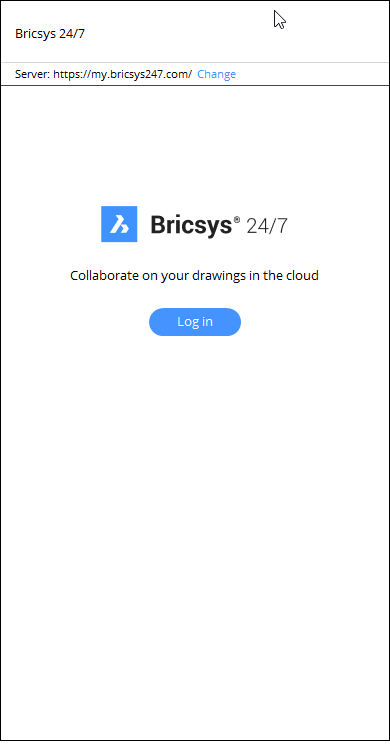
On servers like https:/my.bricsys247.com/, with default scope settings, the log in appears as described below.

Click the Log in button to open the Bricsys website, allowing you to log in to your Bricsys account. For more information on how to log in, see the Log in with your Bricsys account article.
Click the Change button to open the Settings dialog box at the CLOUDSERVER system variable to specify another address of the Bricsys 24/7 server. For other certain environments, like https://pellikaan.bricsys247.com/, that do not support SSO at this moment, the Log in with your Bricsys account section on the Bricsys website can be different. For Log in follow the steps:
- Enter your email address and password and press the Log in button.
- (Optional) Tick the Remember me checkbox to store the username and password.
The Bricsys 24/7 panel content
Once logged in:
- You can see an overview of your in the cloud Projects, Folders and Documents.
(1) Project When logged in, the first thing you see on the Bricsys 24/7 panel is all the projects you are assigned to. (2) Project name At the top of the panel you see the project name. You can go back to the overview of projects by clicking on the back arrow. (3) Sort by Displays the folders/documents sorted by status of the file or lock attribute. (4) Folder When you open a project, a list of folders is shown. (5) Refresh Manually refreshes the Bricsys 24/7 panel. The panel refreshes automatically when you switch between folders.
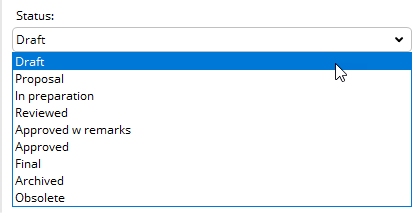
(6) Folder name At the top of the panel you see the folder you are in. You can go back to the overview of by clicking on the back arrow. (7) Add a new file Opens the Add new document dialog box to add a new file to the folder. Choose a file status from the drop-down list and type a description.
 Note: If the folder where you upload the file contains metadata, a form appears and you can fill it out.
(8) Documents In a folder you find the documents. Some details about the document are displayed as icons:  : The profile picture or the initials from the author of the document.
 : The document is in the cloud, available for download.
 : The document is up to date.
 : The document was locally modified.
 : A new version of the document is available in the cloud.
 : Someone is currently working on the document.
 : The document that you try to modify is locked by someone else.
 : Appears when you try to save changes in a read-only file or save changes in an old file version.
 : Appears when you try to upload a file that already exists.
 : The document is currently uploading.
 : The document is currently downloading.
 : The document is locked by someone, another person cannot change it.Tip: If you hover the cursor over a document, a tooltip displays and you can see which is the latest version uploaded to the Bricsys 24/7 server.
You can download a BIM model from your Bricsys 24/7 project to a local folder by right-clicking the folder. The local folder for download is defined with the CLOUDDOWNLOADPATH system variable.

- Right-click a document to open a menu with possible document actions:

(9) Locks the document so no changes can be made. (10) Unlocks the document so changes can be made. (11) Downloads the latest revision from the cloud. (12) Uploads your drawing as a revision of the original drawing. See the CLOUDUPLOADDEPENDENCIES system variable options.
Uploading and downloading drawings with Xrefs
- Uploading drawings with Xrefs
- If you add a drawing that contains external references (Xrefs), make sure you also add the reference files to the Bricsys 24/7 server.
To do that, you can:
- Upload the files one by one using the Bricsys 24/7 panel.
- Use the Upload to Bricsys 24/7 option in the dialog box. Make sure you include the root drawing and the external references.Note: The report.txt file is uploaded as well. The report contains a complete list of all files included and notes for distribution.
- Downloading drawings with Xrefs
- If you download a drawing that contains Xrefs, the reference files are automatically downloaded.

