


PEDIT command
Edits polylines.

Icon:
Alias: EDITPLINE, PE
Description
Edits polylines, 3D polylines, and 3D meshes (short for "polyline edit") and converts 2D entities into polylines.
Note: The options of this command change, depending on the
entity you are editing. You can edit single or multiple 2D polylines, single 3D
polylines, 3D meshes and single or multiple lines, arcs, circles, splines or
helixes.
Options
- Edit vertices
- Edits the vertices.
-
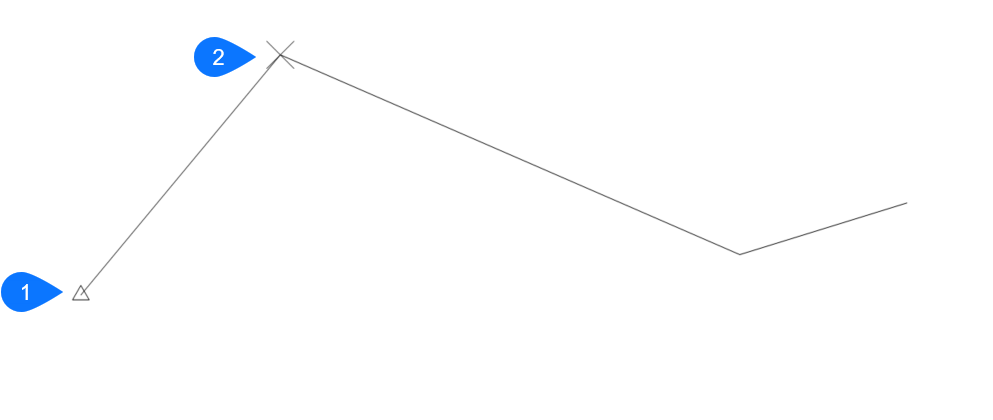
- Triangle marker at the start of the polyline.
- X marker at the current vertex.
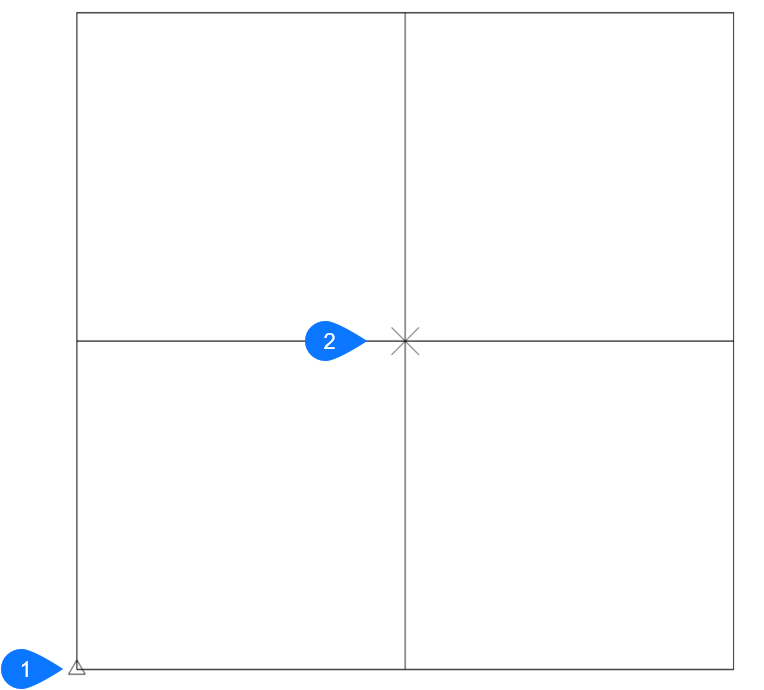
- Triangle marker at the home vertex.
- X marker at the current vertex.
- Next vertex
- Moves the X marker to the next vertex. When the marker reaches the last vertex of a closed polyline, it does not move to the "next" (first) vertex.
- Previous vertex
- Moves the X marker to the previous vertex.
- Angle
- Changes the angle of the current segment. If it is an arc segment, the angle (curvature) of the arc is changed. If it is a line segment, it is turned into an arc. To convert an arc into a line segment, enter an angle of zero degrees.
- Break
- Removes segments from the polyline between the two vertices marked with X markers. This action turns closed polylines into open polylines and open polylines into two polylines, with a gap between them.
- Insert vertex
- Inserts a vertex. A drag line previews the location of the new vertex.
- Left
- Moves the X marker to the vertex on the left.
- Right
- Moves the X marker to the vertex on the right.
- Up
- Moves the X marker to the higher-numbered vertex.
- Down
- Moves the X marker to the lower-numbered vertex.
- Next
- Choose the next vertex.
- Previous
- Choose the previous vertex.
- Select
- Moves second X marker directly to the selected vertex.
- Go
- Break the polyline between the first and second marked vertices.
- Move
- Moves the current vertex. The drag line previews the new location of the vertex.
- Regen
- Regenerates the polyline to show changes made by the editing actions of this command.
- SElect
- Moves the X marker directly to another vertex that you select. This works faster than using the Next and Previous options.
- Straighten
- Removes all segments between two vertices. When you select the start and end points of a multi-segment polyline, the entire polyline is straightened, becoming a single segment; this also applies to closed polylines.
- Next
- Moves the second X marker to the next vertex.
- Previous
- Moves the second X marker to the previous vertex.
- Select
- Moves second X marker directly to another selected vertex.
- Go
- Replaces the segments between the two marked vertices with a single segment.
- Tangent
- Edits the tangent direction of the vertex.
- Width
- Changes the width of the current segment. The current segment is the segment that lays between the X-marked vertex and the next vertex.
- Close
- Closes the polyline by adding a segment between the start and endpoints. When the polyline is closed, this option reads Open.
- Open
- Opens closed polylines by removing the last segment drawn to close the polyline. When the polyline is open, this option reads Close.
- Decurve
- Reverses the effects of the Fit and Spline options.
- Desmooth
- Removes the Bezier-spline smoothing of 3D meshes.
- Fit
- Fits a curve to the polyline.
- Join
- Adds open entities to the selected polyline.
- Fuzz distance
- When endpoints are within the fuzz distance, the entities are extended or trimmed.
- Jointype
- Specify the type of joining.
- Extend
- Extends or trims segments to the nearest endpoints.
- Add
- Adds linear segments between the nearest endpoints.
- Both
- Extends or trims if possible, otherwise adds linear segments.
- M close
- Closes the 3D mesh in the m direction. When the mesh is closed, this option reads M open.
- M open
- Opens the 3D mesh in the m direction. When the mesh is open, this option reads M close.
- N close
- Closes the 3D mesh in the n direction. When the mesh is closed, this option reads N open.
- N open
- Open the 3D mesh in the n direction. When the mesh is open, this option reads NClose.
- Linetype mode
- Determines how linetypes appear on polylines.
- On
- Linetypes start and stop at the polyline's start and endpoints.
- Off
- Linetypes start and stop at each vertex.
- Reverse direction
- Reverses the direction of the polyline: the starting point is now its end point, and vice versa. The polyline does not change its look with this operation, except that the triangle marker moves to the other end of open polylines. This option affects operations that depend on the direction of a polyline, such as vertex editing.
- Spline
- Converts the polyline into a spline.
- Taper
- Tapers the width of the entire polyline from one end to the other.
-
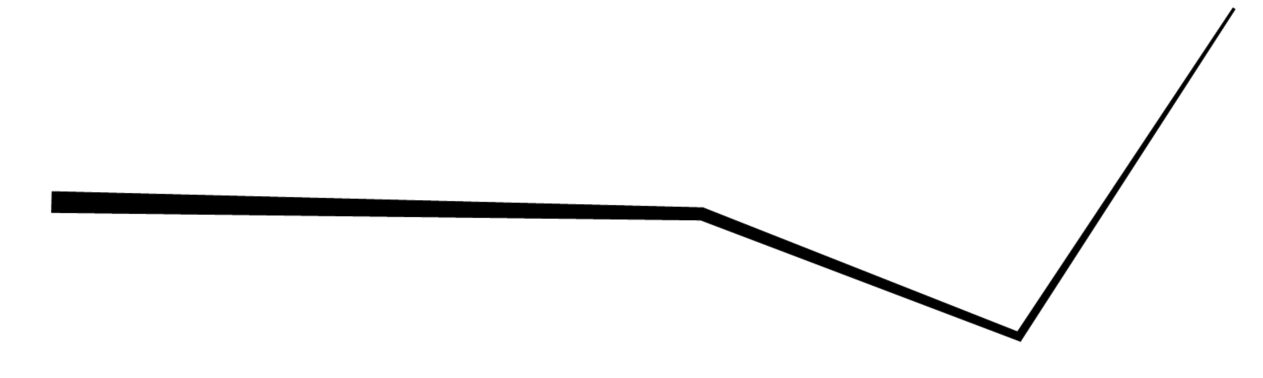
- Width
- Changes the width of all segments.
-
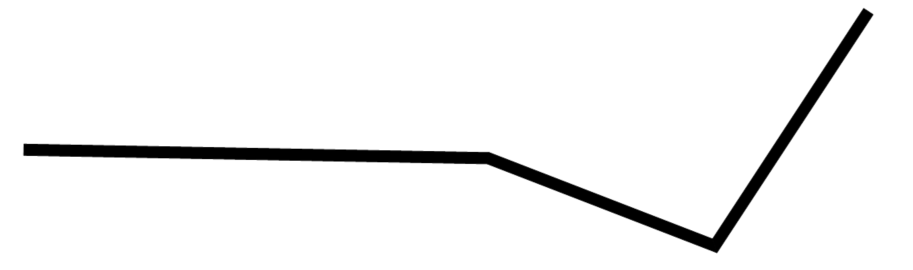 Note: This option overrides tapered widths.
- Undo
- Undoes the last action.