Using propagate
Commands
BIMPROPAGATE
The five flavors
Before getting into the BIMPROPAGATE workflow it is important to note that there are five variants of BIMPROPAGATE, each working on a limited set of situations. These five variants (or flavors) were designed to guide new users through the process of BIMPROPAGATE. The tool has so many different uses that it can seem overwhelming to a new user; these variants help keep the tool more clear and concise, as they are designed for more specific use cases. However, they are still distillates from the original BIMPROPAGATE command, so every problem you can solve with a particular flavor you can also solve using the standard BIMPROPAGATE command. A more advanced user will even be able to solve problems that can not be solved by any of the particular flavors.
 BIMPROPAGATEPLANAR: Propagation of connections between planar elements such as walls, slabs and roofs.
 BIMPROPAGATELINEAR: Propagation of connections between linear elements such as beams, columns, pipes and ducts, and maximum one planar element.
 BIMPROPAGATEPATTERN: Propagation of a single element or group of elements on a flat surface to multiple locations and grids; can be used to propagate light fixtures, light switches, windows, air diffusers, columns on a grid.
 BIMPROPAGATEEDGES: Propagation along the edge of a planar solid; can be used to propagate railings, gutters, borders, wall caps, etc.
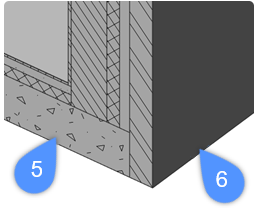
 BIMPROPAGATECORNER: Propagates details connected to multiple planar reference solids coming together in one node.
The general workflow of BIMPROPAGATE consists of two major steps: defining the detail volume, and choosing where to apply this detail.
Defining the detail volume
You are prompted:
Select reference solids. These will not be copied, but used to match other locations. [selection options (?)]:
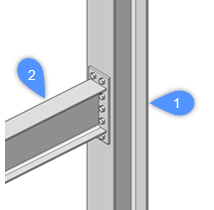
Press Enter to stop selecting reference solids.
The second step is specifying the detail objects or sub entities. These are the objects that you wish to propagate or copy throughout the model. They can be solids, block references or even faces (e.g. a hole in the reference solid can be propagated by selecting its faces).
You are prompted:
Optional. Select detail objects (solids, block references, faces, edges,...) to be copied. [selection options (?)]:
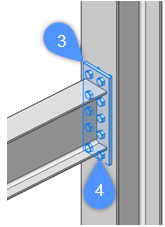
Once the reference solids and the detail objects are specified, a detail volume is defined automatically. The visual style is temporarily set to X-ray, and the view is automatically zoomed in onto the detail volume. Everything that is inside this volume and is either a detail object or part of a reference solid will be copied to the other locations when executing BIMPROPAGATE.
A detail volume can be either a 3D volume or a 2D slice through a linear detail.
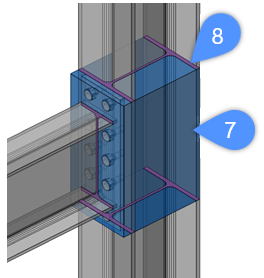
Something interesting to note: In this particular detail, there are holes in the column where the bolts are bolted into the column. These holes are not necessarily detail objects, but since they are part of a reference solid and they are inside the detail volume, they will be copied as well. Thus, in this respect, BIMPROPAGATE does more than a ‘dumb’ copy of objects.
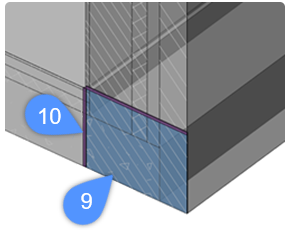
You are prompted:
Blue: detail area to be copied. Purple: reference contact area. Accept? [yes, copy as Block/yes, plain Copy/No/Inflate first/Save detail/save detail to Library] <yes, copy as Block>:
You are prompted: Propagate detail as an extrusion of this 2D section? [Yes/No/Inflate first] <Yes>:
Blue: detail area to be copied. Purple: reference contact area. Accept? [Yes/No/Inflate first/Save detail/save detail to Library] <Yes>:
- If you want to replace an already existing detail with a new detail that is smaller than the original one. For example, we want to replace the previously proposed column-beam connection by the following:
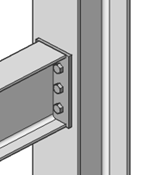
In this case, we will have to inflate the detail volume (11) so that it is larger than the original detail: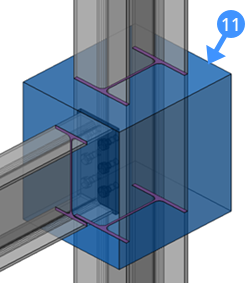
- You might want to include a larger part of the reference solid, for example to connect with target solids that are further apart. In the image below, we want to propagate the connection between the red and the yellowbeam, so that the yellow and the green beam have a similar connection.
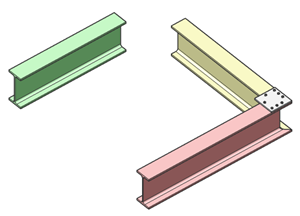
To achieve this, we need to inflate the detail volume so that it overlaps the end faces of the red and the yellow beam.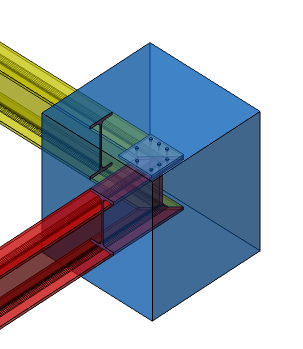
Once the detail volume includes everything you want to propagate, you can go over to the second step: choosing where to apply the detail. For 3D detail volumes there is one last choice to make: Propagate the detail as a Block or as a Copy. If you choose to propagate the detail as a block, then it will group all detail objects into a new Block Definition and copy around references to this Block Definition.
Choosing where to apply the detail
You are prompted:
Accept or reject suggestions by clicking on the tick. Then [Apply/Cancel] <Apply>:
 |
The detail will be applied. |
 |
The detail will not be applied; it was manually toggled off by the user. |
 |
The detail will not be applied, because of one of several possible reasons. Hovering over the icon will provide more information. |
 |
The detail will be applied, but interferences were detected. |
 |
The detail will be applied, but there are several alternatives. Hovering over the icon will allow you to cycle between alternatives. |
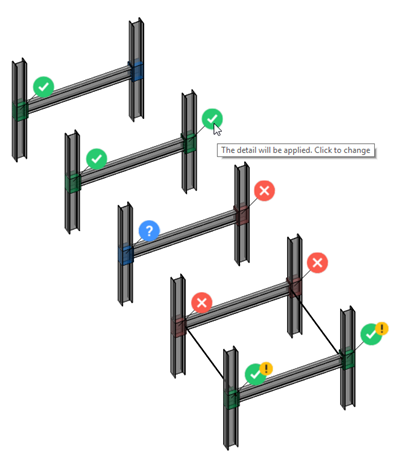
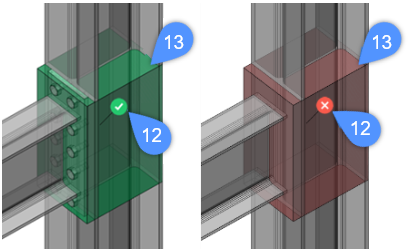
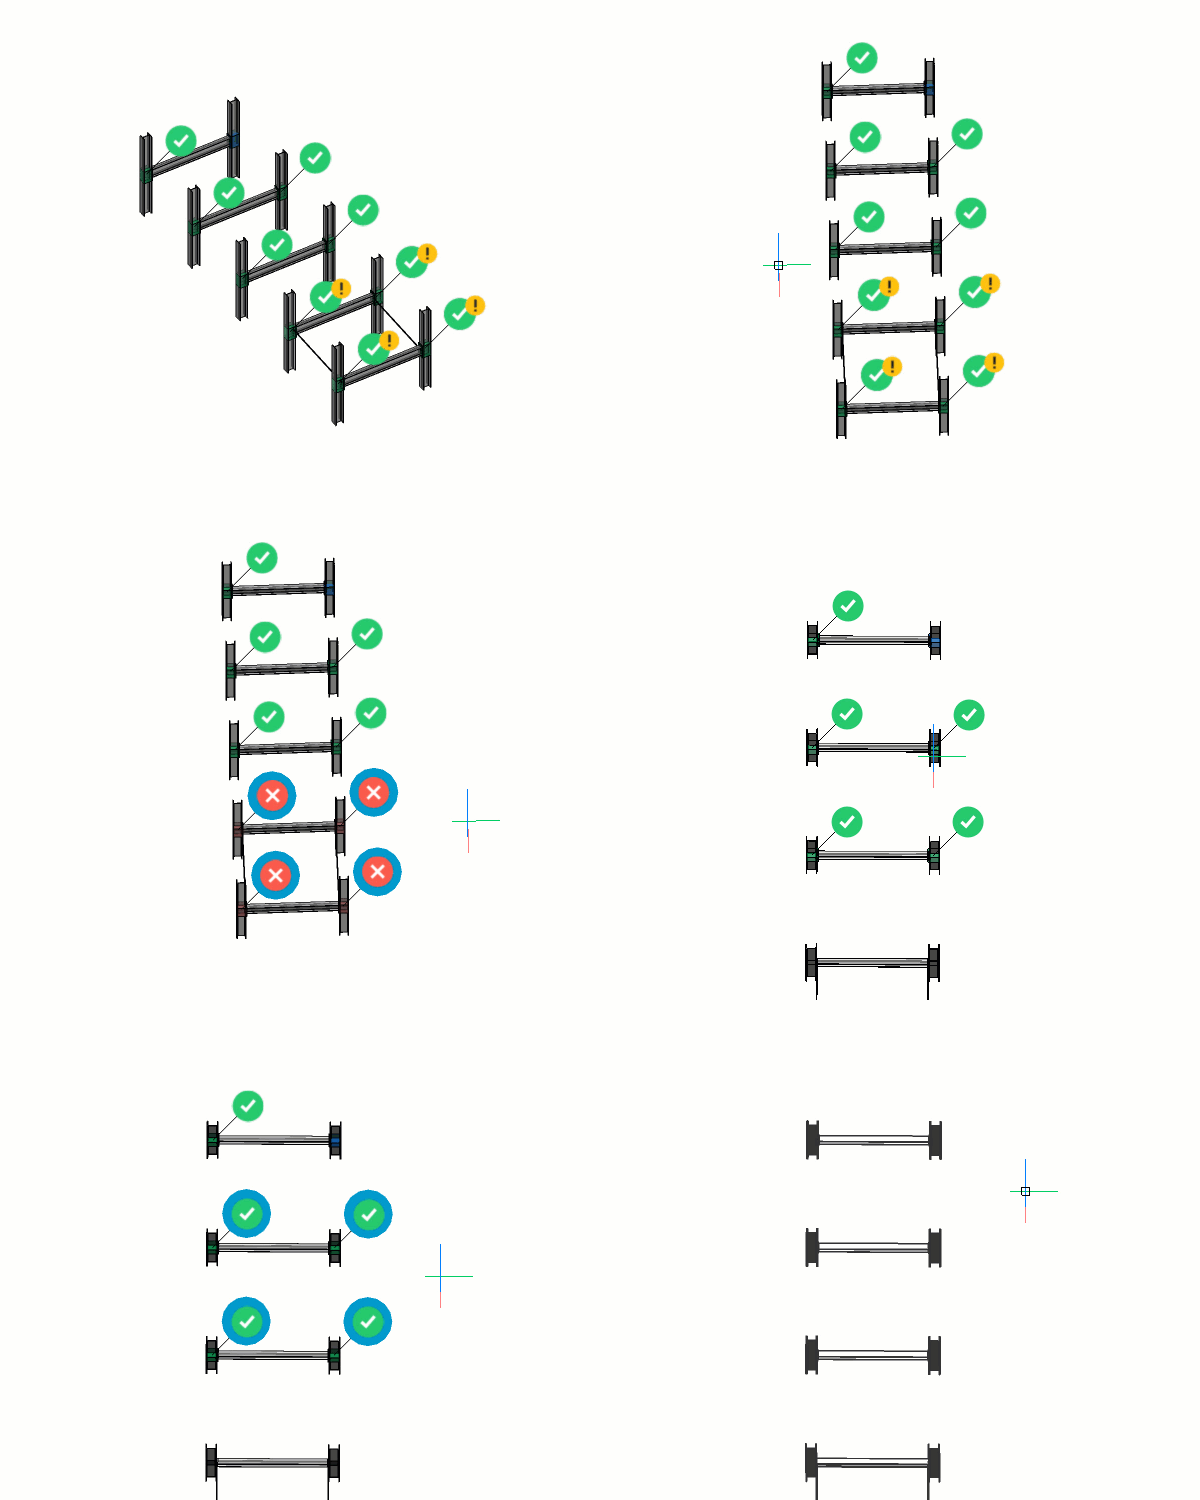
Widgets can also be selected using a window selection. A selected widget is highlighted by a blue border. Once one or more widgets are selected, pressing Enter will no longer apply all the suggestions, but only those that are currently selected:
You are prompted:
Accept or reject suggestions by clicking on the tick. Then [Apply/Cancel] <Apply>:
This procedure can be used to gradually solve all the suggestions.
In the video below, the following steps are taken:
- Four widgets are selected and toggled off
- Enter is pressed: the four selected suggestions were all toggled off, so they are not applied, and the four suggestion are removed from the view
- Four more suggestions are selected
- Enter is pressed: the four selected suggestions are applied, and removed from the view
- There is one suggestion left; Enter is pressed to accept this suggestion, and the BIMPROPAGATE command is terminated.
It is important to emphasize that BIMPROPAGATE only processes entities that are currently visible. As a result, hidden entities, or entities on a hidden or frozen layer are not included when BIMPROPAGATE is scanning the model for locations where the detail can be applied. This can be a useful when executing BIMPROPAGATE in a large model; e.g. when you want to propagate a steel connection, only turn on those layers that contain steel members. This will improve the propagation performance.
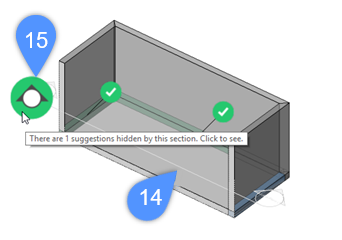
It is possible to activate or move existing section planes during BIMPROPAGATE.
- A section plane (14) can be activated by double-clicking it.
- Left-click it once to move it.
- When a section plane is activated, a widget (15) might appear next to it indicating that there is one or more suggestion currently hidden because of the active section. Click the widget to deactivate this section and show the hidden suggestions.
