Civil Point Editor dialog box
Opens via:
- CIVILPOINTEDIT command
- Double-click one or more points in the drawing
- Civil explorer > Point Groups > Double-click the civil point group
- Right click on the civil point group > select Civil Point Editor
The Civil Point Editor dialog box displays the selected Civil points allowing you to filter points and edit their data.
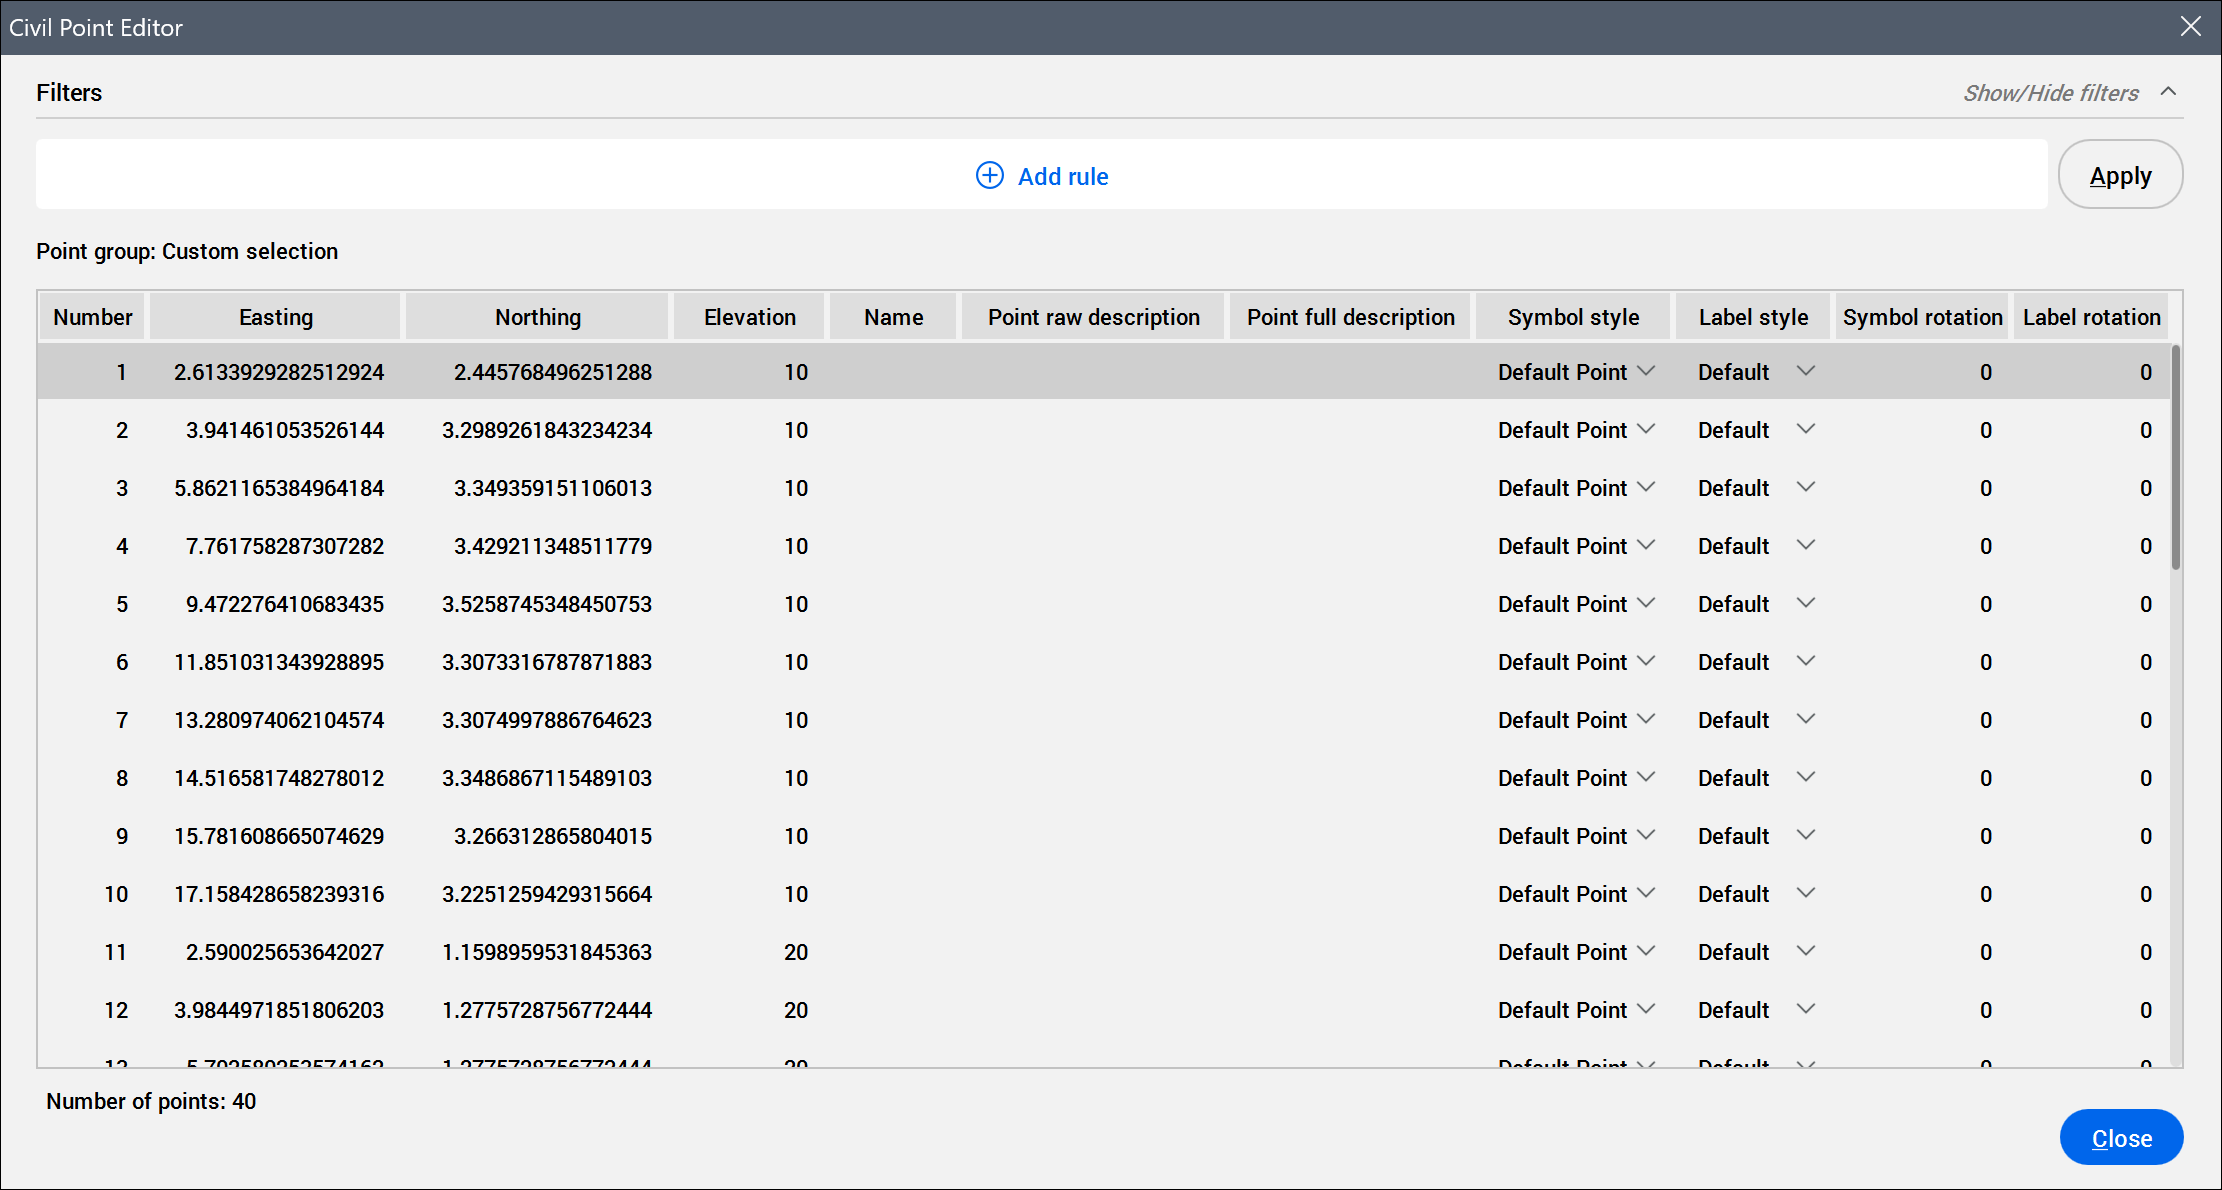
- Filters
- Allows you to filter the selected civil points.Note: Click the Show/Hide filters arrow in the upper-right corner of the dialog box to show or hide the Filters section.
- Add rule
- Opens the Add Rule dialog box to select a civil point property and apply a rule for it.Note: If your civil point selection has user-defined attributes, they are also listed as properties. To add a rule for them, select the User attribute key or User attribute value properties in the Add rule dialog box.
- AND
- Opens the Add Rule dialog box to add an additional rule to the filter set.
Note: Matching is case-insensitive for the contents of some property columns.- Menu(
 )
) - Opens a menu with additional options for adding rule sets.
- Add "OR" Rule
- Adds a new rule set to the filter.Note: The added rules are organized into a rule set that requires all of its properties to be met. You can create more rule sets, separated by the OR operator. Civil points are listed when they meet at least one rule set.
- Duplicate
- Duplicates the selected rule set.
- Clear
- Deletes all rules from the selected rule set.
- Remove
- Deletes the current rule set.
- Apply
- Applies filter to the point group.
- Point group
- Displays whether the selection is custom or displays the name of the civil point group you have selected.
- Table of points
- Lists the selected civil points and their properties. Click a civil point property to edit it. You can select multiple rows and change the value for all of them at once.Important: The Civil Point Editor dialog box is modeless, allowing you to work in the drawing while it remains open.
A context menu displays when you right-click one or multiple civil points:
- Zoom to
- Zooms in to the selected civil point.
- Pan to
- Pans to the selected civil point in the drawing.
- Select
- Selects the civil point(s) in the drawing.
- Copy to clipboard
- Copies the civil point(s) data to the clipboard.
- Delete point...
- Removes the civil point(s). The Remove Civil Points dialog box opens for confirmation.
Note:
- To sort the list, click the title in the column heading. Click again to sort in reverse order.
- To reorder the columns, drag the desired column header to a new position.
- Right click a column header to open the table context menu:
- Columns list: Show or hide a table column by clicking on its name in the list.
- Show all columns: Shows all table's columns.
- Restore column positions: Restores the default position of all table's columns