Verwenden des Panels Details
Öffnen des Panels Details
So öffnen Sie das Panel Details:
- Führen Sie den Befehl DETAILSPANELÖFFN aus.
- Klicken Sie mit der rechten Maustaste auf ein Multifunktionsleisten-Panel oder einen Werkzeugkasten und wählen Sie .
Im Details Panel können Sie Details anzeigen, verwalten und übertragen.
Details erzeugen
Um ein neues Detail zu erstellen, verwenden Sie den Befehl BIMERZDETAIL oder klicken Sie auf die Schaltfläche Detail erzeugen ( ) im Details Panel. Weitere Informationen finden Sie im Artikel BIMERZDETAIL Befehl.
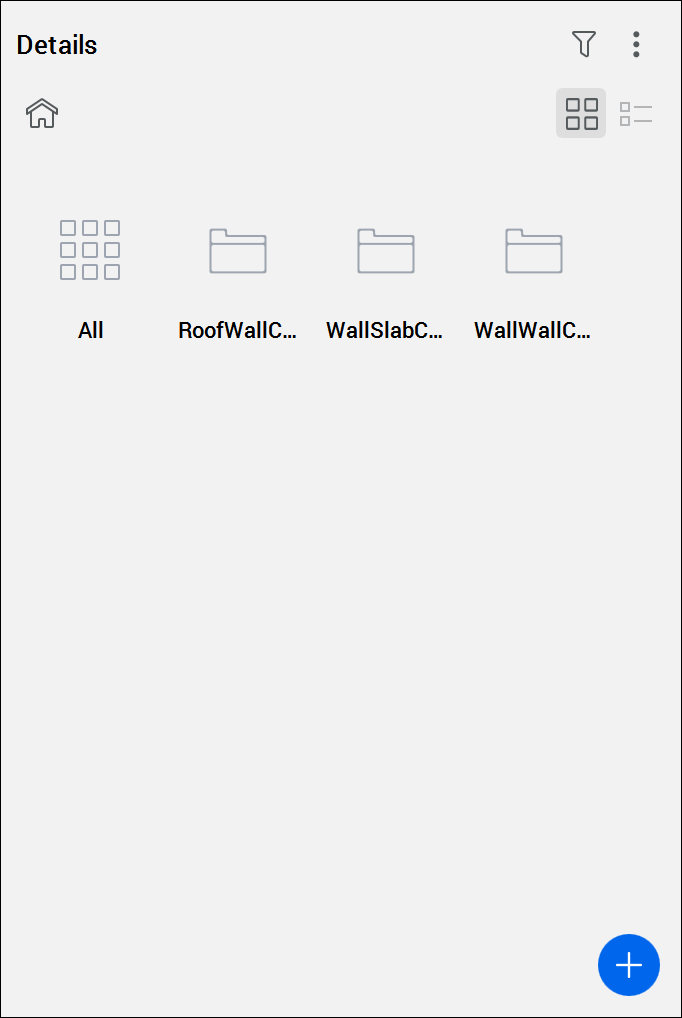
Anzeigen eines Details
- Klicken Sie auf die Kategorie des Details, das Sie anzeigen möchten. Die dieser Kategorie zugewiesenen Details werden angezeigt.
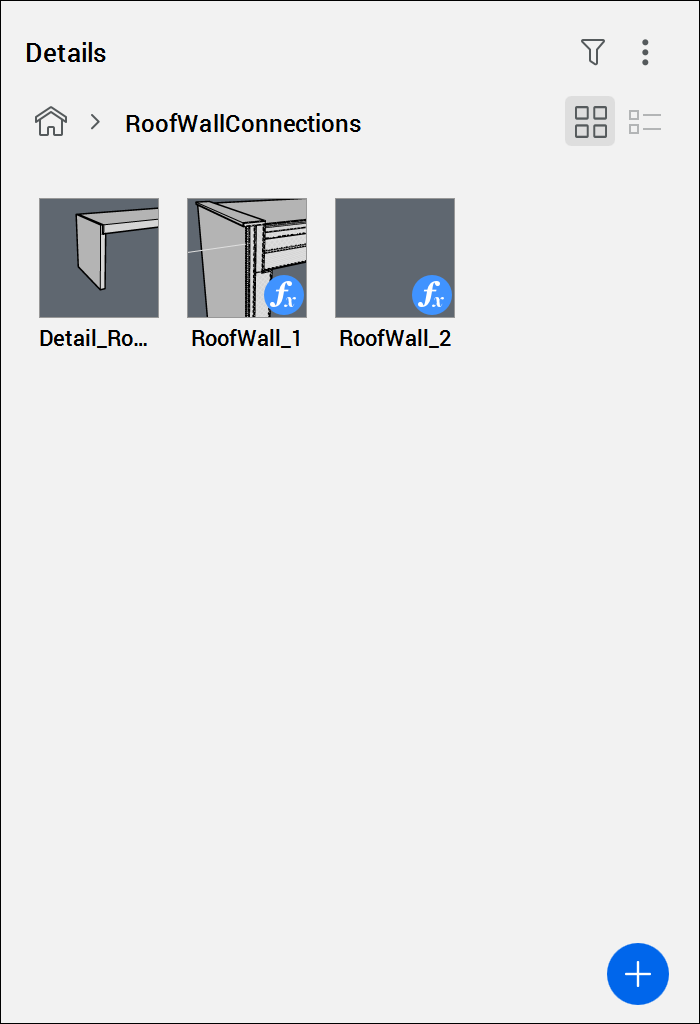
- Klicken Sie auf das Detail, das Sie anzeigen möchten. Der Dialog Details anzeigen wird geöffnet.
Verwaltung von Detail-Bezeichnern
- Klicken Sie im Panel Details auf das Detail, das Sie anpassen möchten.
Der Dialog Details anzeigen wird geöffnet.
- Gehen Sie zur Kategorie Allgemeine Bezeichner, um allgemeine und benutzerdefinierte Bezeichner zu verwalten.
- Klicken Sie auf die blaue Plus Schaltfläche, um einen neuen Bezeichner hinzuzufügen.
- Geben Sie einen Namen für den neuen Bezeichner ein und drücken Sie die Eingabetaste.
Der neue Bezeichner wird der Kategorie Allgemeine Bezeichner in einem orangefarbenen Feld hinzugefügt.
- Wiederholen Sie die Schritte 2 bis 4, um weitere Bezeichner hinzuzufügen.
- Gehen Sie zur Kategorie Volumenkörper-Referenzbezeichner, um die Volumenkörper-Referenzbezeichner zu verwalten.
- Klicken Sie auf die Schaltfläche X neben dem Namen eines Bezeichners, um den Bezeichner zu löschen.Anmerkung: Volumenkörper Referenzbezeichner werden automatisch generiert, daher können Sie diese Bezeichner nur löschen, aber keine neuen hinzufügen.
- Klicken Sie auf die Schaltfläche Speichern, um die Änderungen zu speichern.
Der Dialog Details anzeigen wird geschlossen.
Suchen von Details mit Bezeichner
Sie können Bezeichner verwenden, um in der Detailbibliothek nach einem bestimmten Detail zu suchen.
- Klicken Sie auf das Filtersymbol (
 ), um die Filteroptionen zu öffnen.
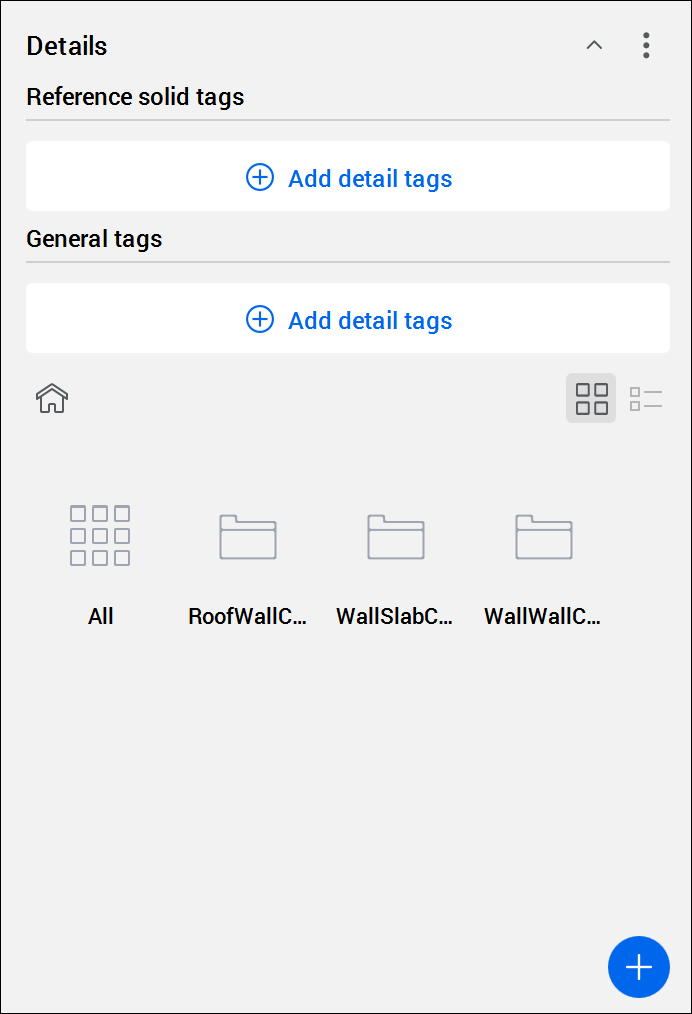
- Klicken Sie auf die Option Detail-Bezeichner hinzufügen und wählen Sie einen Bezeichner aus der Dropdown-Liste aus.
Der ausgewählte Bezeichner wird als Filter hinzugefügt.
Anmerkung: Sie können ein oder mehrere Bezeichner gleichzeitig hinzufügen, um Ihr Ergebnis zu filtern.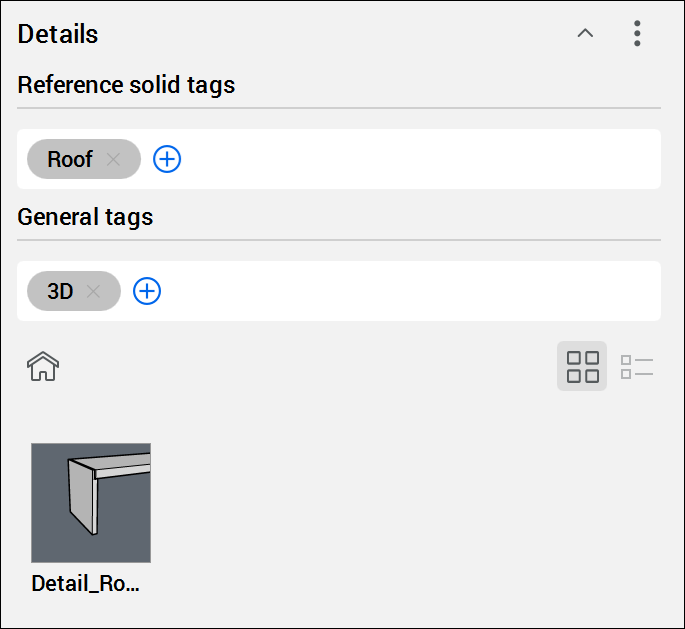
- (Optional) Klicken Sie auf die Schaltfläche Schließen (
 ) neben einem Filter, um den Filter zu löschen.
Bearbeiten einer Detail DWG Datei
- Klicken Sie auf das Detail, das Sie bearbeiten möchten.
Der Dialog Details anzeigen wird geöffnet.
- Klicken Sie auf die Schaltfläche Öffnen.
Die DWG Datei des Details wird in einer separaten Zeichnungsregisterkarte geöffnet.
- Nehmen Sie die notwendigen Detailanpassungen vor.
- Speichern Sie die Detail DWG Datei.
Die Details werden im Panel Details aktualisiert.
Anmerkung: Die bestehenden Details in der Zeichnung werden nicht automatisch aktualisiert. Um die vorhandenen Details durch die neuen zu ersetzen, führen Sie die folgenden Schritte aus, um ein Detail zu übertragen.
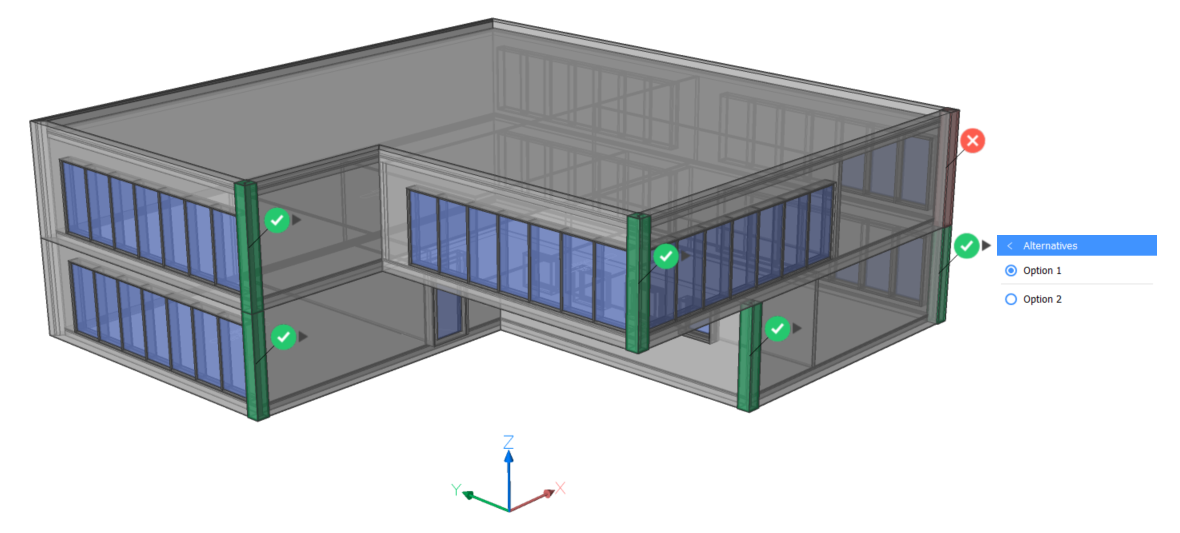
Ein Detail übertragen
Sie können ein Detail auf alle ähnlichen Verbindungen in Ihrem Projekt übertragen.
- Klicken Sie auf ein Detail in der Bibliothek.
Der Dialog Details anzeigen wird angezeigt.
- Klicken Sie auf Übertragen.
-
- Um alle Vorschläge anzuwenden, drücken Sie die Eingabetaste.
- Um einen Vorschlag abzulehnen, klicken Sie auf das Häkchen. Ein rotes Kreuz-Symbol ersetzt das Häkchen. Klicken Sie erneut auf das Symbol, um den Vorschlag anzunehmen.
- Wenn mehrere Alternativen vorhanden sind, werden diese angezeigt, wenn Sie mit der Maus über das Häkchen fahren. Wählen Sie die gewünschte Option aus.
- Drücken Sie die Eingabetaste, um alle markierten Vorschläge zu akzeptieren.
Sie können ein Detail auch mit dem Befehl BIMÜBERTRAGEVONDATEI in Ihrem Projekt weitergeben. Mit diesem Befehl können Sie Detaildateien weitergeben, die sich nicht in der Bibliothek befinden. Weitere Informationen finden Sie im Artikel BIMÜBERTRAGEVONDATEI Befehl.
Details speichern und teilen
Sie können Details als DWG Datei speichern und den Detailordner oder die Bibliothek freigeben.
Speichern Sie die Detailzeichnungen am richtigen Ort, um sie im Panel Details anzuzeigen. Alle von Ihnen erstellten Details werden automatisch im Ordner und seinen Unterordnern gespeichert, der über die Systemvariable DETAILSPATH festgelegt wird. Standardmäßig ist dies C:\ProgramData\Bricsys\Details.
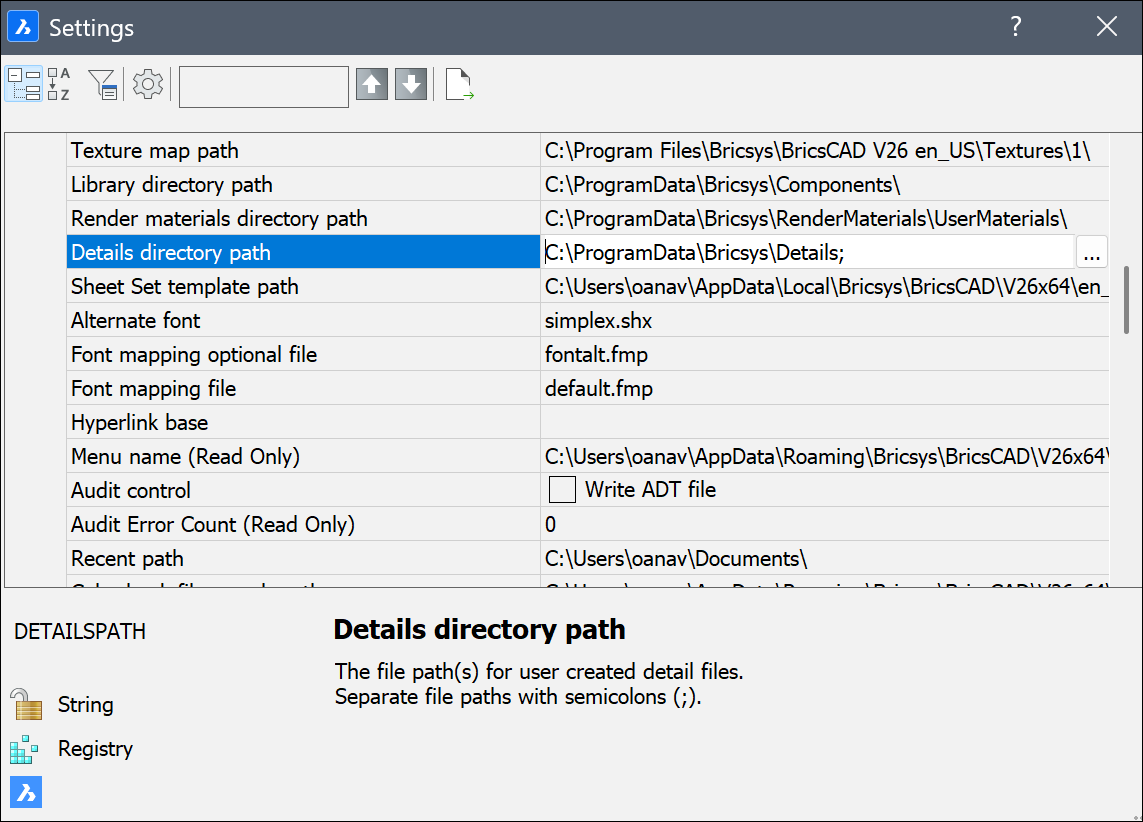
Bearbeiten des Detailpfads
- Festlegen der Systemvariablen DETAILSPATH. Gehen Sie zum Details Panel und wählen Sie , um schnell den Dialog Einstellungen zu öffnen.
- Klicken Sie auf die Durchsuchen Schaltfläche (
 ) um den Dialog Pfadliste zu öffnen. Hier können Sie den Speicherort ändern oder zusätzliche Pfade erstellen.
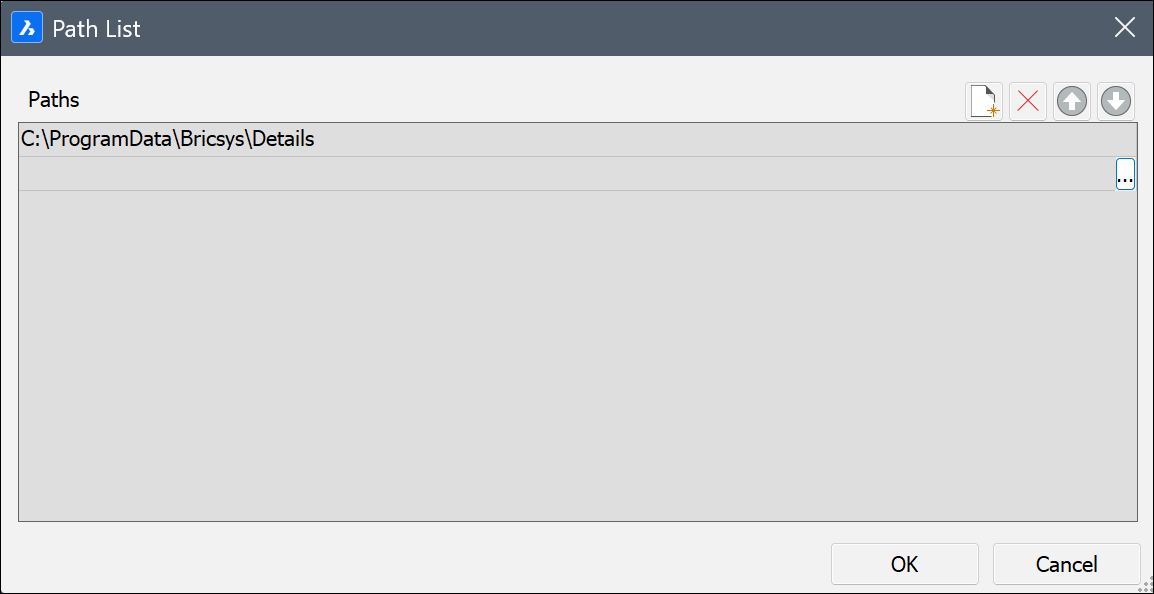
- Um einen Pfad für die Details hinzuzufügen, kicken Sie in der Bibliothek auf das Symbol Neu (
 ), und anschließend auf die Schaltfläche Durchsuchen () der neuen Zeile.
Um einen Pfad zu löschen, wählen Sie den Pfad aus und klicken Sie dann auf das Symbol Löschen (
 ).
).
Ordner freigeben
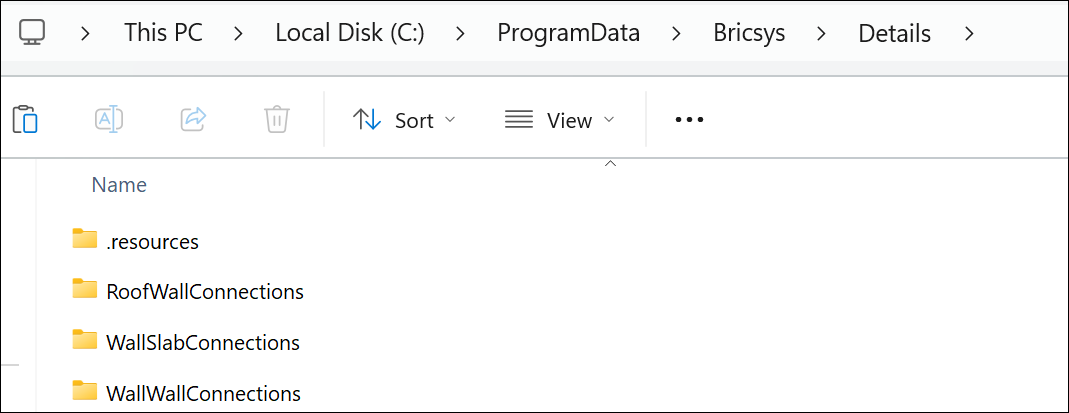
- Öffnen Sie den Datei-Explorer auf Ihrem Computer und folgen Sie dem Pfad zum Ordner Details.
Wenn Sie noch keine Details erstellt haben, enthält dieser Ordner nur den Ordner .resources.
Wenn Sie einige Details erstellt haben, finden Sie hier dieselben Ordner wie im Panel Details.
- Kopieren Sie den Ordner, den Sie freigeben möchten, und wandeln Sie ihn in eine ZIP-Datei um. Sie können diese ZIP-Datei mit anderen teilen.
Empfangen eines Ordners
Wenn Sie eine ZIP-Datei erhalten, sollten Sie diese entpacken und die Ordner mit den Details in den Ordner C:\ProgramData\Bricsys\Details kopieren.
Laden der neuen Details in Ihr Bibliotheks Panel
Um die neuen Details in Ihr Bibliothekspanel zu laden, gehen Sie zum Panel Details und wählen Sie das .
Die neuen Detailordner werden im Panel Details angezeigt.