-INSERT command
Inserts blocks through prompts in the Command line.

Alias: -I
Description
Inserts blocks through prompts in the Command line. It also prompts for attribute values, if any are part of the block definition.
Method
Specify the name of the block to insert or press Enter to accept the name of the previously inserted block and specify the insertion point, the scale factor, the rotation angle for the inserted block. BricsCAD prompts in the Command line the block inserted units, for example Units: Millimeters.
Note: The current drawing can be inserted as a block by typing the drawing name as block name.
Note: If the block contains attributes, the value of the ATTDIA (Attribute Dialog) system variable determines whether you are prompted in the Command line to set the attributes (ATTDIA=0) or through the Edit Attributes dialog box (ATTDIA=1).
Options within the command
- ? to list blocks in drawing
- Lists the names of all blocks in the current drawing.
- ~ to open the file dialog
- Displays the Insert Block dialog box. Choose a DWG or DXF file and open it.
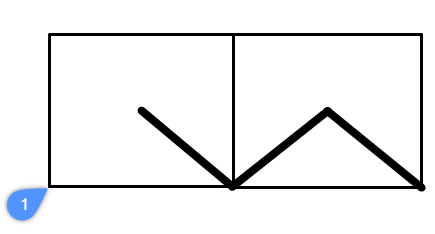
- Select insertion point
- Allows you to specify the X, Y and Z coordinates or pick a point for the block's insertion point (1). The Z coordinate is typically left at 0 for 2D blocks.
- Corner
- Indicates the size of the block by specifying a second corner of a rectangle. The insertion point is the first corner.
Note: Blocks can be edited directly through grips.
- Edit inserted entity
- Allows you to change the parameter expressions for the inserted entity.
- FINISH
- Finishes the editing of individual parameters.
- SMART insert
- Allows you to connect a Piping standard part to an existing Piping standard part. It automatically creates appropriate 3D constraints between the two parts and copies expressions for the parameters of the existing part to the new part.
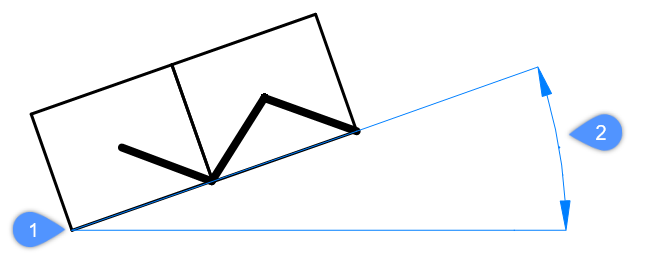
- Rotate component
- Specifies the rotation angle (2) of the block about its insertion point (1), starting with the x-axis as 0 degrees:
- Positive angles: rotates the block counter-clockwise.
- Negative angles: rotates the block clockwise.
- set Base point
- Allows you to change the base point for the inserted entity.Note: The default value is <0,0,0>.
- insertion Type
- Specifies the insertion type.
- Local
- Inserts the block as local component.
- External
- Inserts the block as external reference.
- Flip
- Allows you to flip the direction for the inserted entity.
- Multiple
- Allows you to insert multiple copies of the same entity by specifying an insertion point for each instance or creating an Array.Note: Continue inserting entities until you press Enter to end the command.
- Array
- Allows you to create an associative array of the inserted entity by specifying the base point, distance between columns, distance between rows, and end point of the array.
- Direction
- Allows you to select an existing axial entity to define the direction.
- 2Points
- Selects two points to define the direction.
- Xaxis
- Selects the X axis as direction.
- Yaxis
- Selects the Y axis as direction.
- Single row
- Distributes entity copies into a single row.
- Rectangular
- Distributes entity copies into any number of rows.
- Base point
- Allows you to specify a new base point for the array.
- Columns
- Specifies the number of the columns.
- Rows
- Specifies the number of the rows.
- Placement
- Sets the distance between columns.
- Accept
- Accepts the resulting array.
- Scale
- Scales the block:
- Values larger than 1 - make the block larger.
- 1 - inserts the block at actual size.
- Values smaller than 1 - make the block smaller.
- Values less than zero - flip the block, like mirroring it.
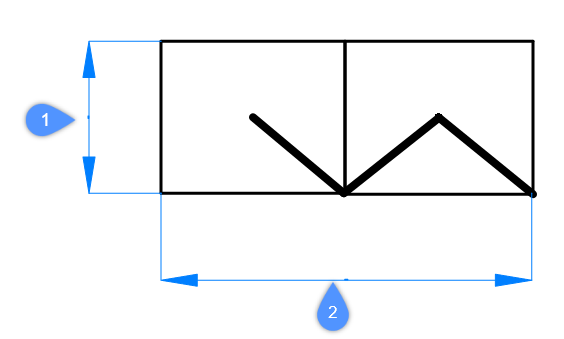
- X scale
- Specifies the scale factor along the X axis (2). Enter a negative value to mirror the block about the Y axis.
- Y scale
- Specifies the scale factor along the Y axis (1). Enter a negative value to mirror the block about the X axis.
- Z scale
- Specifies the scale factor along the Z axis.