


BIMROOF command
Creates solids classified as Roof.

Icon:
Description
The command creates a roof based on a closed 2D curve or boundary. You can define the options through the command context panel, as well as through the Command line.
Method
Launch the command to open the Roof command context panel.
There are three methods to define the out limits of a roof:
- Draw a rectangle.
- Draw a polyline.
- Select entities in the drawing.
Use the Hotkey Assistant widget to change the direction of the current roof. Press the Ctrl key to rotate the direction by 90 degrees CCW.
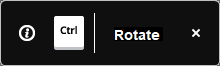
Note: The Hotkey Assistant widget is displayed if the HOTKEYASSISTANT system variable is set to 1 and the Display Hotkey Hints for BIMROOF options check box is ticked in the Hotkey Assistant Configuration dialog box (see Hotkey Assistant widget article).
Options within the command context panel
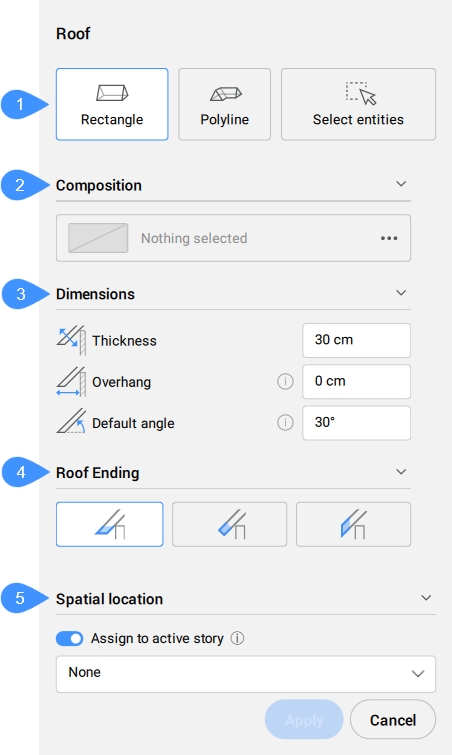
- Creation mode
- Composition
- Dimensions
- Roof ending
- Spatial location
- Creation mode
- Allows you to choose a method for creating the roof.
- Composition
- Click the browse button (
 ) to open the Compositions dialog box that lets you define the current roof composition. By default the compositions of type Roof are shown. You can change this filter in the Compositions dialog box.
- Dimensions
-
- Thickness
- Sets the roof thickness.Note: When a composition with a fixed or minimal thickness is selected, the thickness input field is constrained accordingly.
- Roof ending
- Sets the type of roof ending: horizontal, perpendicular, vertical.
- Spatial location
- Allows you to select a spatial location from the drop-down menu to assign to the roof.
Note: The options within the command context panel and those within the Hotkey Assistant widget reflect the options within the Command line.