BIMCOLONNA
Crea solidi classificati come Colonna.

Icona: 
Descrizione
Il comando crea colonne con forme diverse. È possibile definire le opzioni tramite il pannello contesto comando che si apre all'avvio del comando, nonché tramite la Barra dei comandi.
Metodo
Avviare il comando per aprire il pannello contesto comandi Colonna. Impostare le opzioni della colonna corrente e posizionare la colonna nel modello.
 ) nella Barra dei Piani (vedere l'articolo La Barra dei Piani).
Utilizzare le quote dinamiche per definire il punto di inserimento in modo più accurato. Queste quote mostrano le distanze tra il punto di ancoraggio e altri muri e/o colonne. Premere il tasto TAB per passare da una quota all'altra e impostarle manualmente.
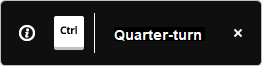
Utilizzare il widget Assistente Tasti di scelta rapida per ruotare l'orientamento della sezione trasversale del profilo. Premere il tasto Ctrl per ruotarlo di 90 gradi in senso antiorario.
Utilizzare le quote di selezione per riposizionare la colonna selezionata rispetto ai muri e/o alle colonne rilevate più vicini o ad altri punti di riferimento utili (vedere l'articolo Quote di Selezione).
Opzioni all'interno del pannello contesto comando
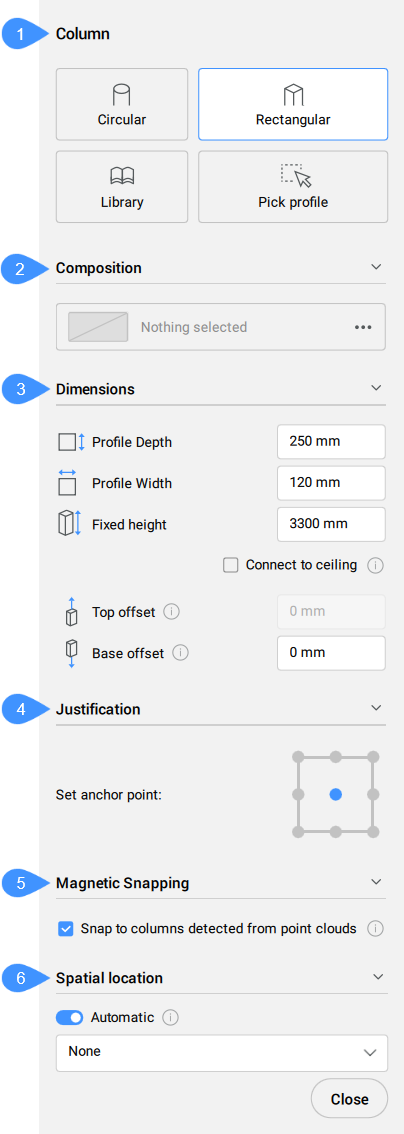
- Colonna
- Composizione
- Quote
- Giustificazione
- Snap Magnetico
- Localizzazione spaziale
- Colonna
- Definisce il profilo corrente. È possibile scegliere un profilo esistente, sceglierne uno dal disegno o crearne uno nuovo.
- Composizione
- Cliccare sul pulsante Sfoglia (
 ) per aprire la finestra di dialogo Composizioni che consente di definire la composizione della colonna corrente. Qui è possibile modificare il tipo di composizione selezionando un nuovo filtro dal menu a discesa in alto a sinistra.
- Quote
-
- Profondità profilo/Larghezza profilo
- Imposta la profondità/larghezza del profilo.Note: Queste opzioni sono disponibili solo per il profilo Rettangolare.
- Giustificazione
- Ci sono nove opzioni di giustificazione: Alto-Sinistra, Alto-Centro, Alto-Destra, Mezzo-Sinistra, Mezzo-Centro, Mezzo-Destra, Basso-Sinistra, Basso-Centro, Basso-Destra. Per impostazione predefinita, il punto di ancoraggio è impostato al mezzo-centro. Per modificarlo, cliccare su un altro punto di ancoraggio visualizzato.
- Snap Magnetico
-
- Snap alle colonne rilevate dalle nuvole di punti
- Attivare/disattivare per controllare se il profilo del pilastro deve essere adottato dalle colonne vicine rilevate nelle nuvole di punti.Note: Questa opzione funziona solo per i profili Circolare e Rettangolare.
- Localizzazione spaziale
- Consente di selezionare una posizione spaziale dal menu a discesa da assegnare alla colonna.