Point cloud Scan to BIM workflow
The point cloud Scan to BIM semi-automatic workflow consists of four steps:
- 1. Detecting floors
- Use the POINTCLOUDDETECTFLOORS command to detect the floors. A floor number is assigned to each selected point in the point cloud.
- 2. Detecting rooms
- Use the POINTCLOUDDETECTROOMS command to detect rooms. A room number is assigned to each selected point in the point cloud.
- 3. Creating room solids
- Use the POINTCLOUDFITROOMS command to create room solids based on the previously found rooms.
- 4. Creating BIM components
- Use the BIMINVERTSPACES command to create walls in between the selected solids, wall openings, outer walls and slabs.
For structured point cloud data, normal vectors are calculated during point cloud preprocessing. In case a point cloud has been preprocessed on an older BricsCAD version where normals have not yet been calculated, use the POINTCLOUDNORMALS command first.
For unstructured point cloud data, normal vectors information is imported, if present, and used in the workflow. Otherwise, it is not calculated, and the workflow is not applicable.
Detecting floors
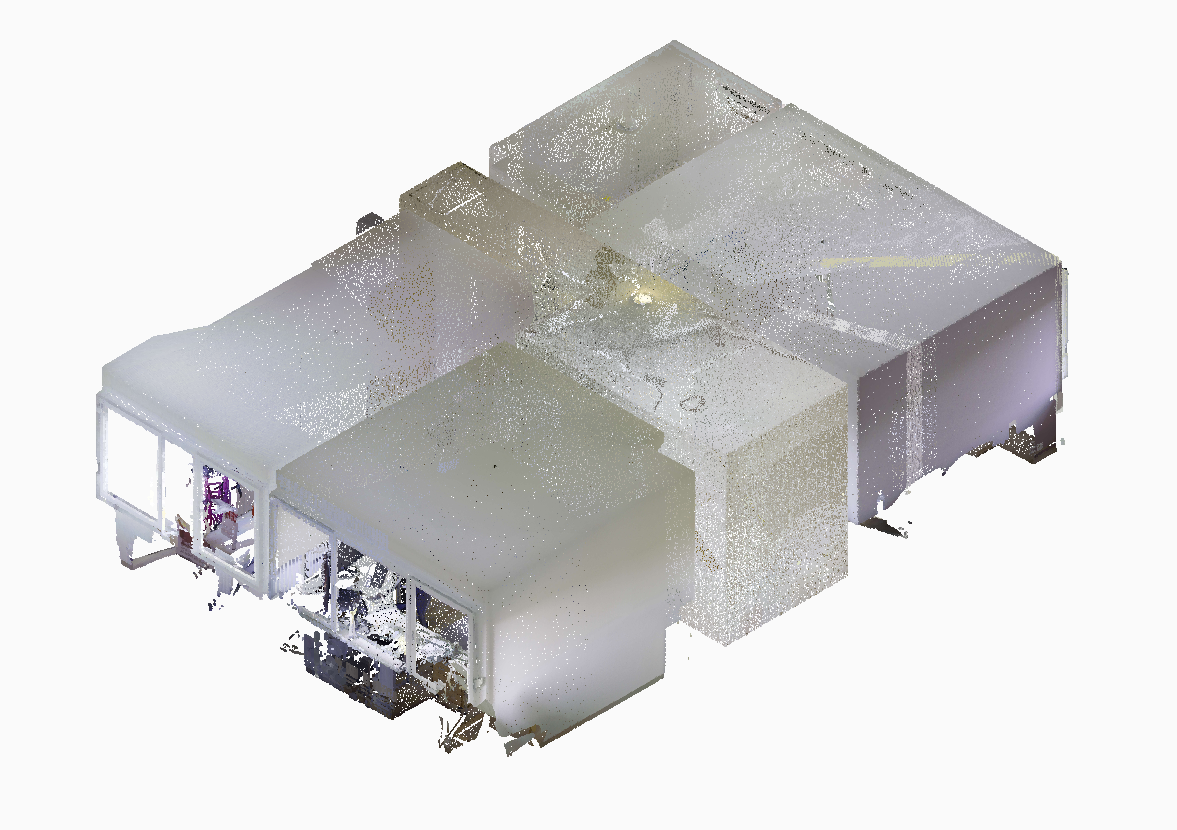
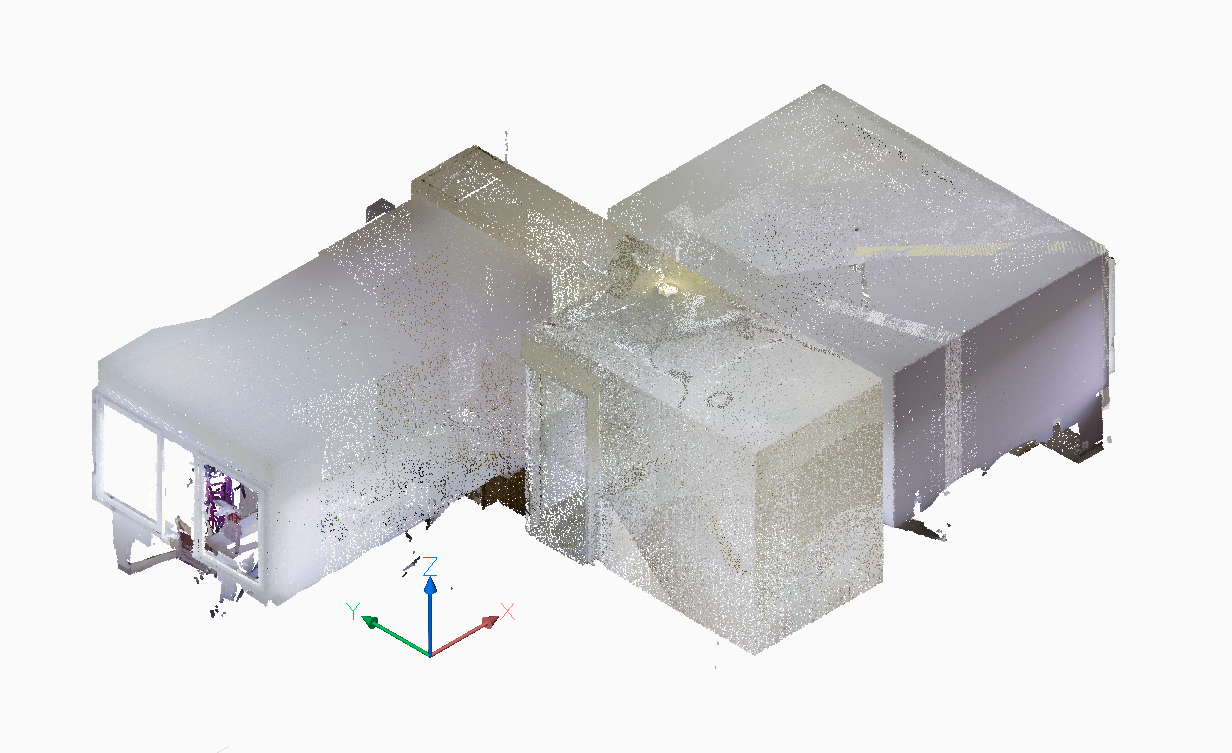
The first step of the Scan to BIM workflow is to detect the floors and ceiling in the point cloud attached to the drawing.
- Launch the POINTCLOUDDETECTFLOORS command.
You are prompted: Select point cloud entity:
- Select a point cloud attached to your drawing.
You are prompted: Operate on full point cloud or a selection?
- Do one of the following:
- Click Full to operate on the full point cloud.
- Click Selection to specify the first point of the selection rectangle, then the opposite point.
You are prompted: Create spatial elements?
- Select Yes to create spatial elements based on the detected floors height.
- A message appears in the Command line to let you know when the floors detection process is ready.
The command will detect floors for the selected points. The floors are listed in the Point Cloud Manager panel under Buildings.
- (Optional) To edit the selection of points assigned to a floor, right-click the floor listed in the Point Cloud Manager panel and select the Modify option from the context-menu.
Detecting rooms
The second step of the Scan to BIM workflow is to detect the rooms in a floor.
- Launch the POINTCLOUDDETECTROOMS command.
You are prompted: Specify floor id or select all.
- Do one of the following:
- Click All to detect rooms for all the floors listed in the Point Cloud Manager panel.
- Click Id to detect rooms for the floor with the specified Id.
- The command starts the background processing. Depending on the point cloud size, this can take up to several minutes.Note: You can continue working during the background processing.
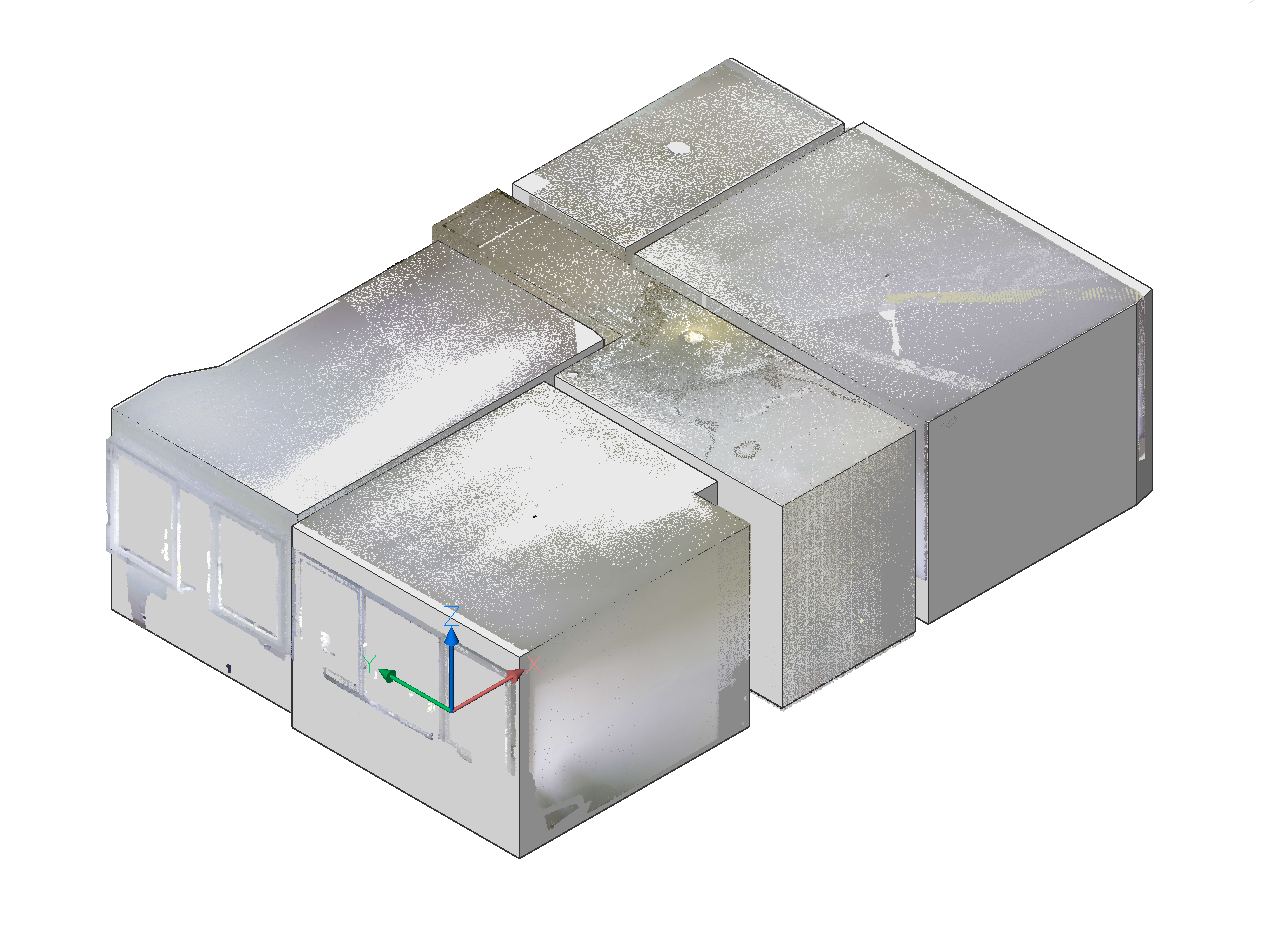
When the background processing finishes, a pop-up message appears. The points found in the specified floors are classified under different rooms. The detected rooms are listed in the Point cloud manager panel under Buildings with an Id assigned to each.
To check that a room is correctly detected, toggle on/off the room visibility state icon next to the room's name.
Select a room and right-click to access the context menu. Select Edit to adjust the room's contour by dragging the polyline points, then select Accept or Decline from the room's context menu. Use Rename or Delete options if needed. Merge multiple rooms by selecting the rooms in the list and using Merge from the context menu.
To add a new room to a floor, right-click the floor's name in the Point cloud manager panel, select Add Room and draw a polyline to define the new room's boundary.
Once the points in the selection have been classified into different rooms, you can create solids based on this classification.
Creating room solids
The third step of the Scan to BIM workflow is to create room solids based on the detected rooms.
- Launch the POINTCLOUDFITROOMS command.
You are prompted: Specify building Id or select all.
- Do one of the following:
- Click All to create solids for all the detected rooms.
- Click Id to create a solid for the detected room with the specified Id.
You are prompted: Restrict detection to perpendicular (90°) walls?
- Select Yes if the rooms have two perpendicular wall directions.
The command starts the background processing. Depending on the point cloud size and wall directions, this can take up to several minutes.
Note: You can continue working during the background processing.When the background processing finishes, a pop-up message appears. The created solids are assigned to the automatically generated Rooms layer.
- Turn off the attached point cloud's visibility. The rooms solids are now visible.
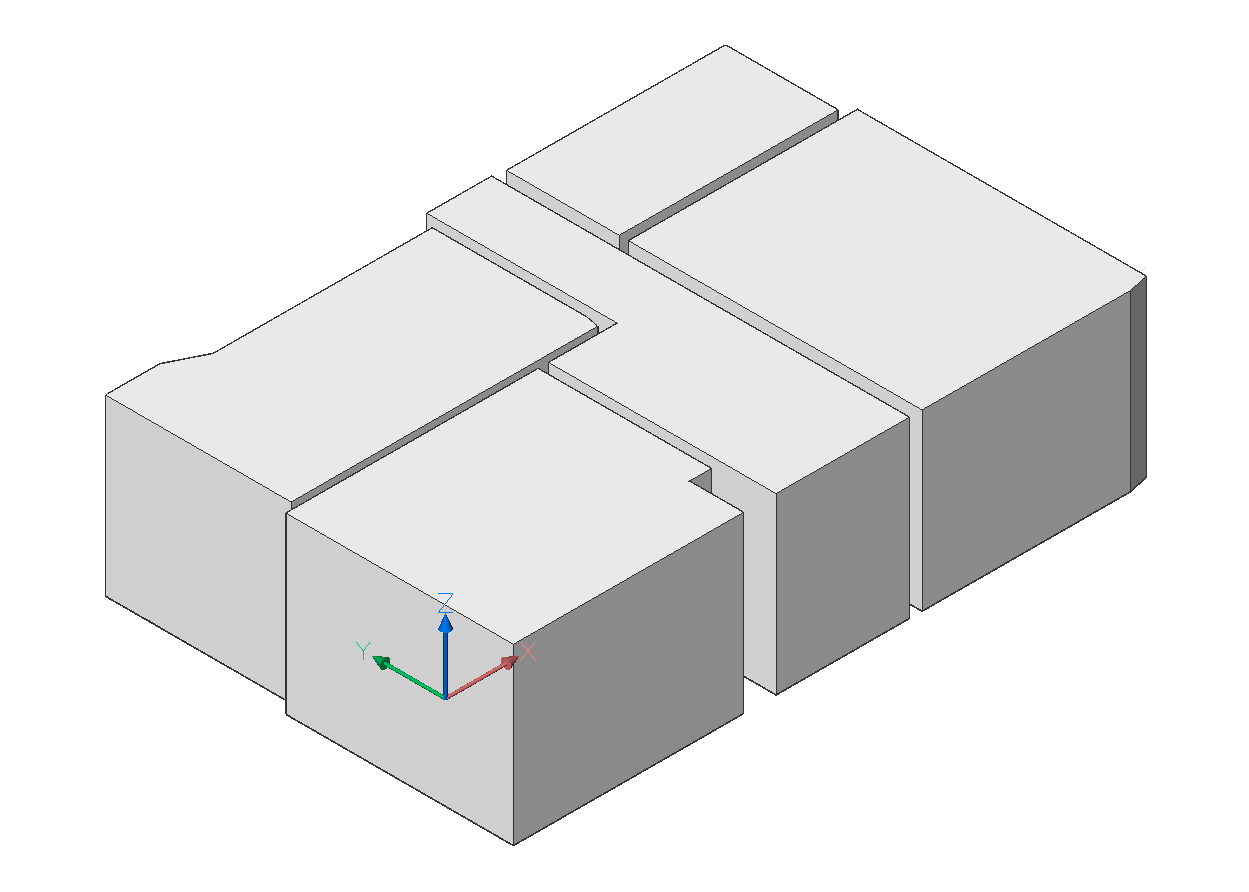
Optionally, you can edit the rooms by using the DMPUSHPULL command to adjust the faces of the created solids.
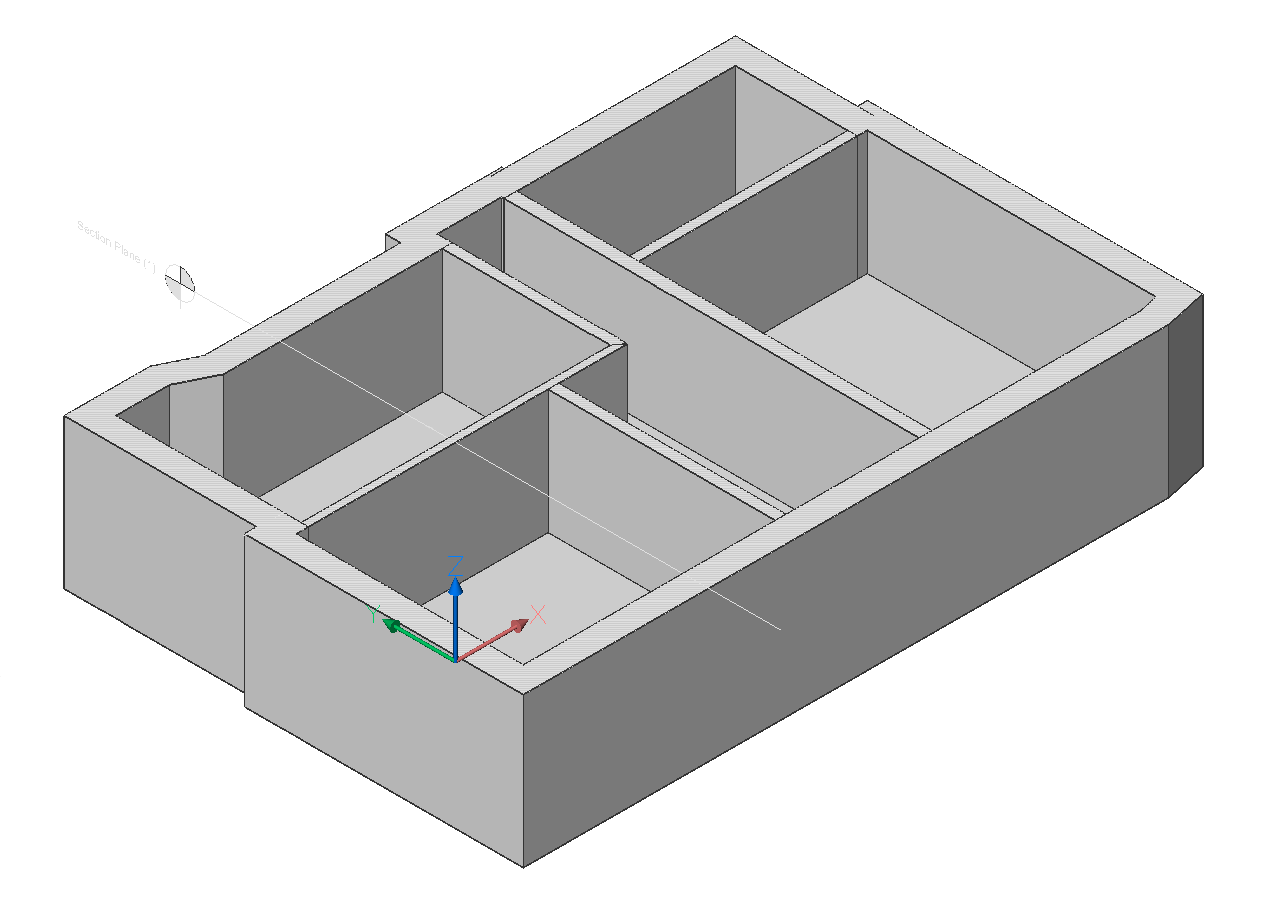
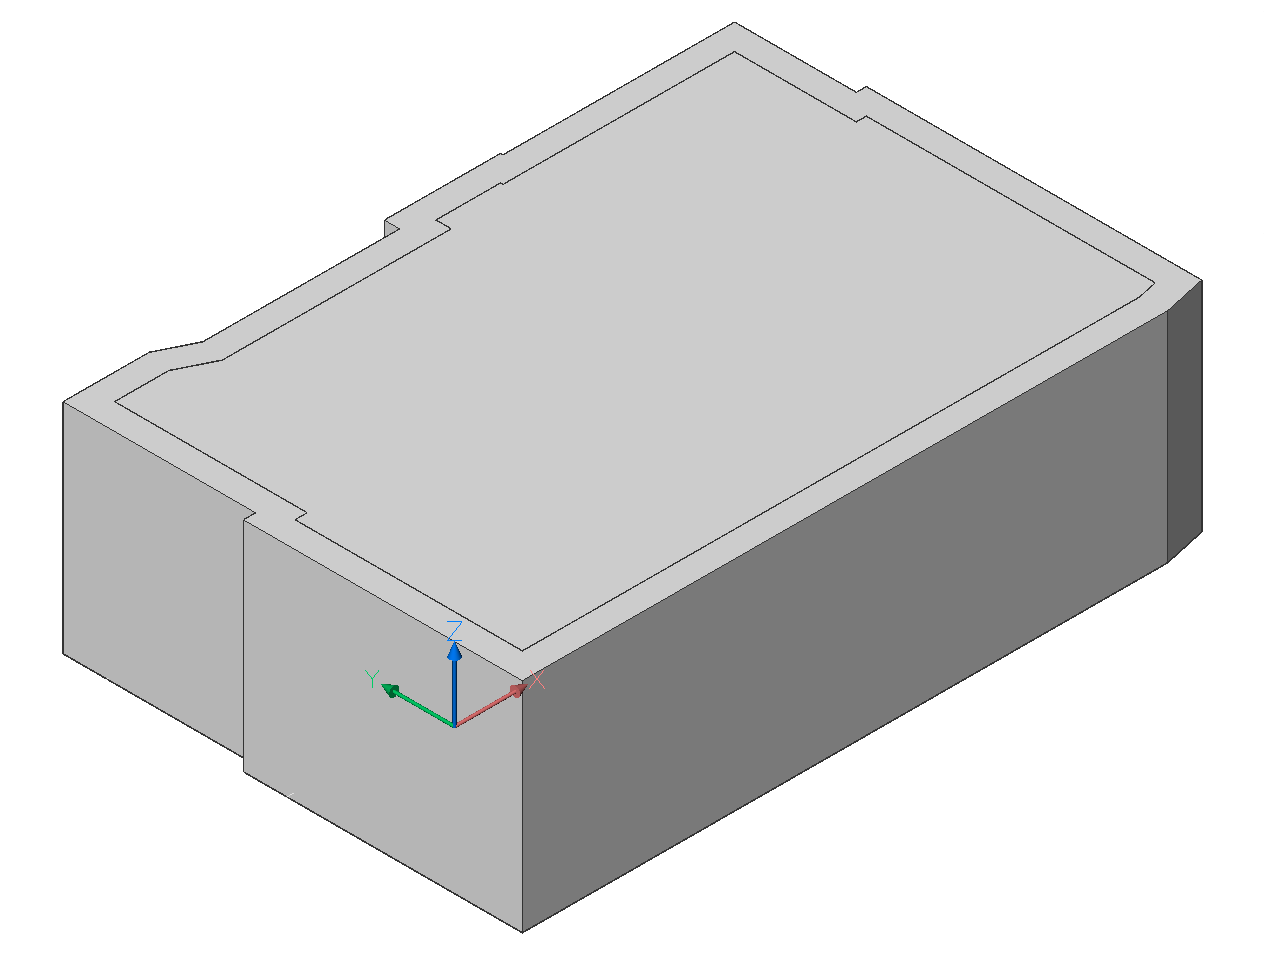
Creating BIM components
The last step of the Scan to BIM workflow is to generate walls in between the previously created solids, as well as the outer shell.
- Select a layer on which the BIM components will be created.
- Launch the BIMINVERTSPACES command. The Invert Spaces Command Context panel opens to let you define the settings. For detailed information about each option, see the article BIMINVERTSPACES command.
- Click Apply.
The Scan to BIM workflow is now complete, with the 3D model based on the point cloud being fully generated.
- Turn off the layer on which the room solids were created.
- Use the BIMSECTION command to create a horizontal section plane that displays the internal walls.
- Use wall editing tools like the LCONNECT or BIMEXTEND commands to adjust the result as needed.